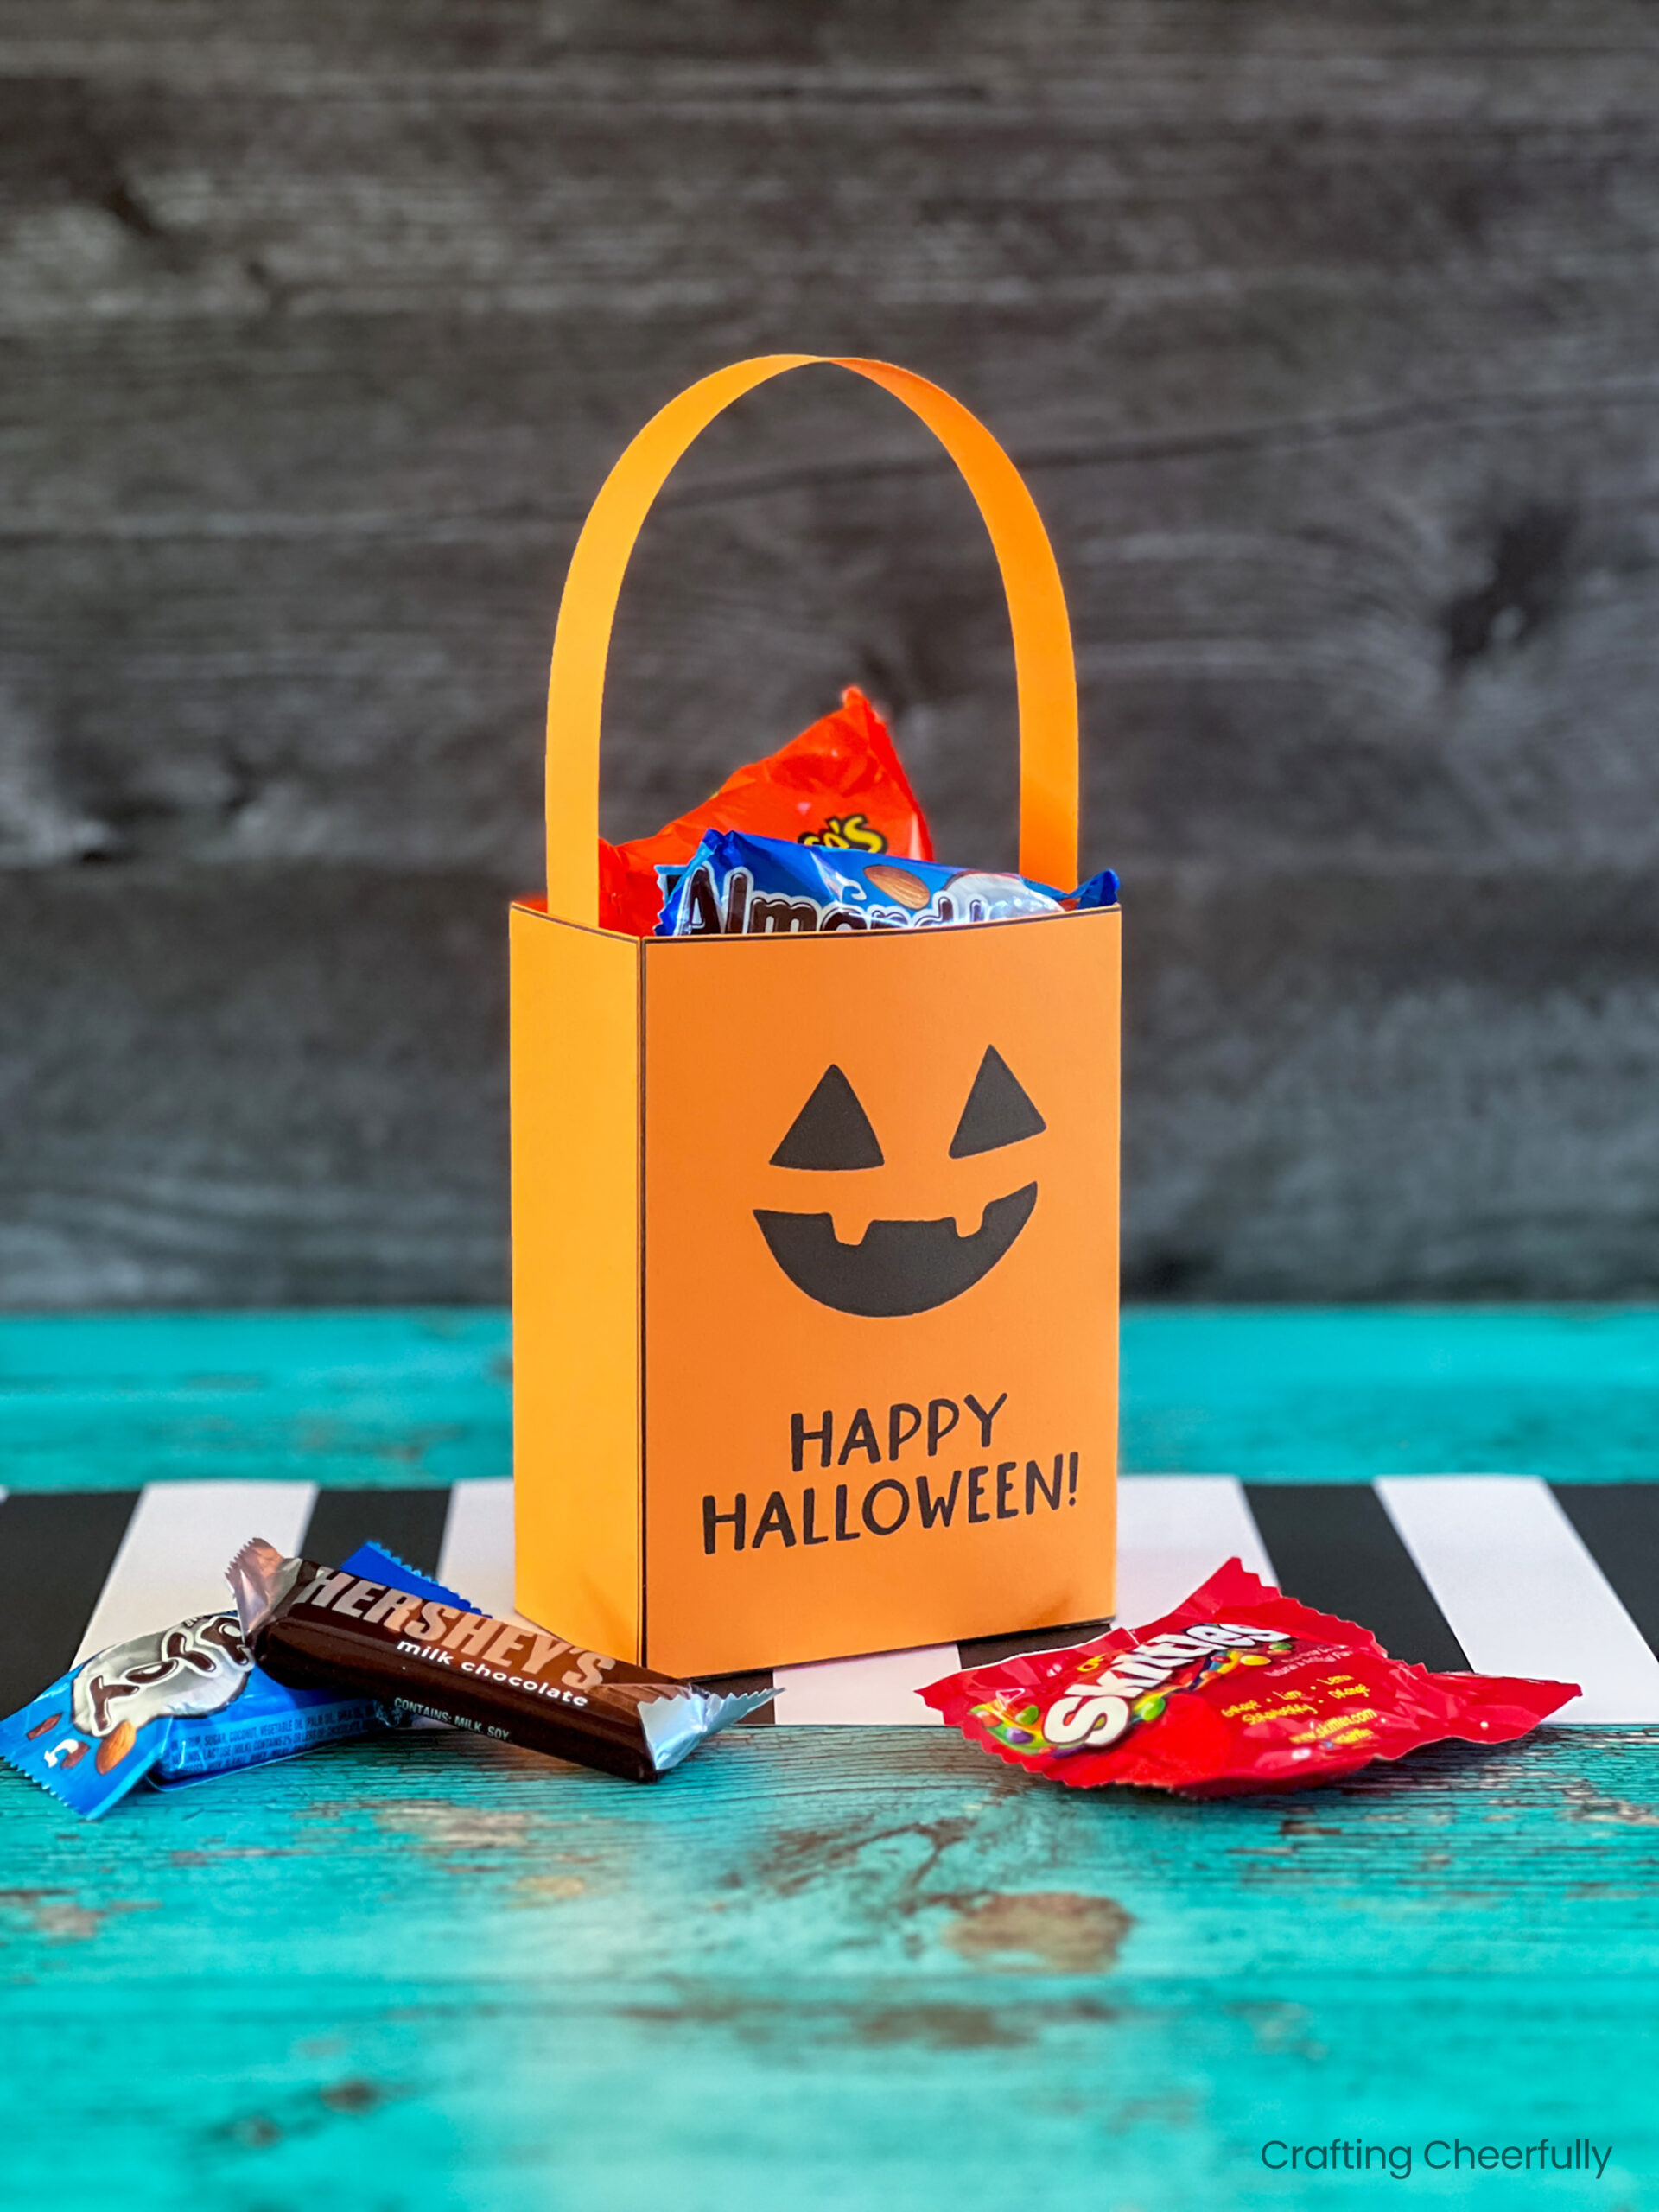
DIY Pumpkin Treat Boxes
Create cute pumpkin treat boxes for Halloween! These fun free printables have a jack-o’-lantern design and can be printed directly onto orange cardstock for a simple Halloween paper craft perfect for holding sweets and treats.
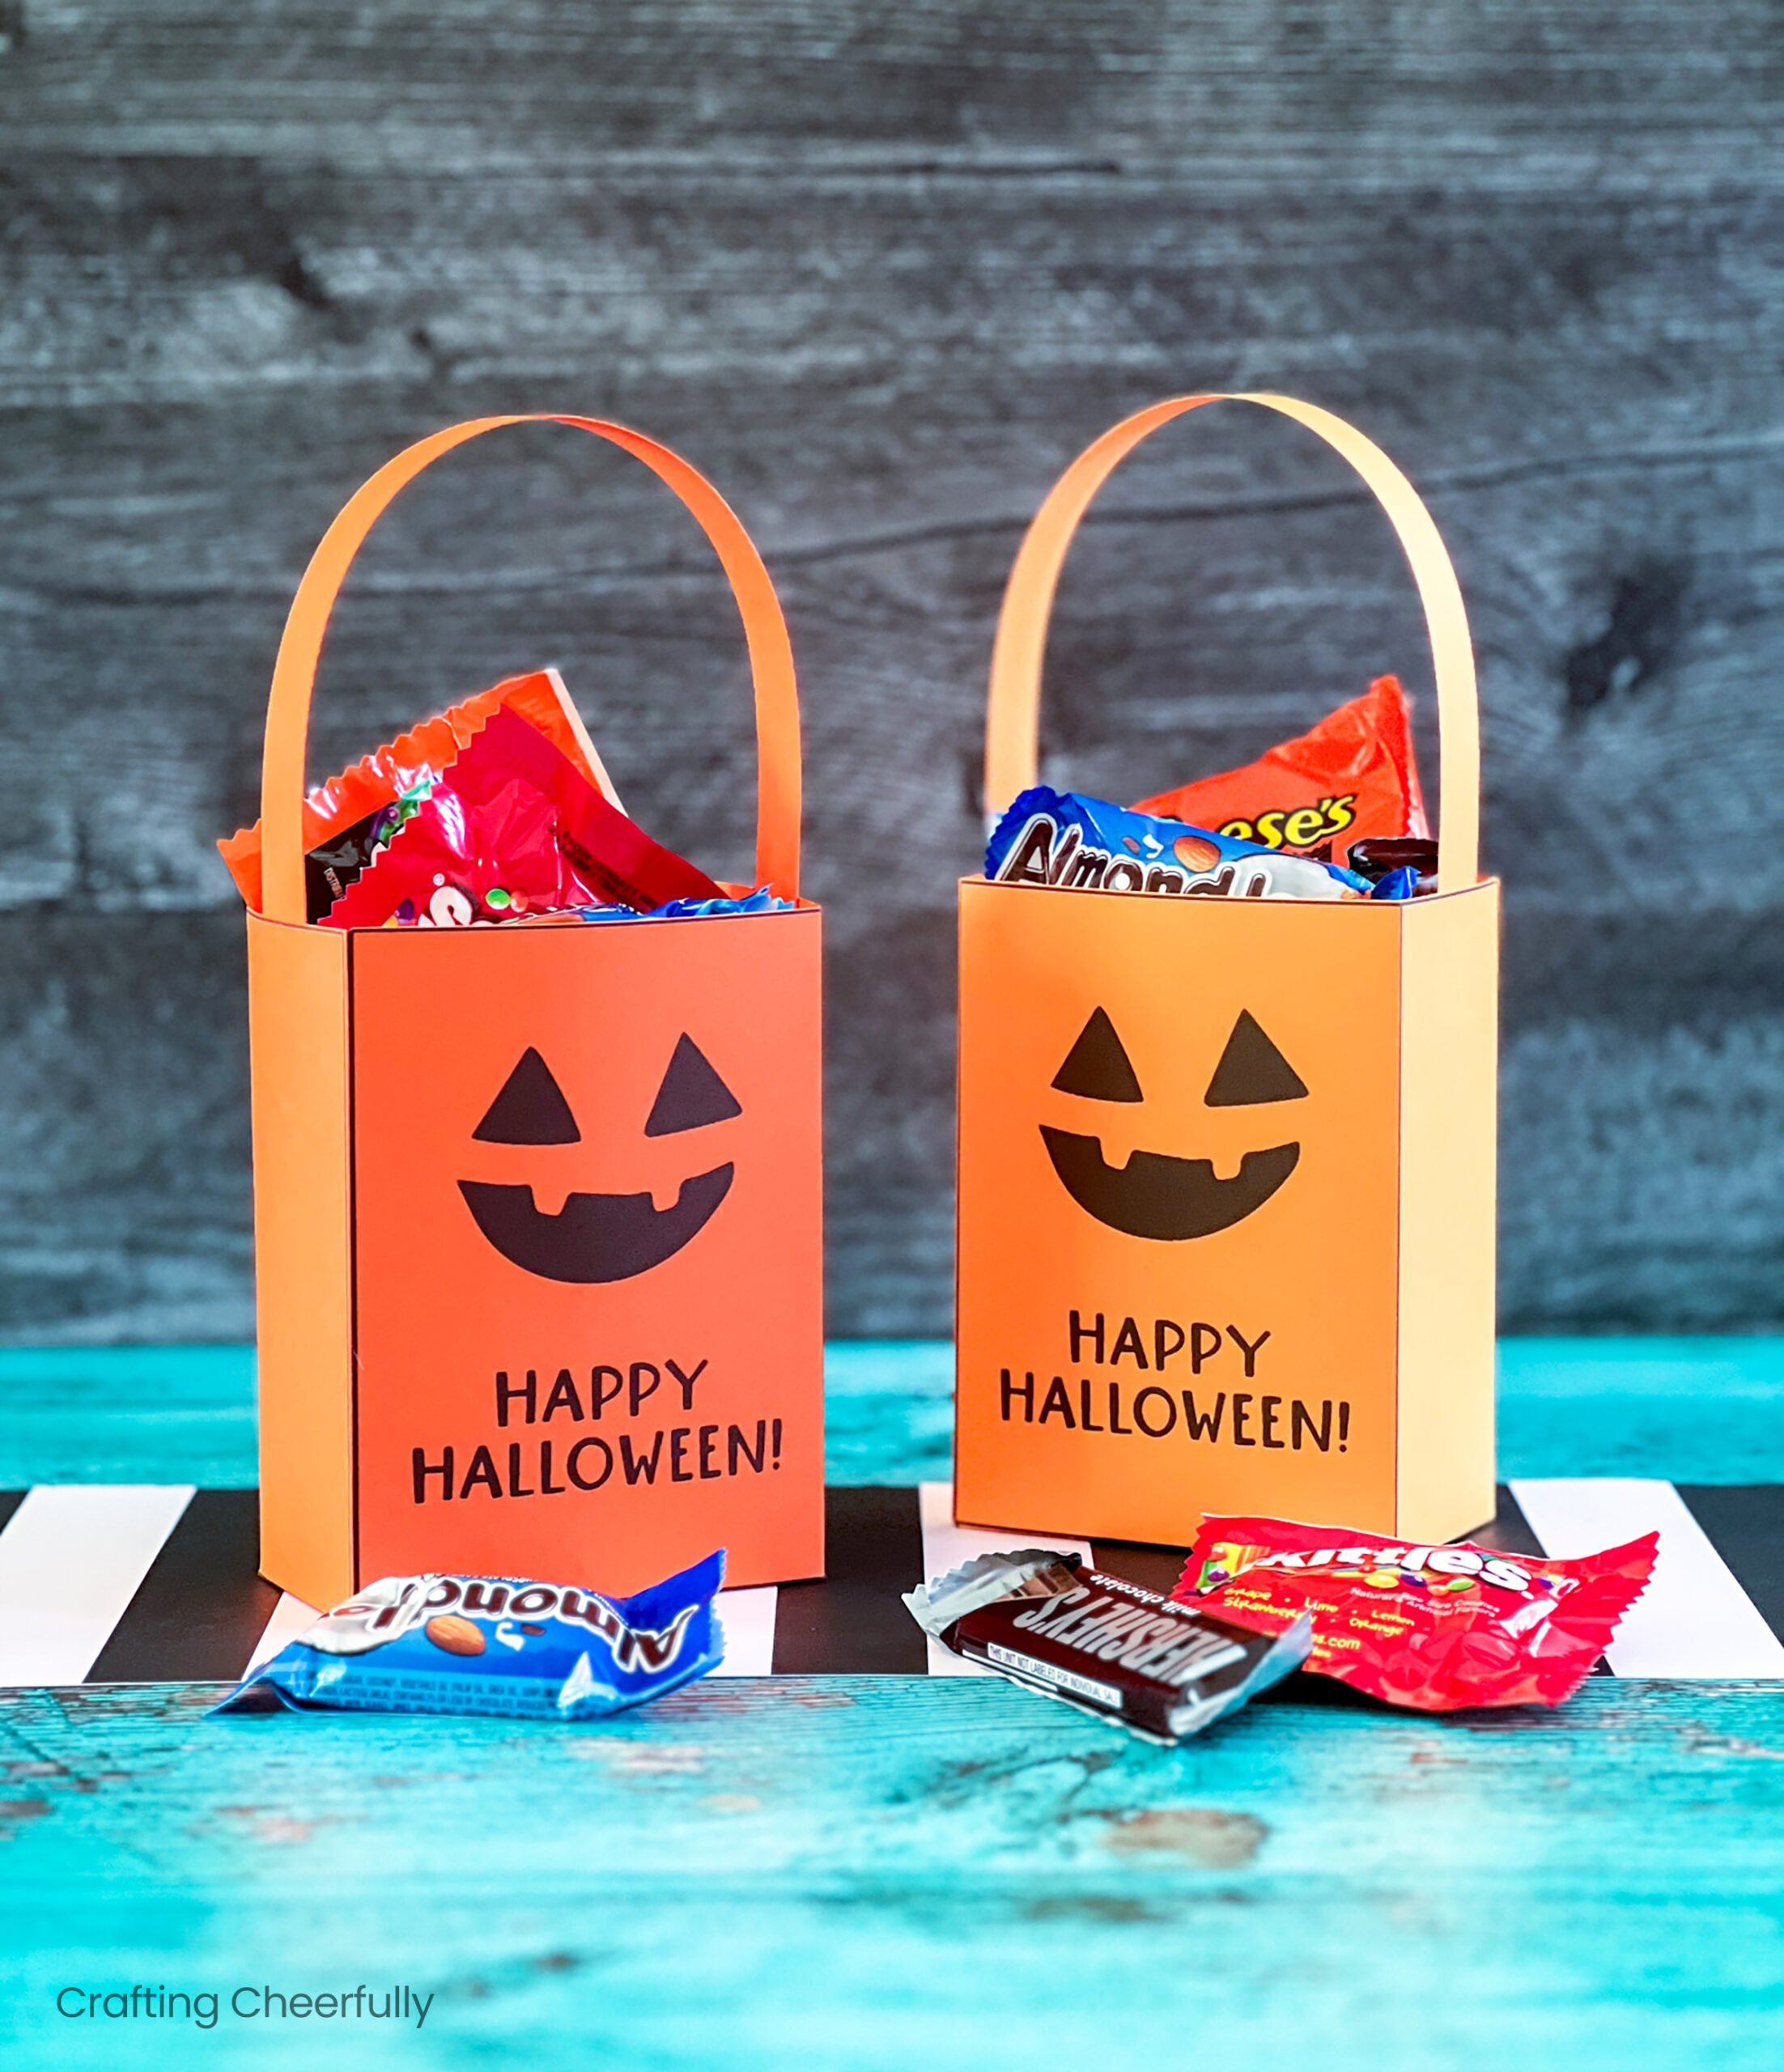
Hello Crafty Friends! Spooky season is here and with it comes another treat box tutorial – this time for making pumpkin treat boxes! I love creating treat boxes for Halloween and these cute boxes come together quickly and only take a few supplies. The free treat box printables are designed to be printed directly on orange cardstock. Once printed, you can cut them out, fold and tape them together and they are ready to be filled with Halloween goodies!
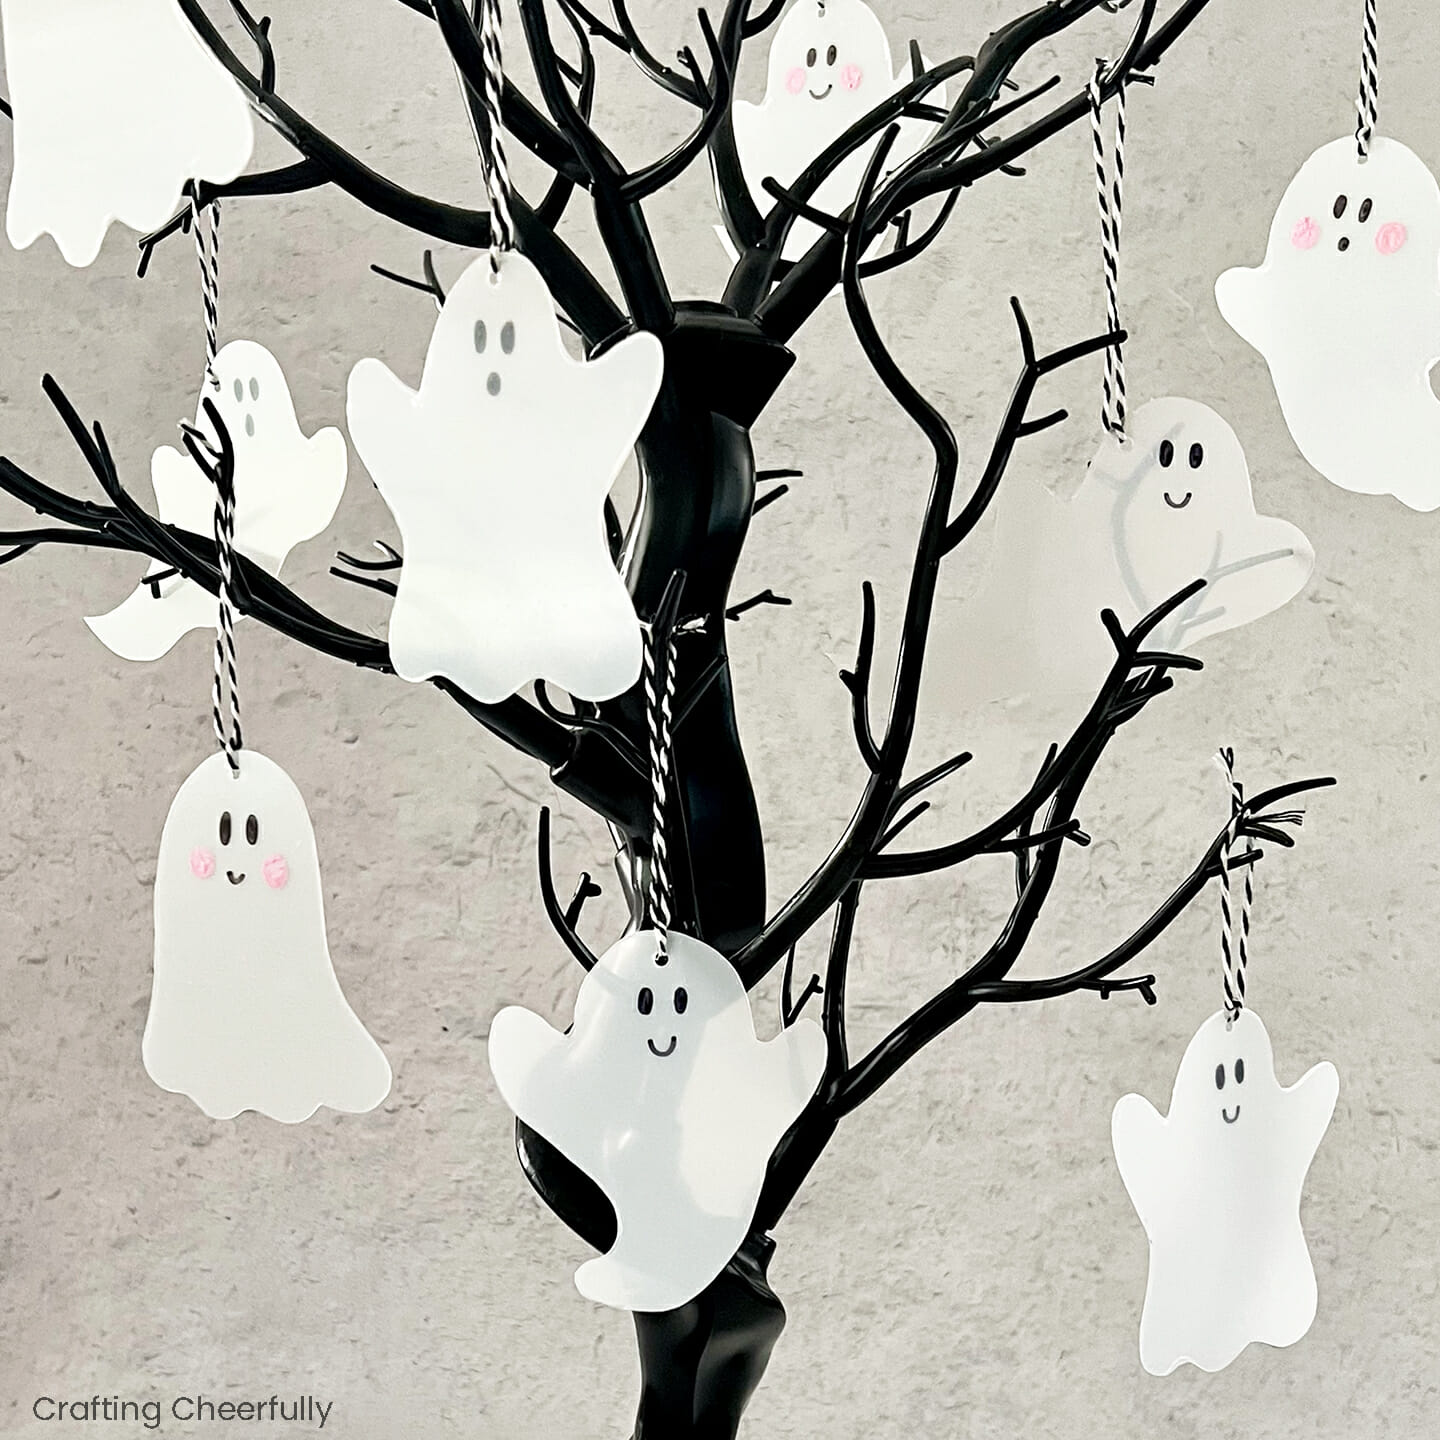
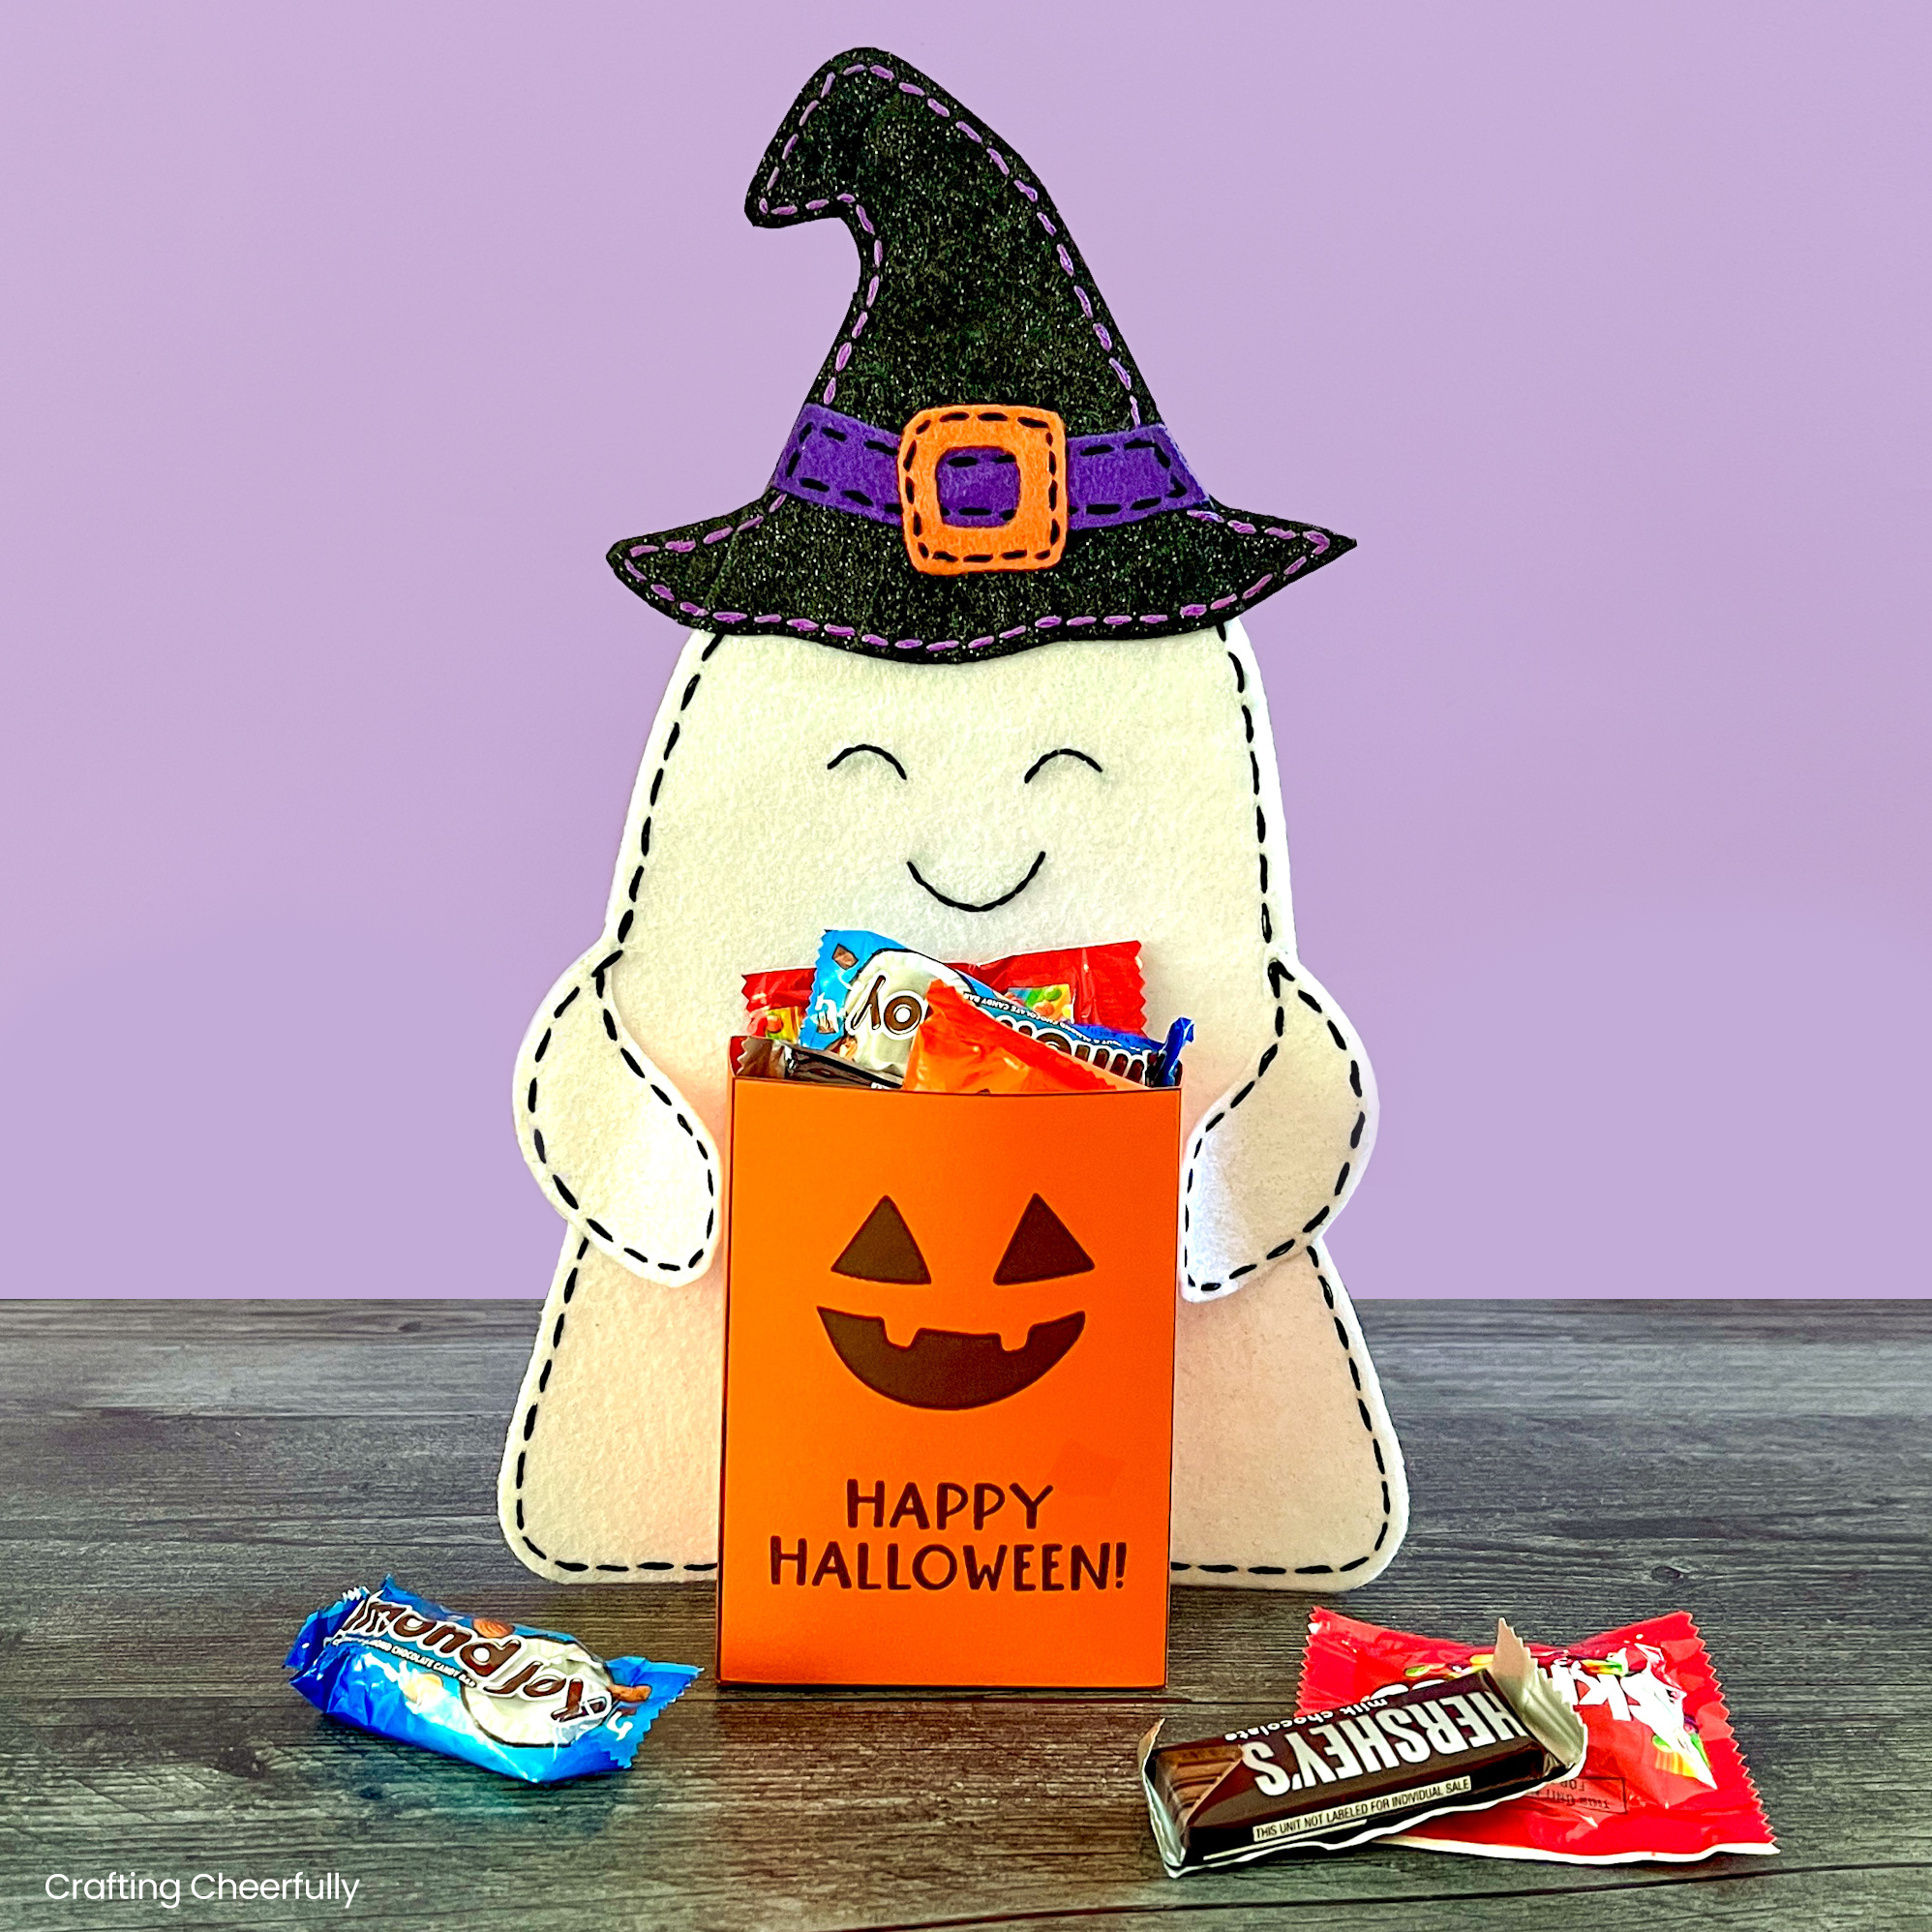
I used this cute Halloween treat box in my Felt Ghost Candy Holder craft! The friendly ghost is a fun way to set out candy for the Halloween season!
Below is the step-by-step tutorial for creating the pumpkin treat boxes.
DIY Pumpkin Treat Boxes
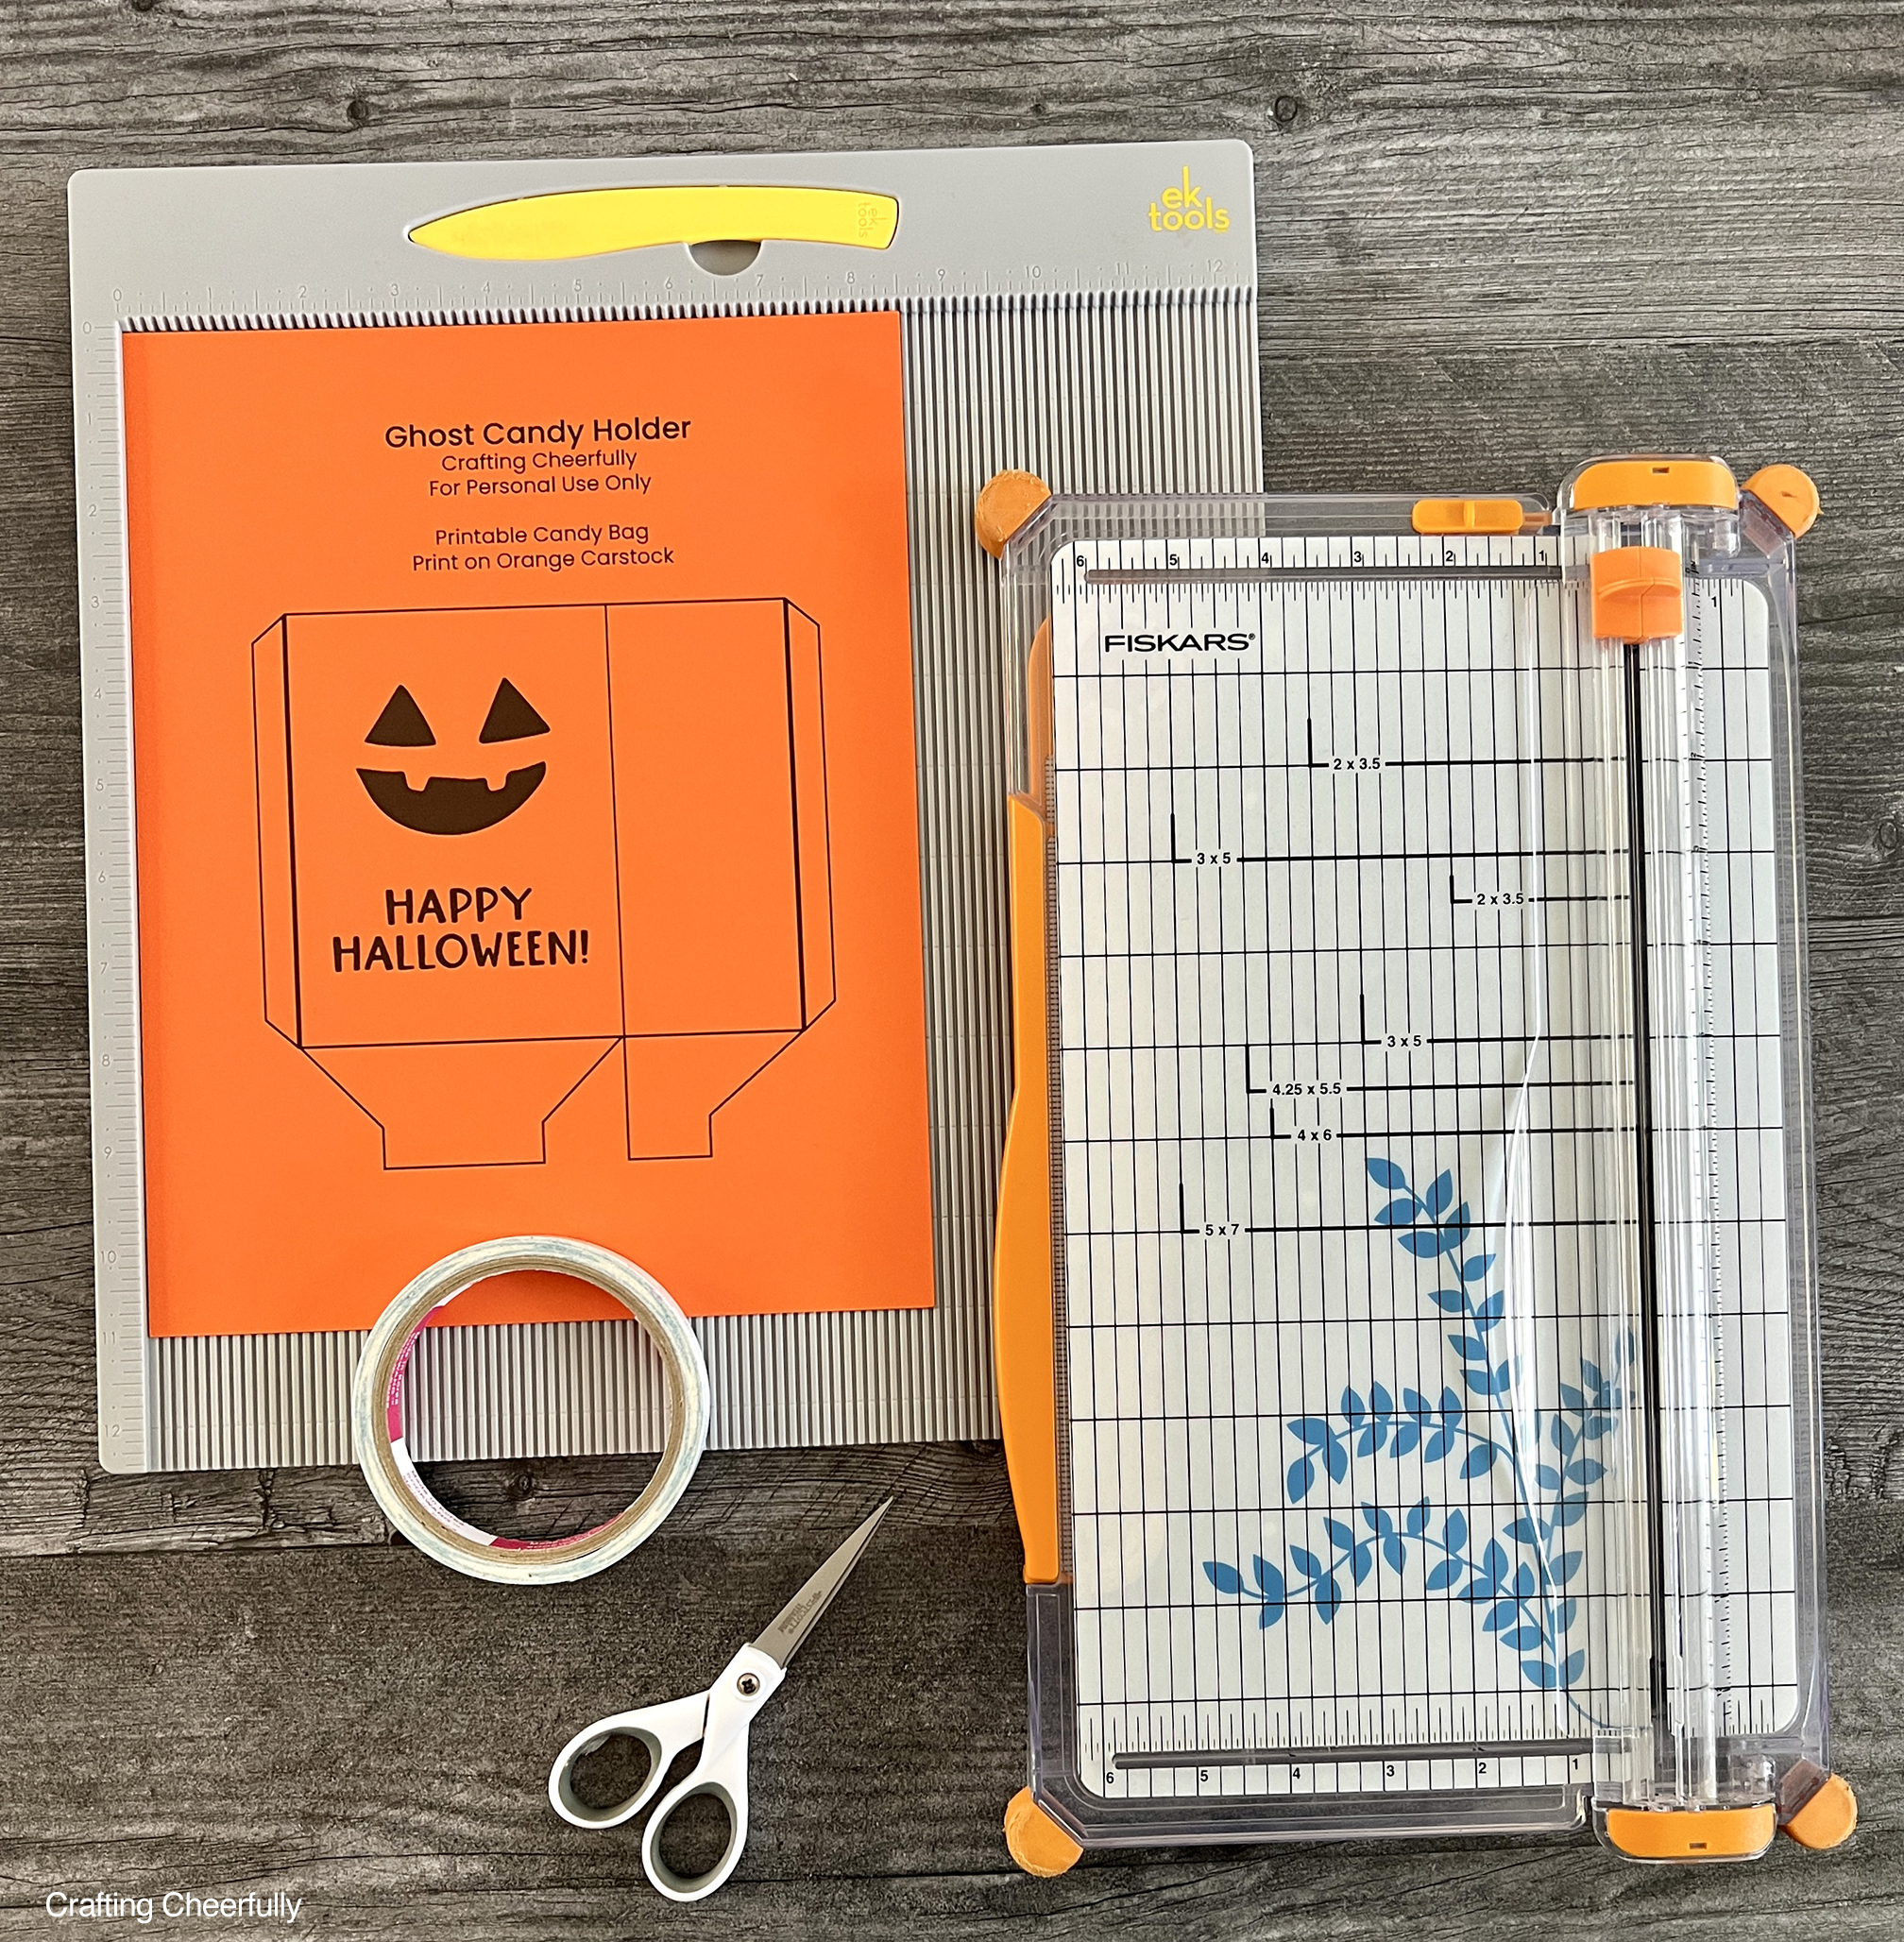
Supplies Needed:
-
- Free Printable – Grab the free file by filling out the purple form towards the end of this post.
- 65lb Orange cardstock – two sheets of 8.5″ x 11″
- Double-Sided Tape
- Paper Trimmer and/or paper scissors
- Scoring board
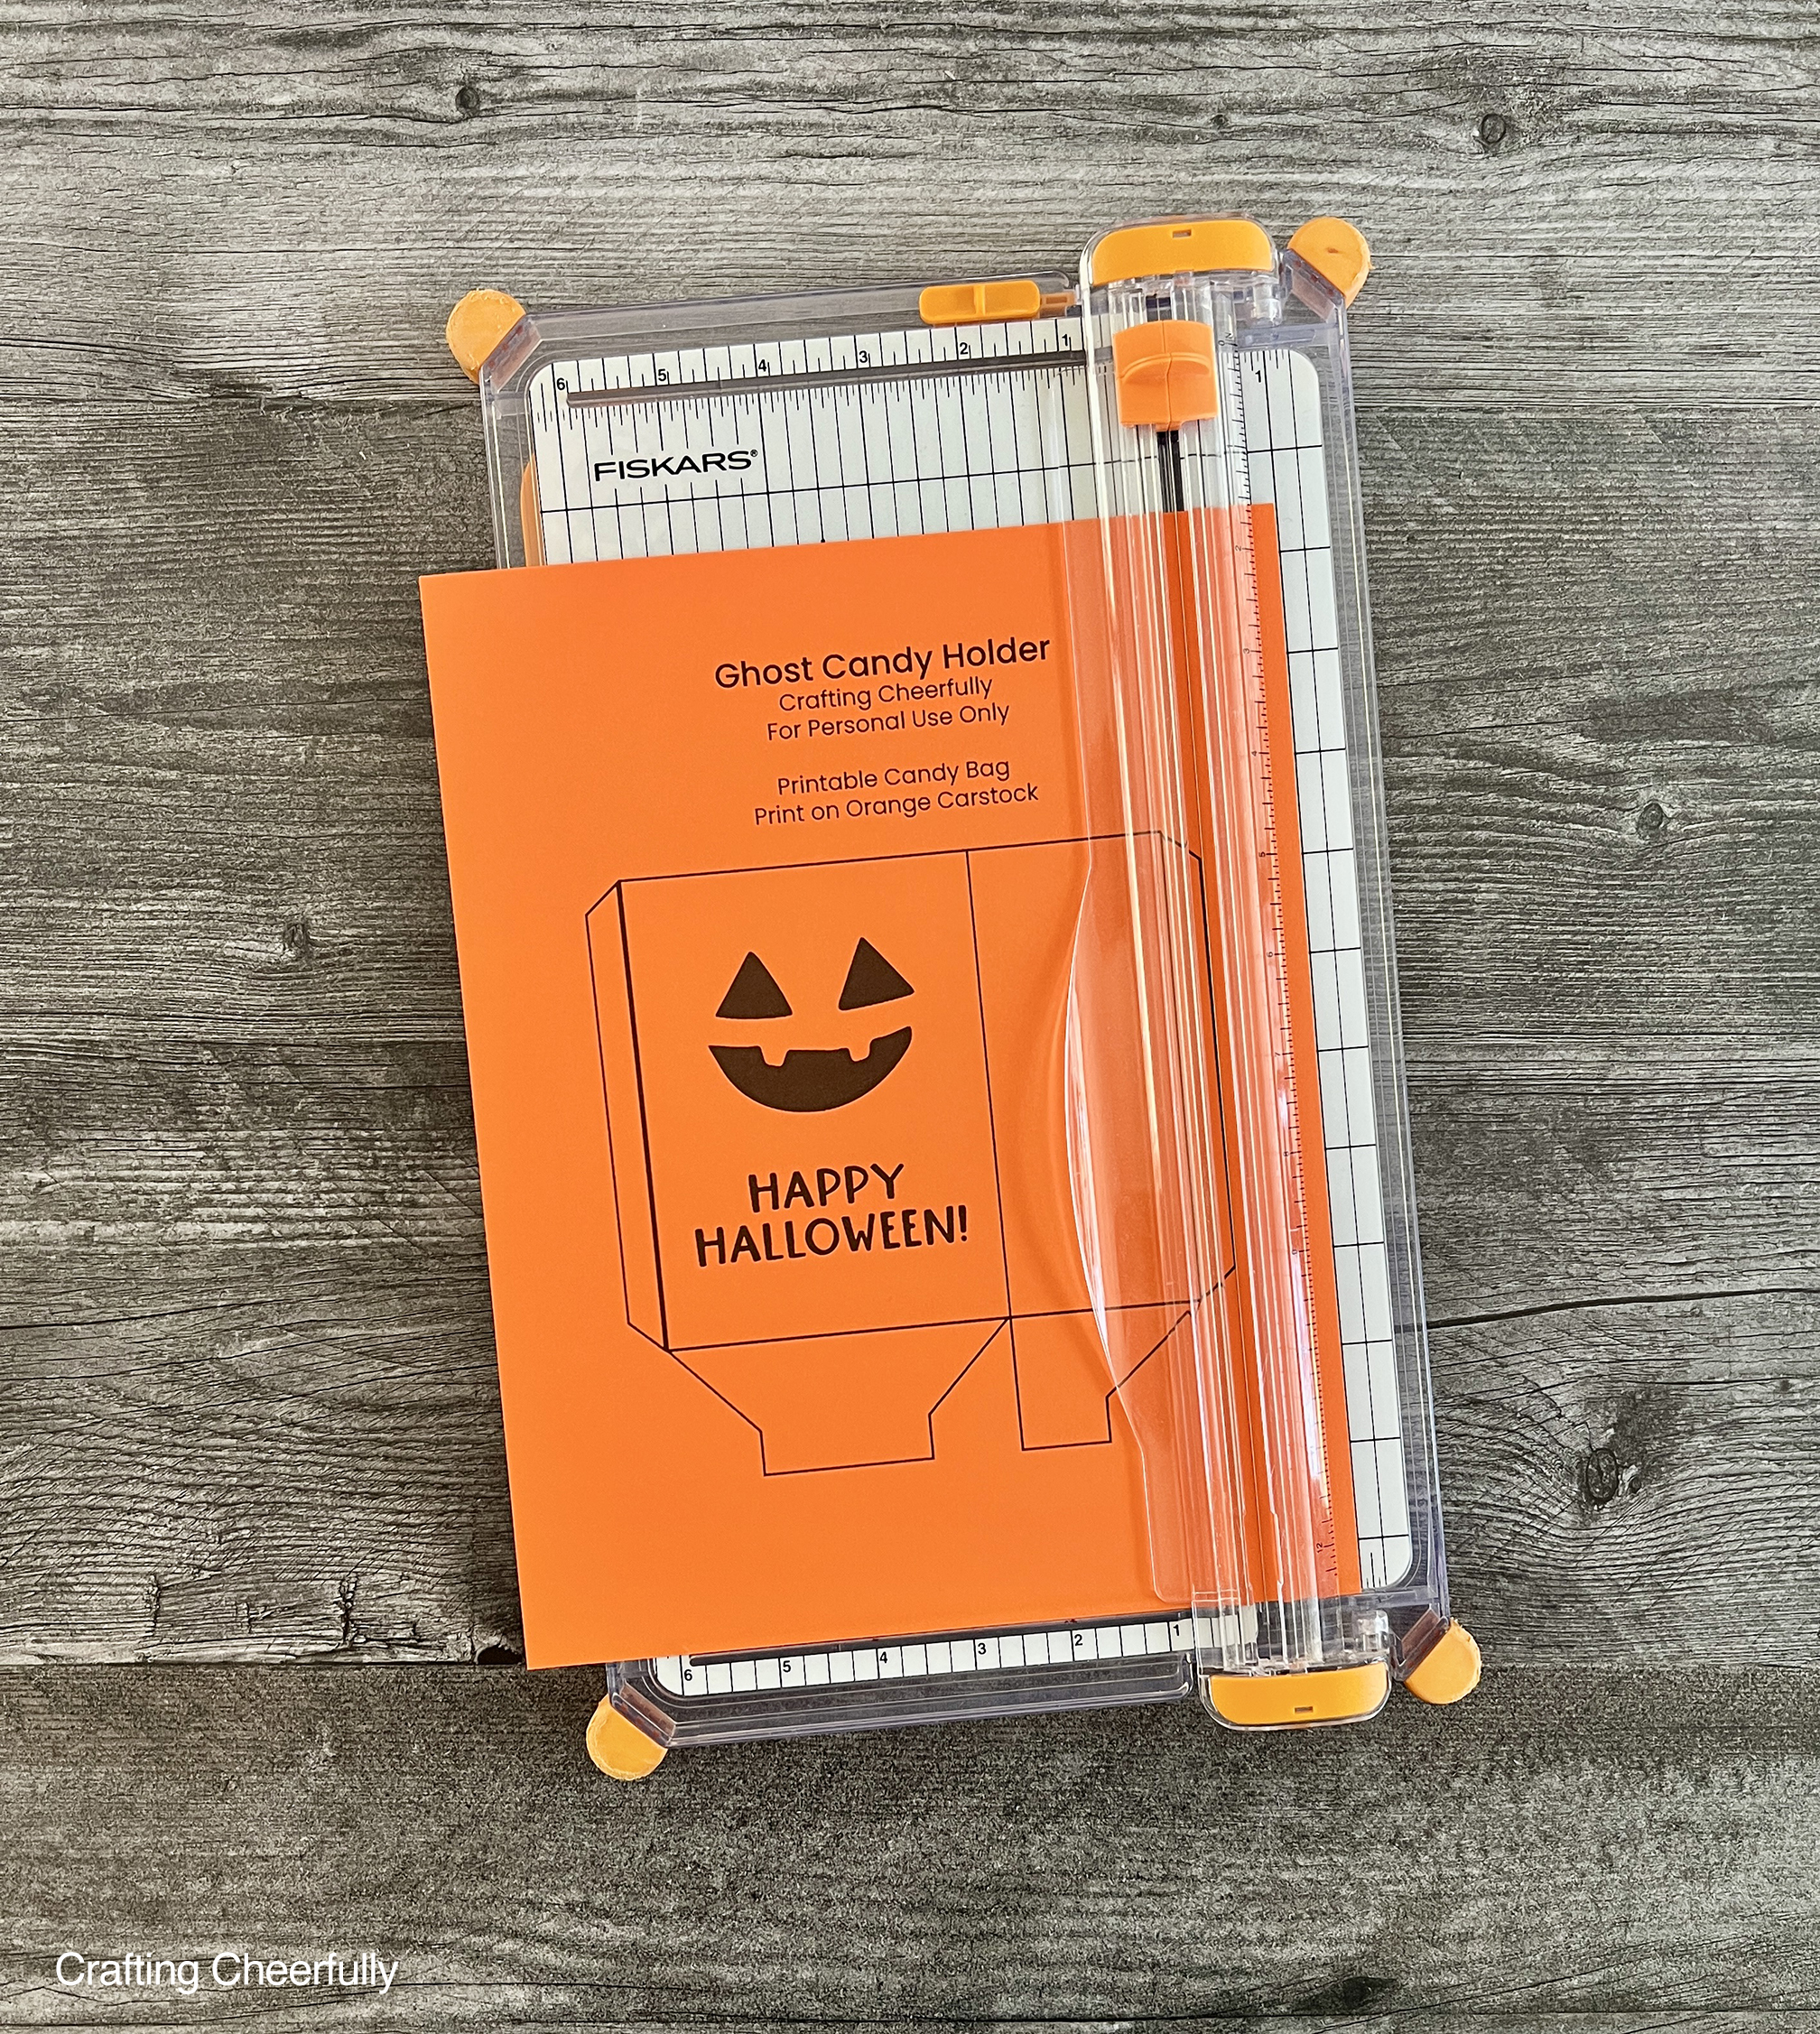
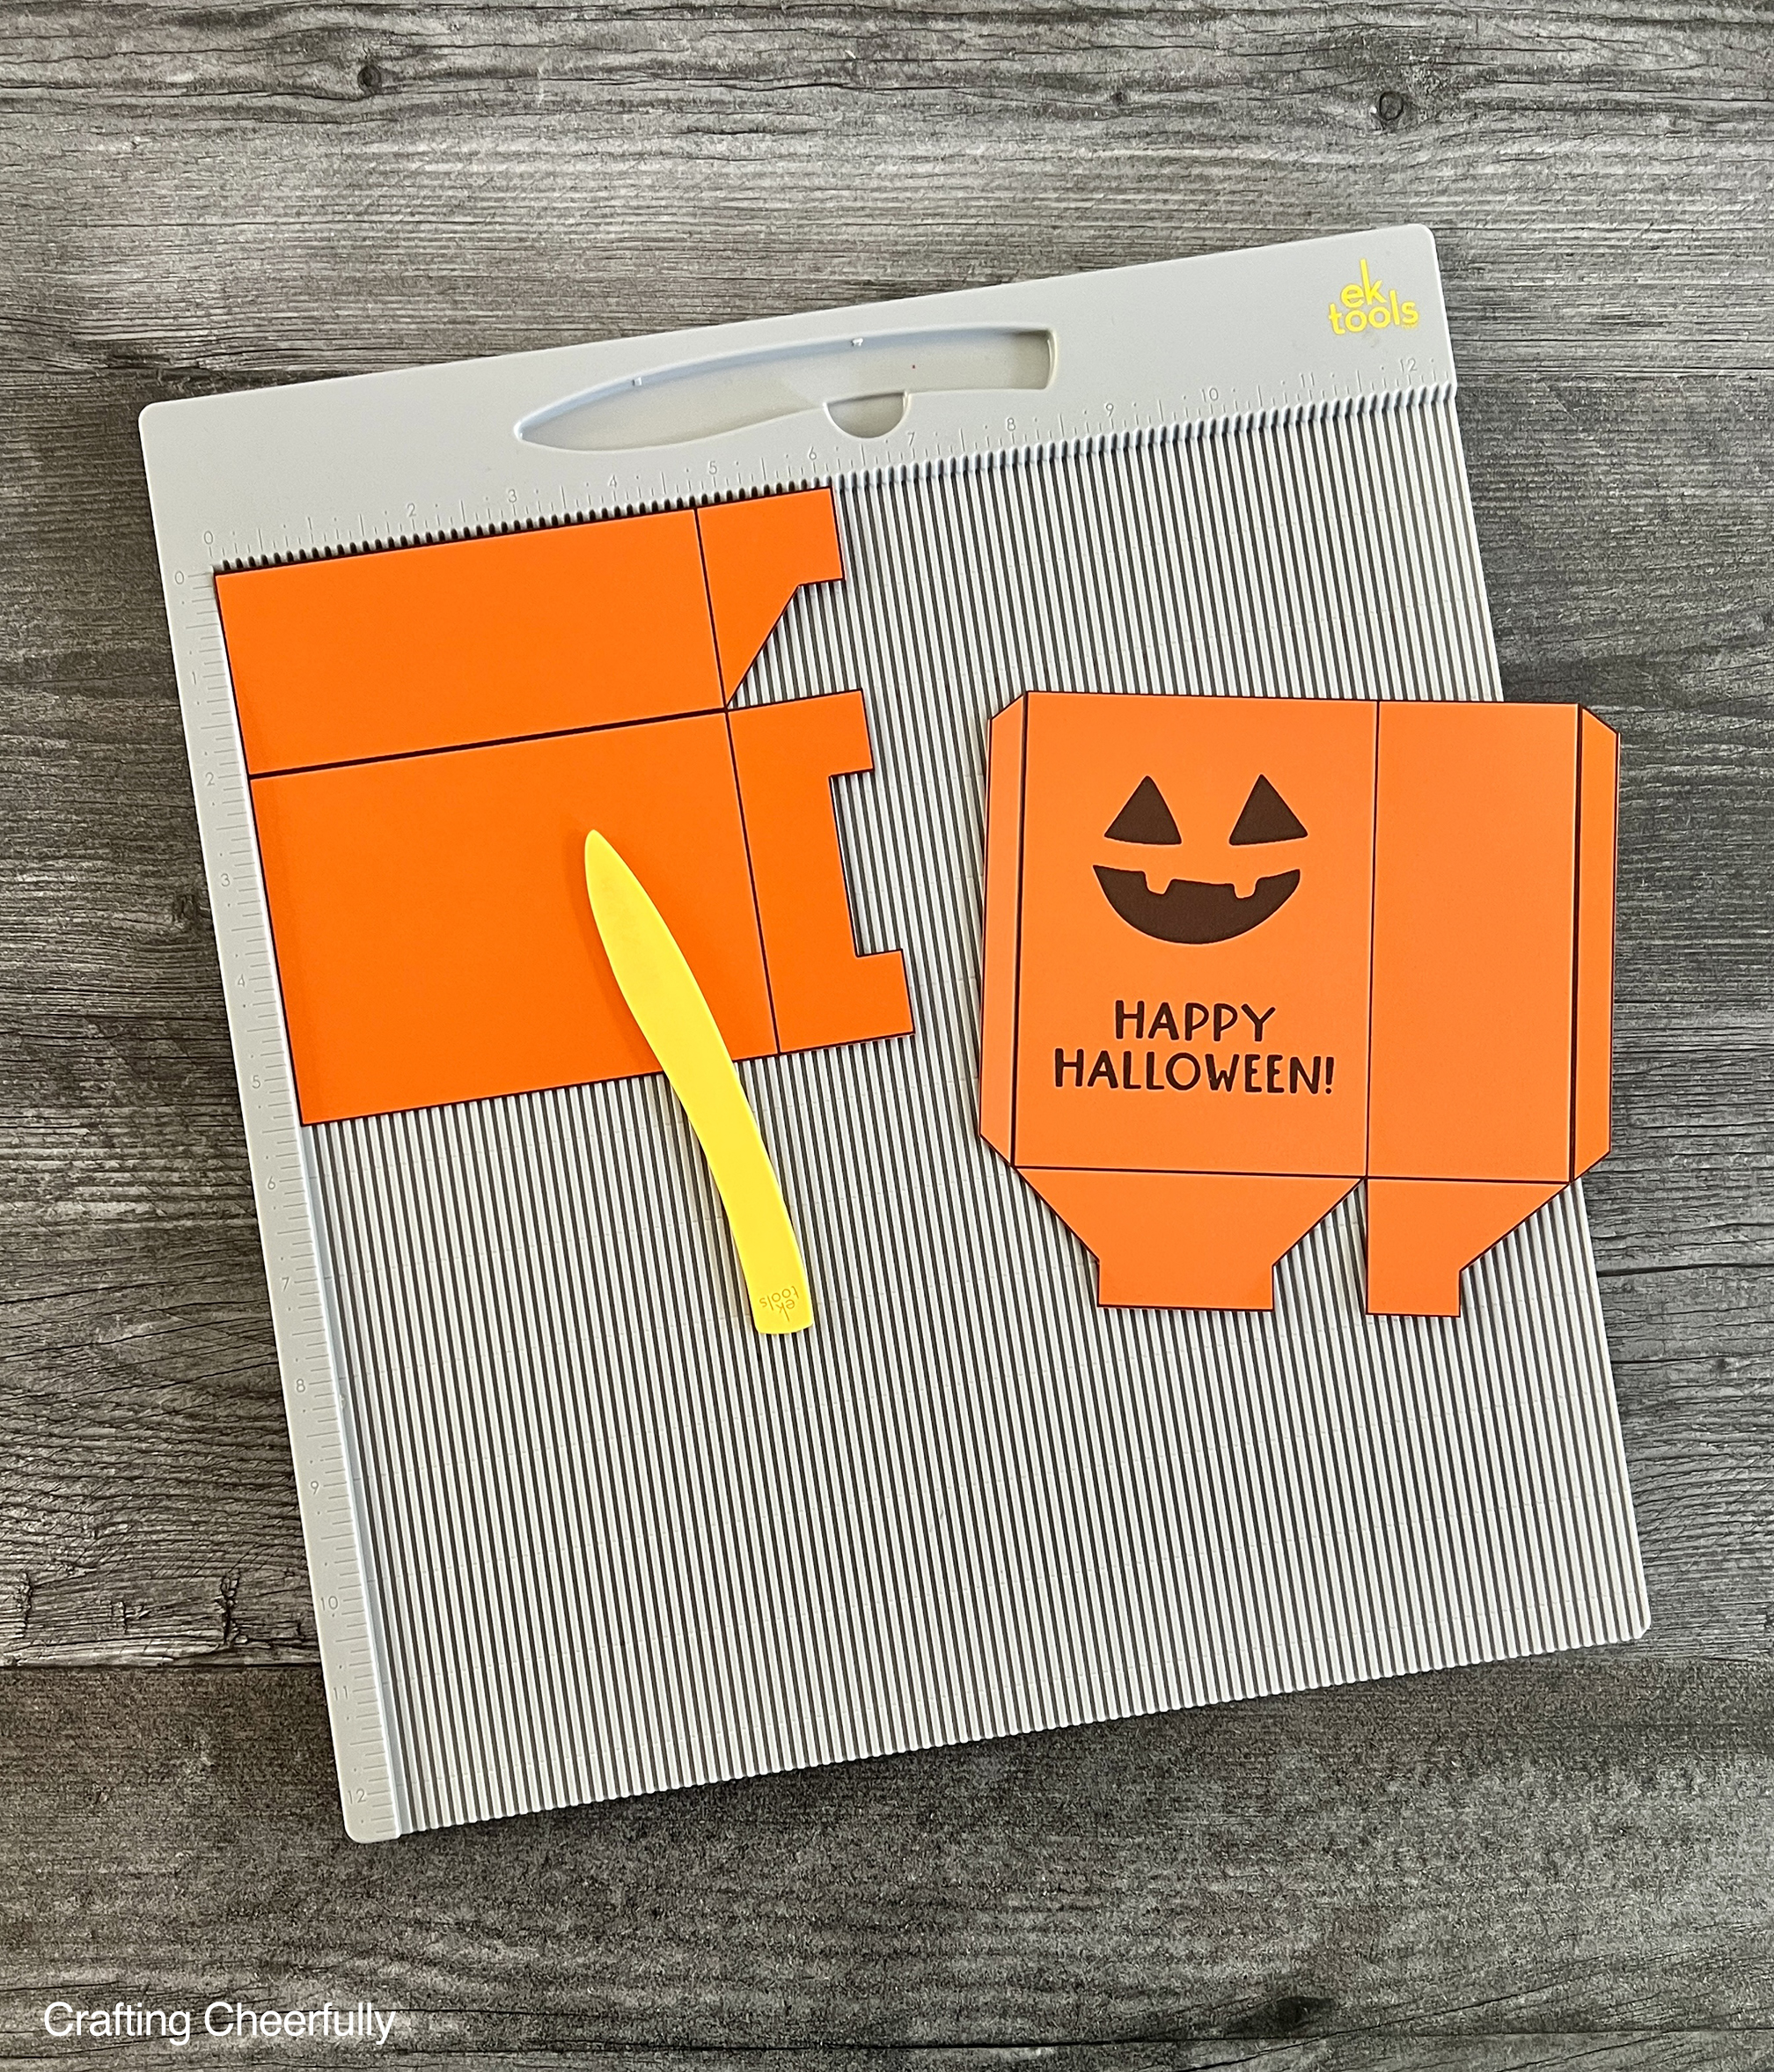
Step One: Cut out the treat box pieces.
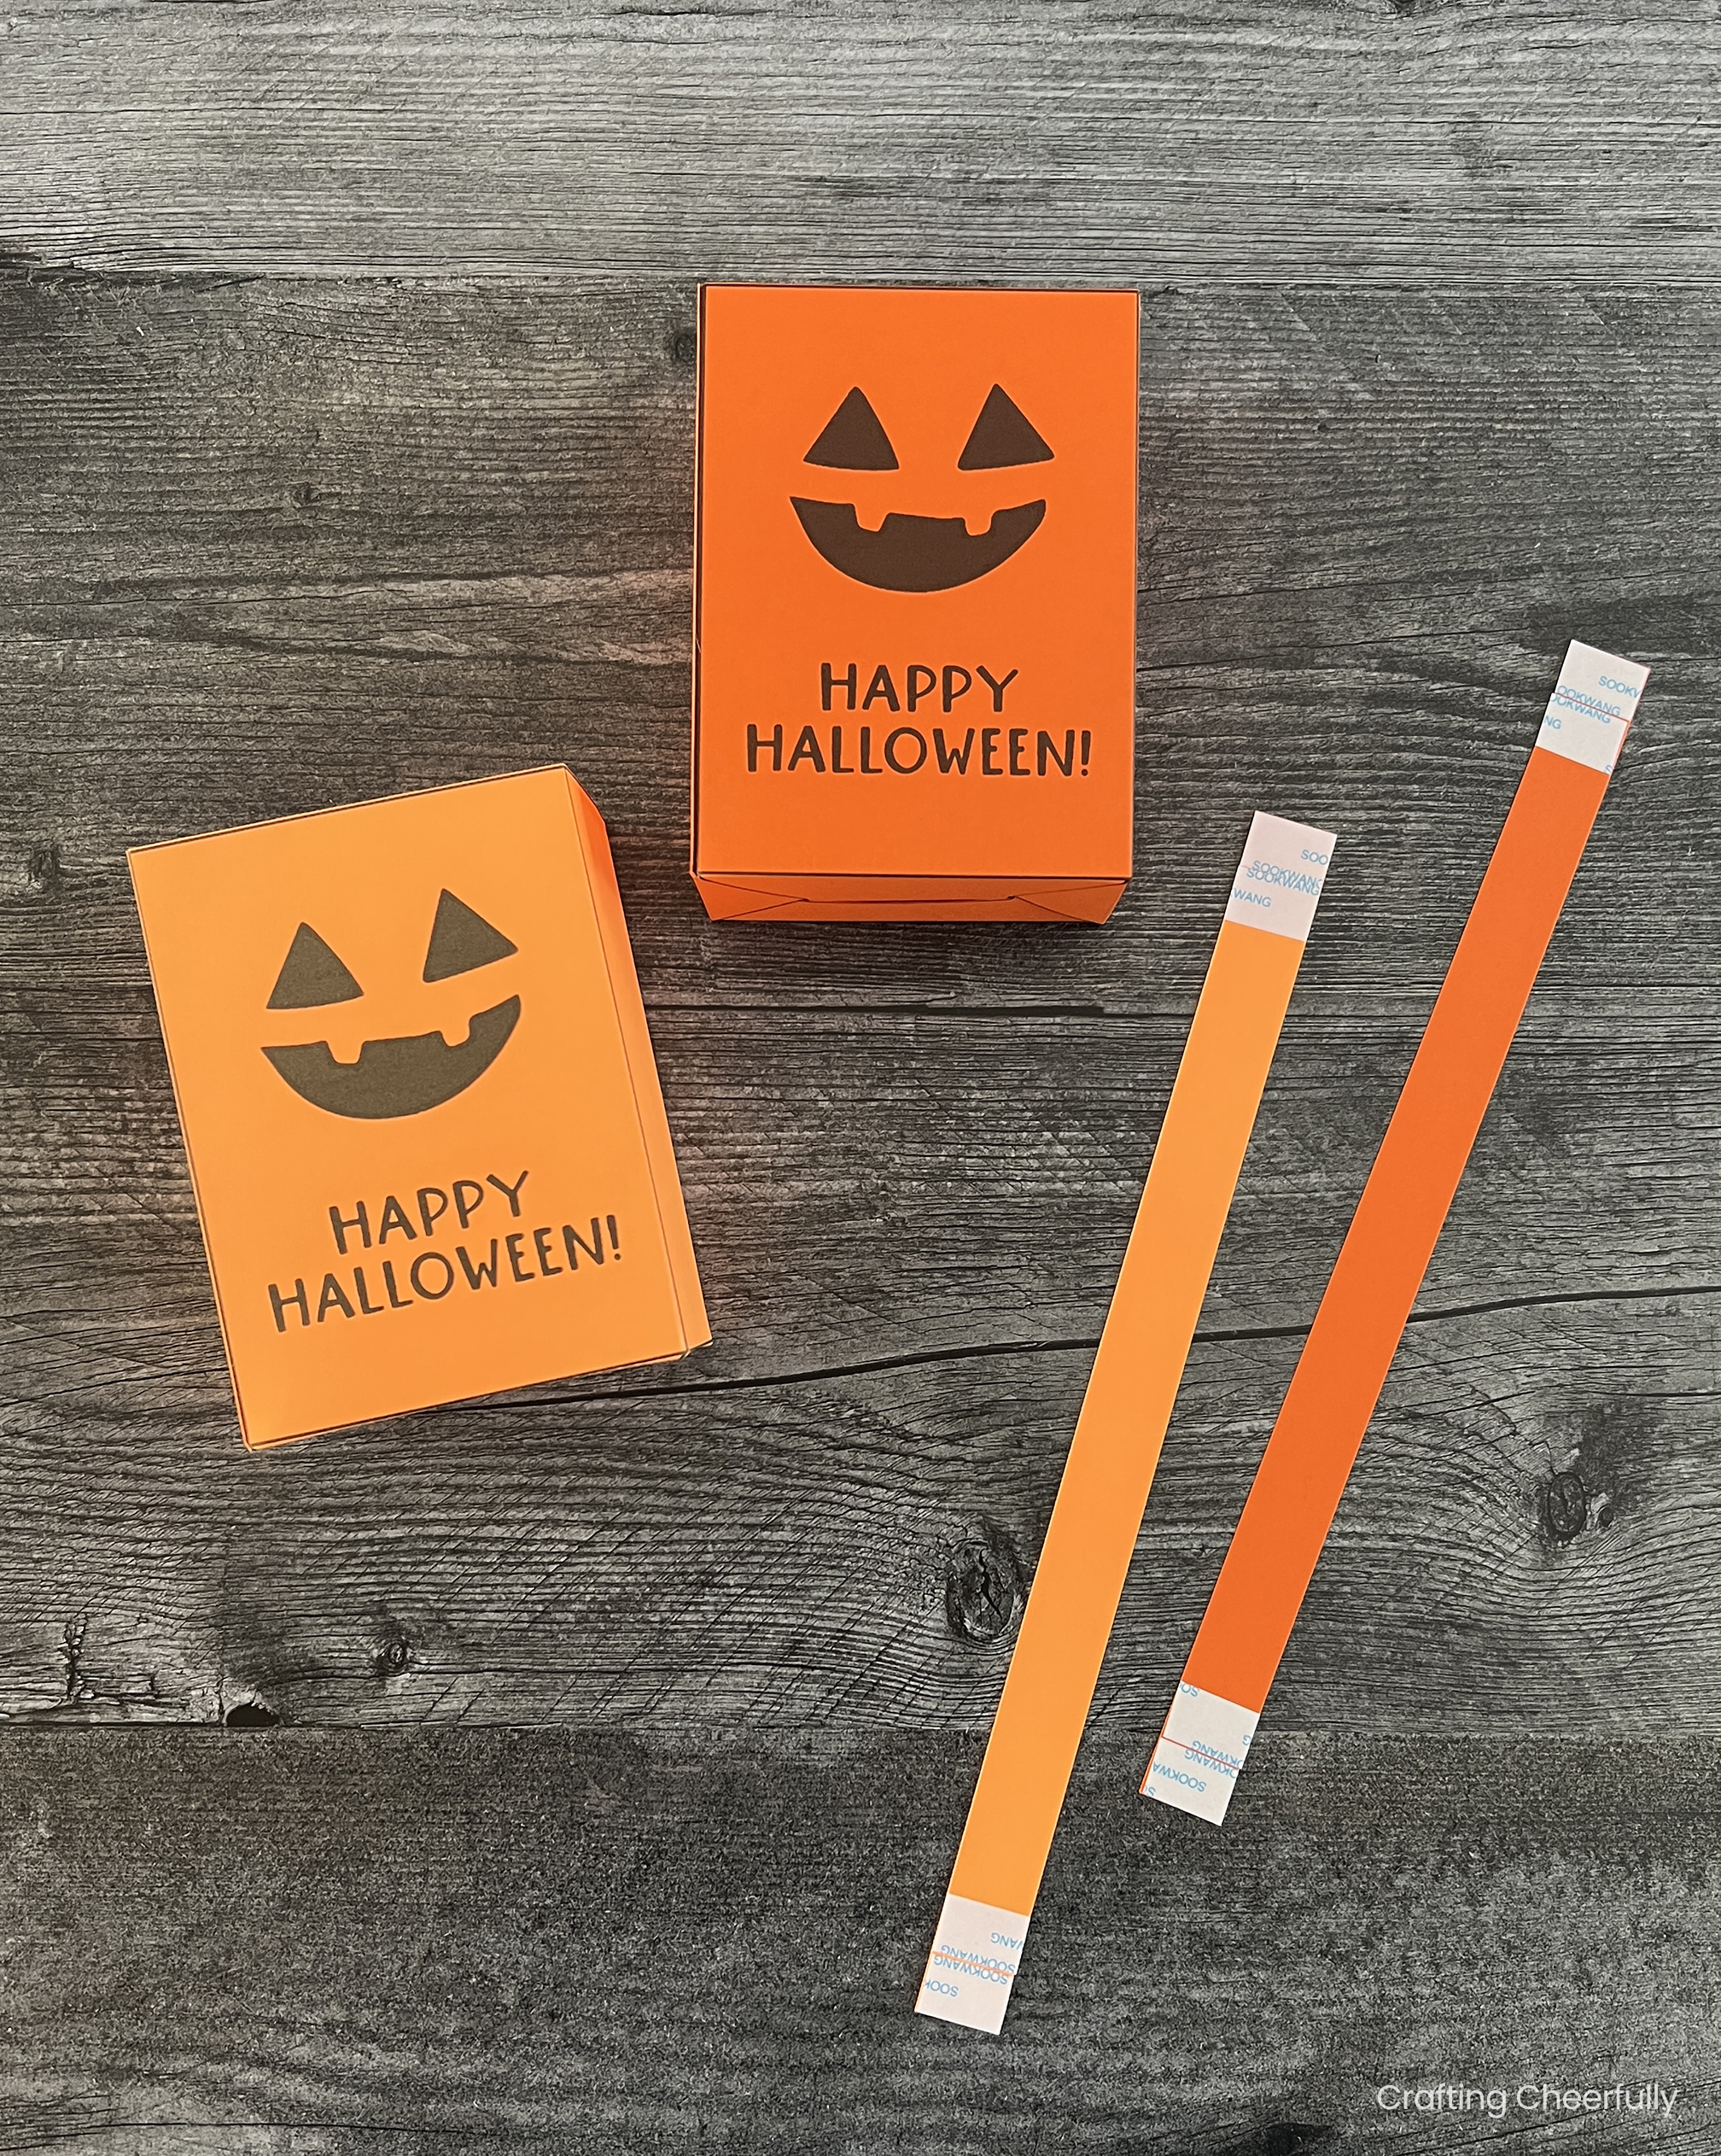
Use a paper trimmer and scissors to cut out the two treat box pieces. Also cut a strip of paper that measures 3/4″ wide and is the length of your paper for the handle. I like to use a paper trimmer to cut along the straight edges and a small paper scissors to cut out the rest.
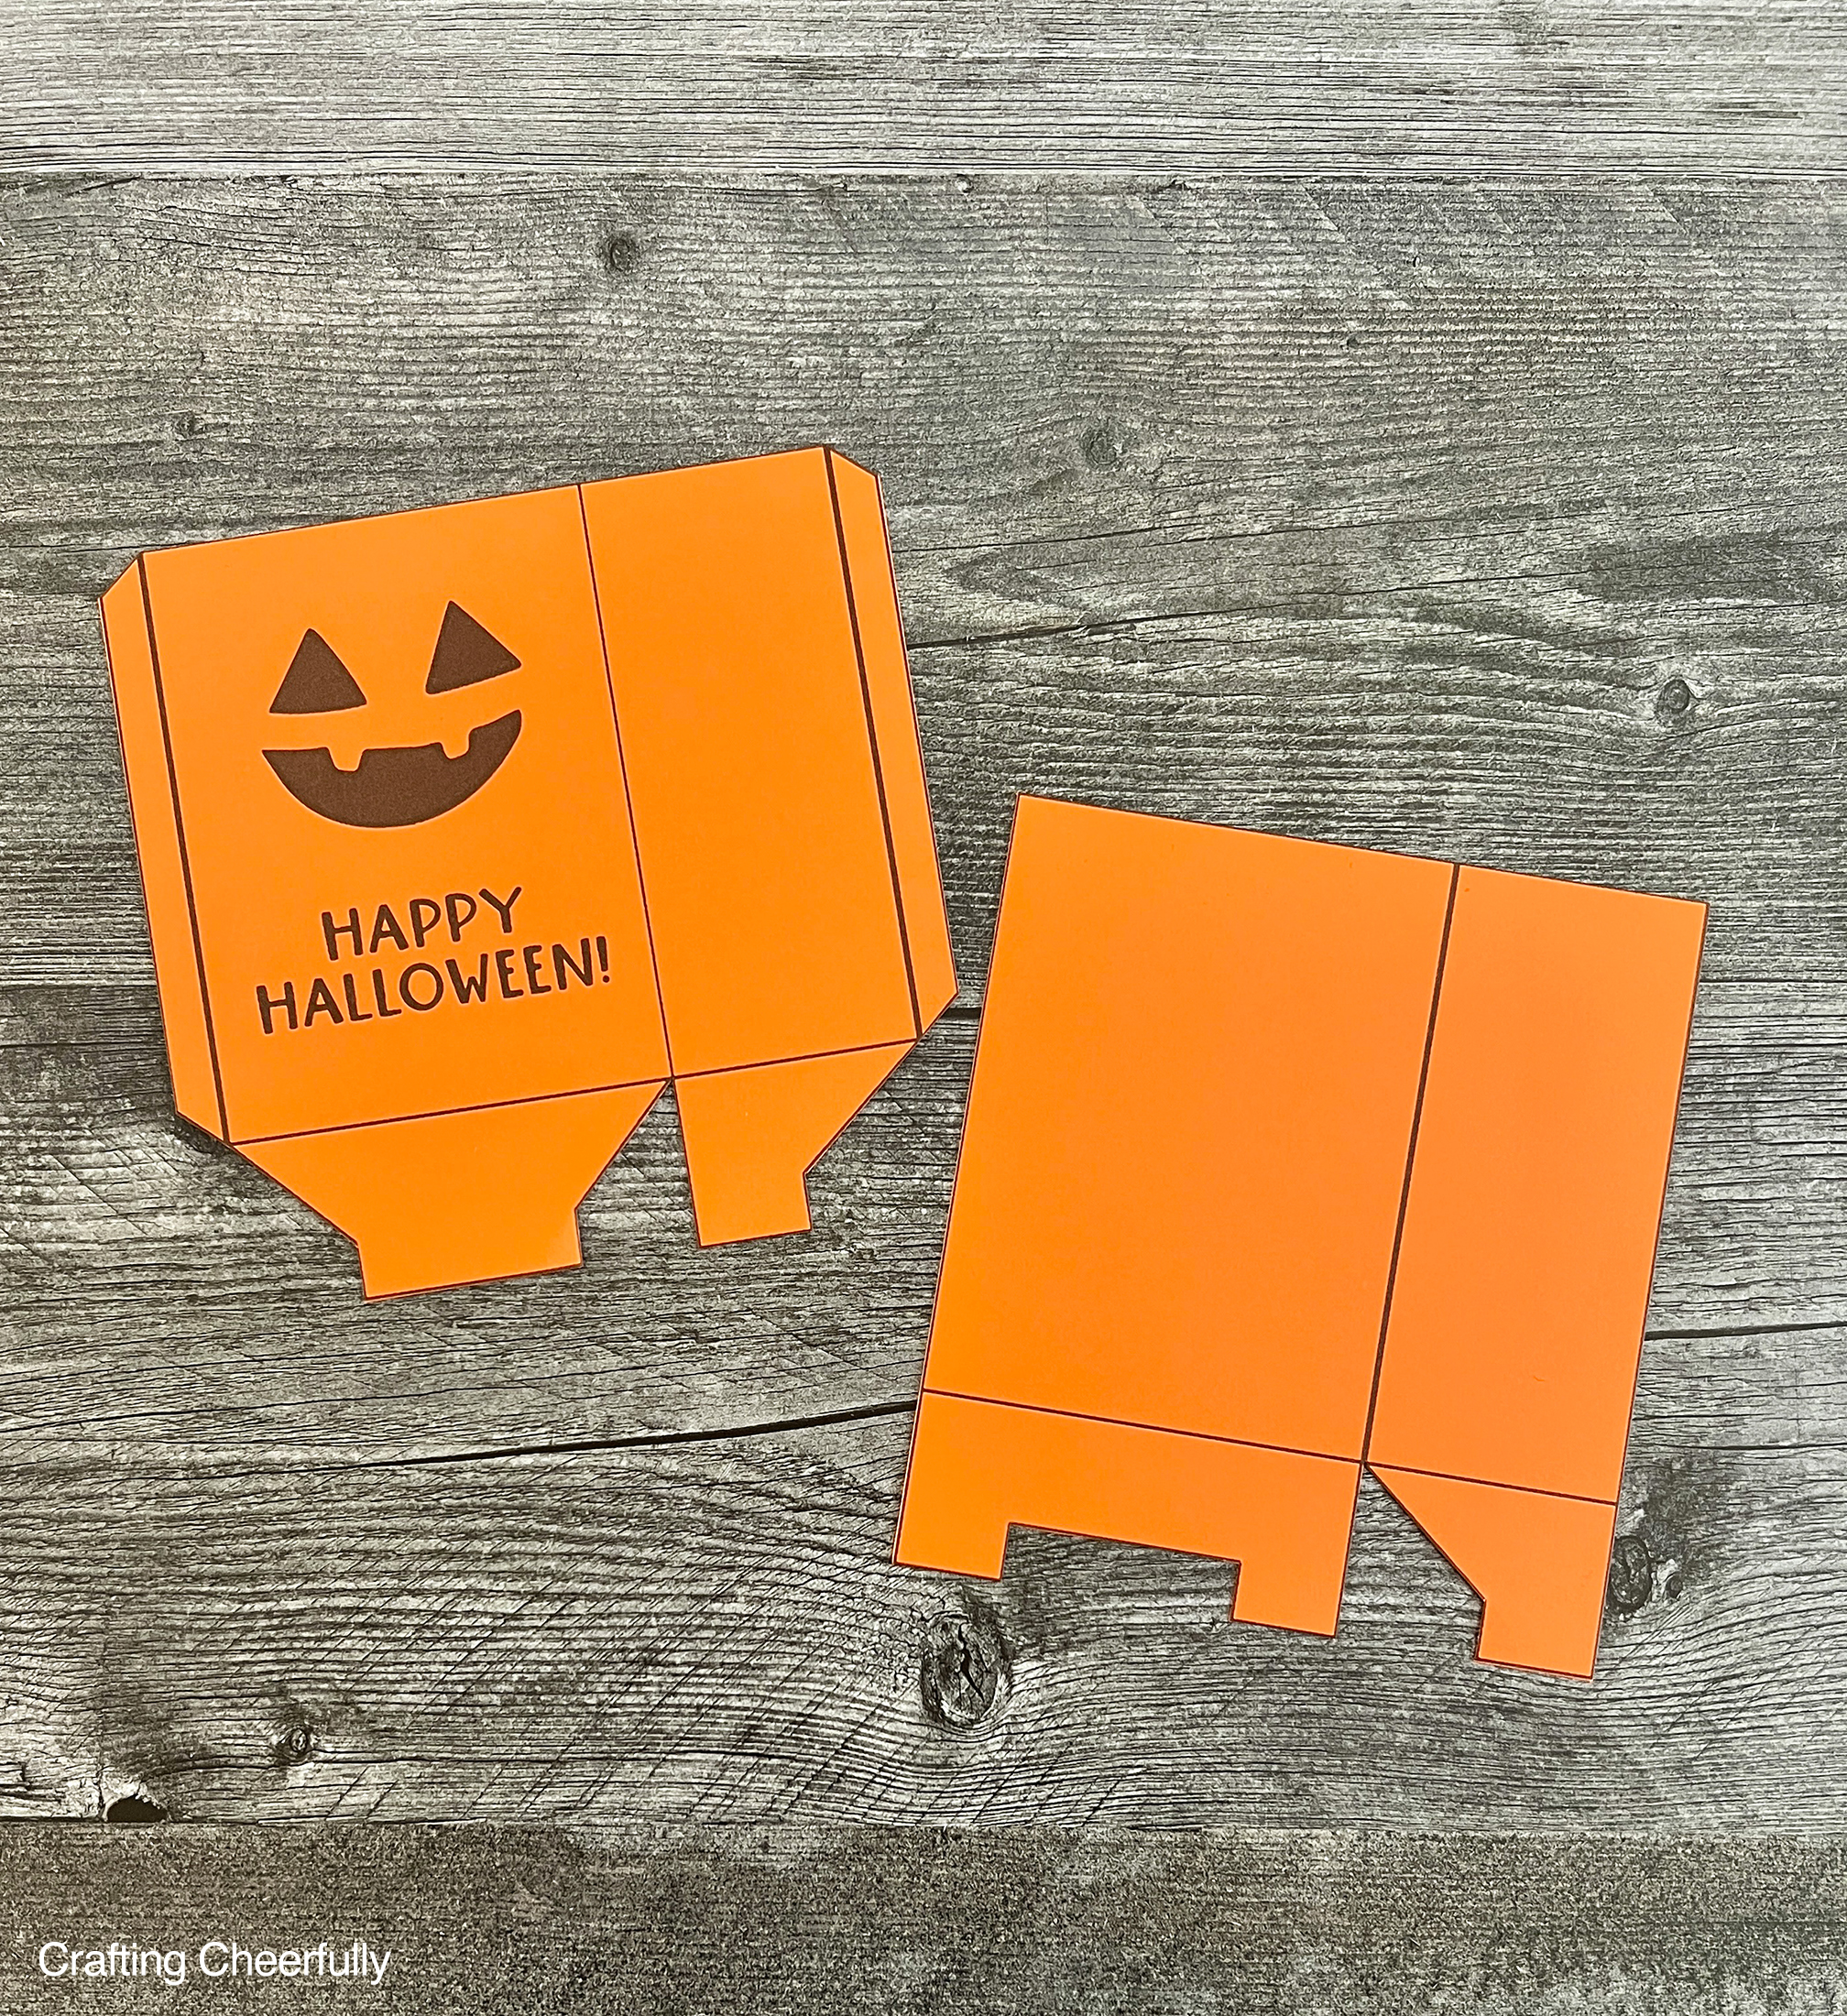
Step Two: Score the treat boxes
Use a scoring board and stylus to score along the black lines on both pieces then fold along these lines.
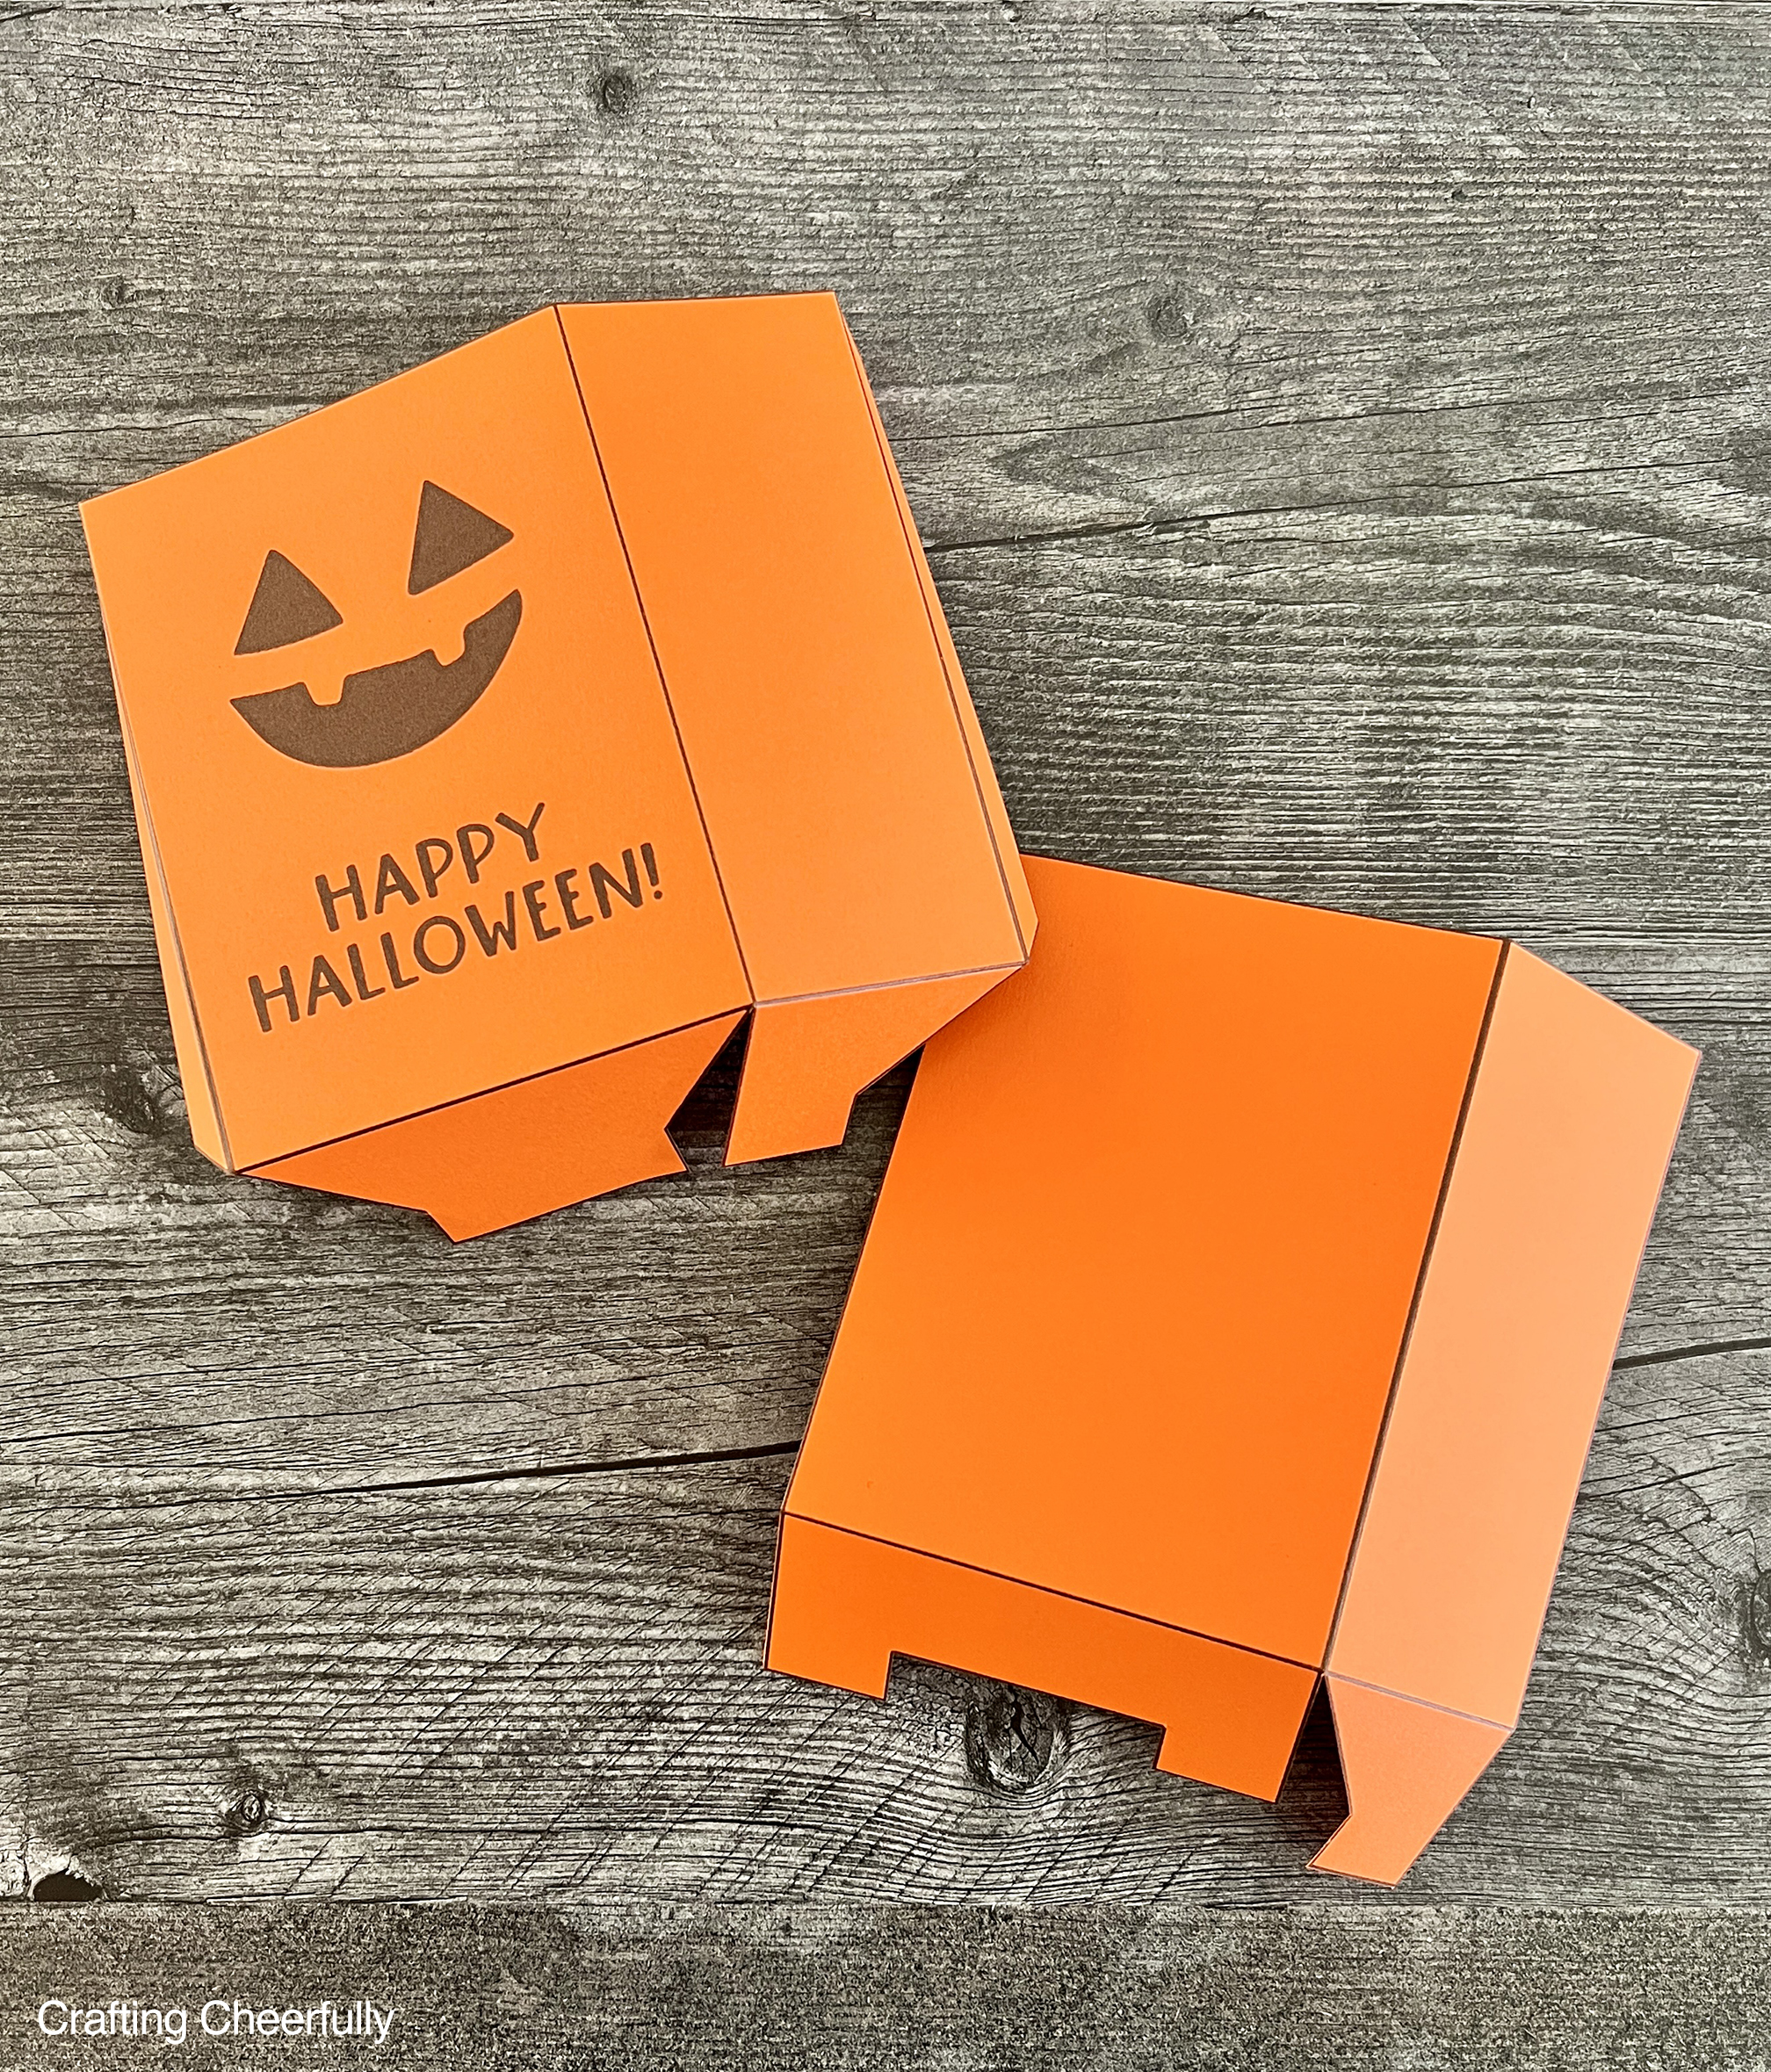
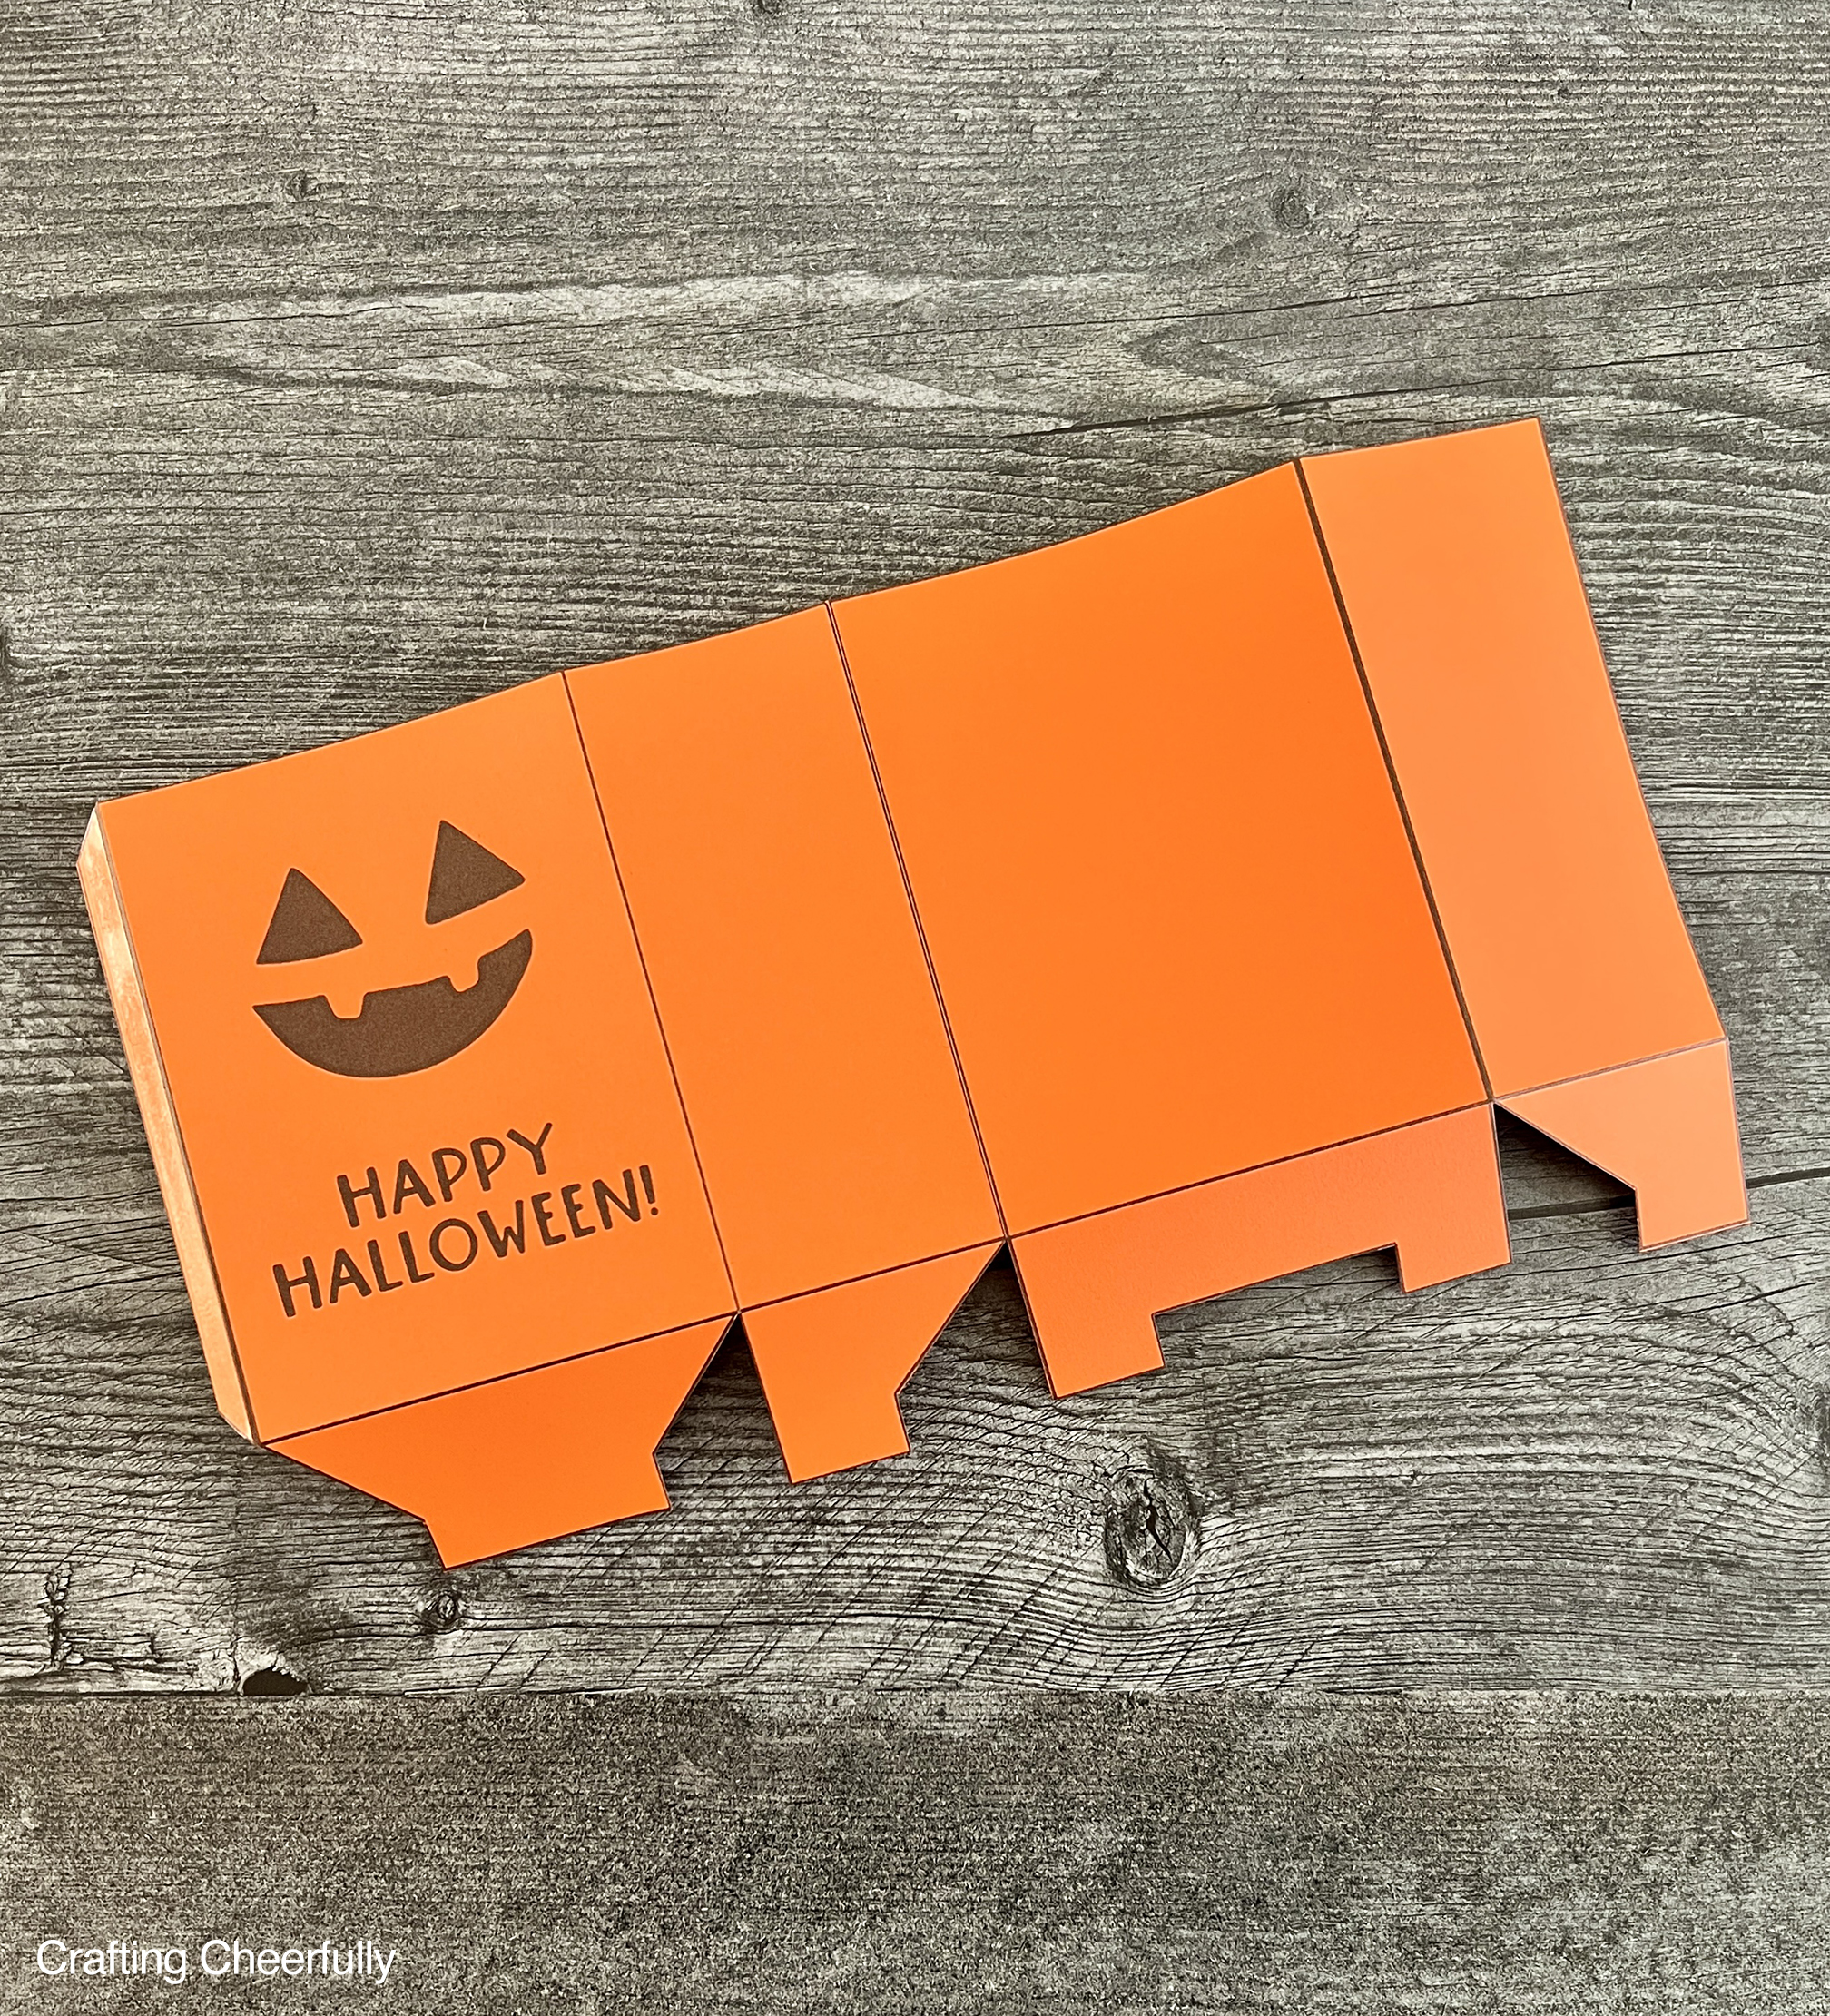
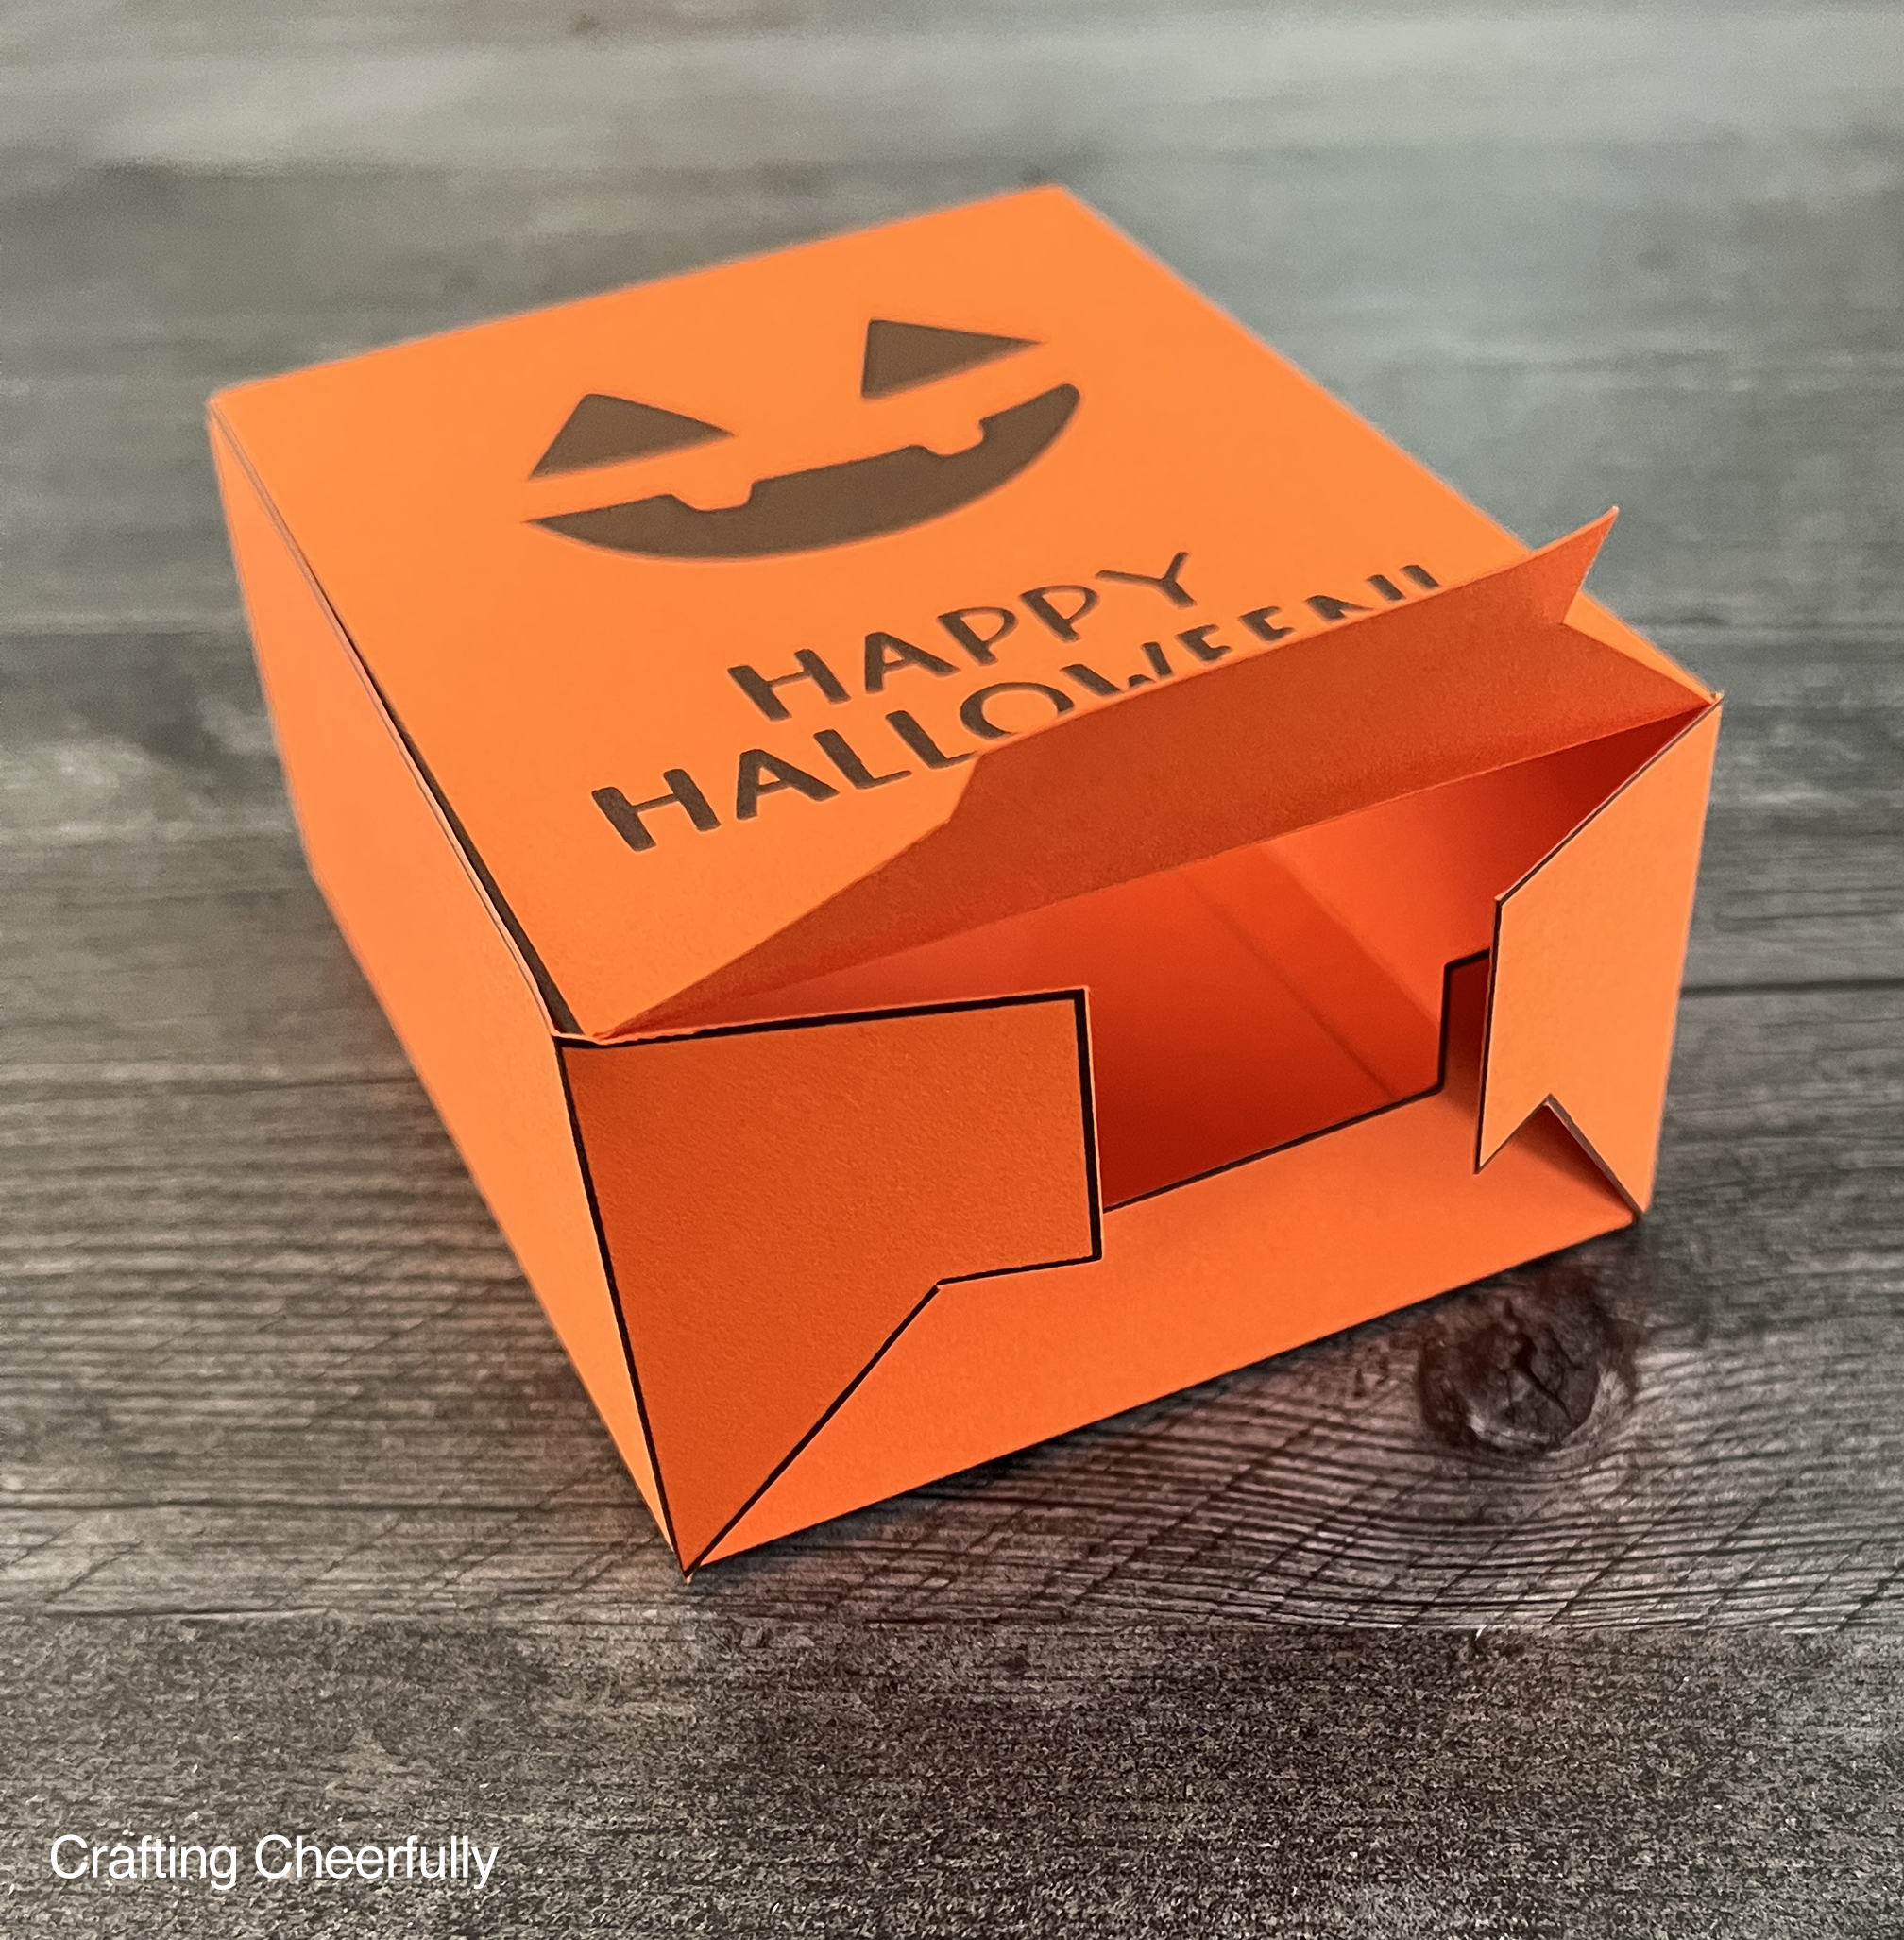
Step Three: Adhere the box together.
Apply double-sided tape or adhesive to the two tabs and connect the two box pieces together. I like to use Scor-tape for my treat boxes because it is really strong and helps keep the boxes together once they are filled with sweets.
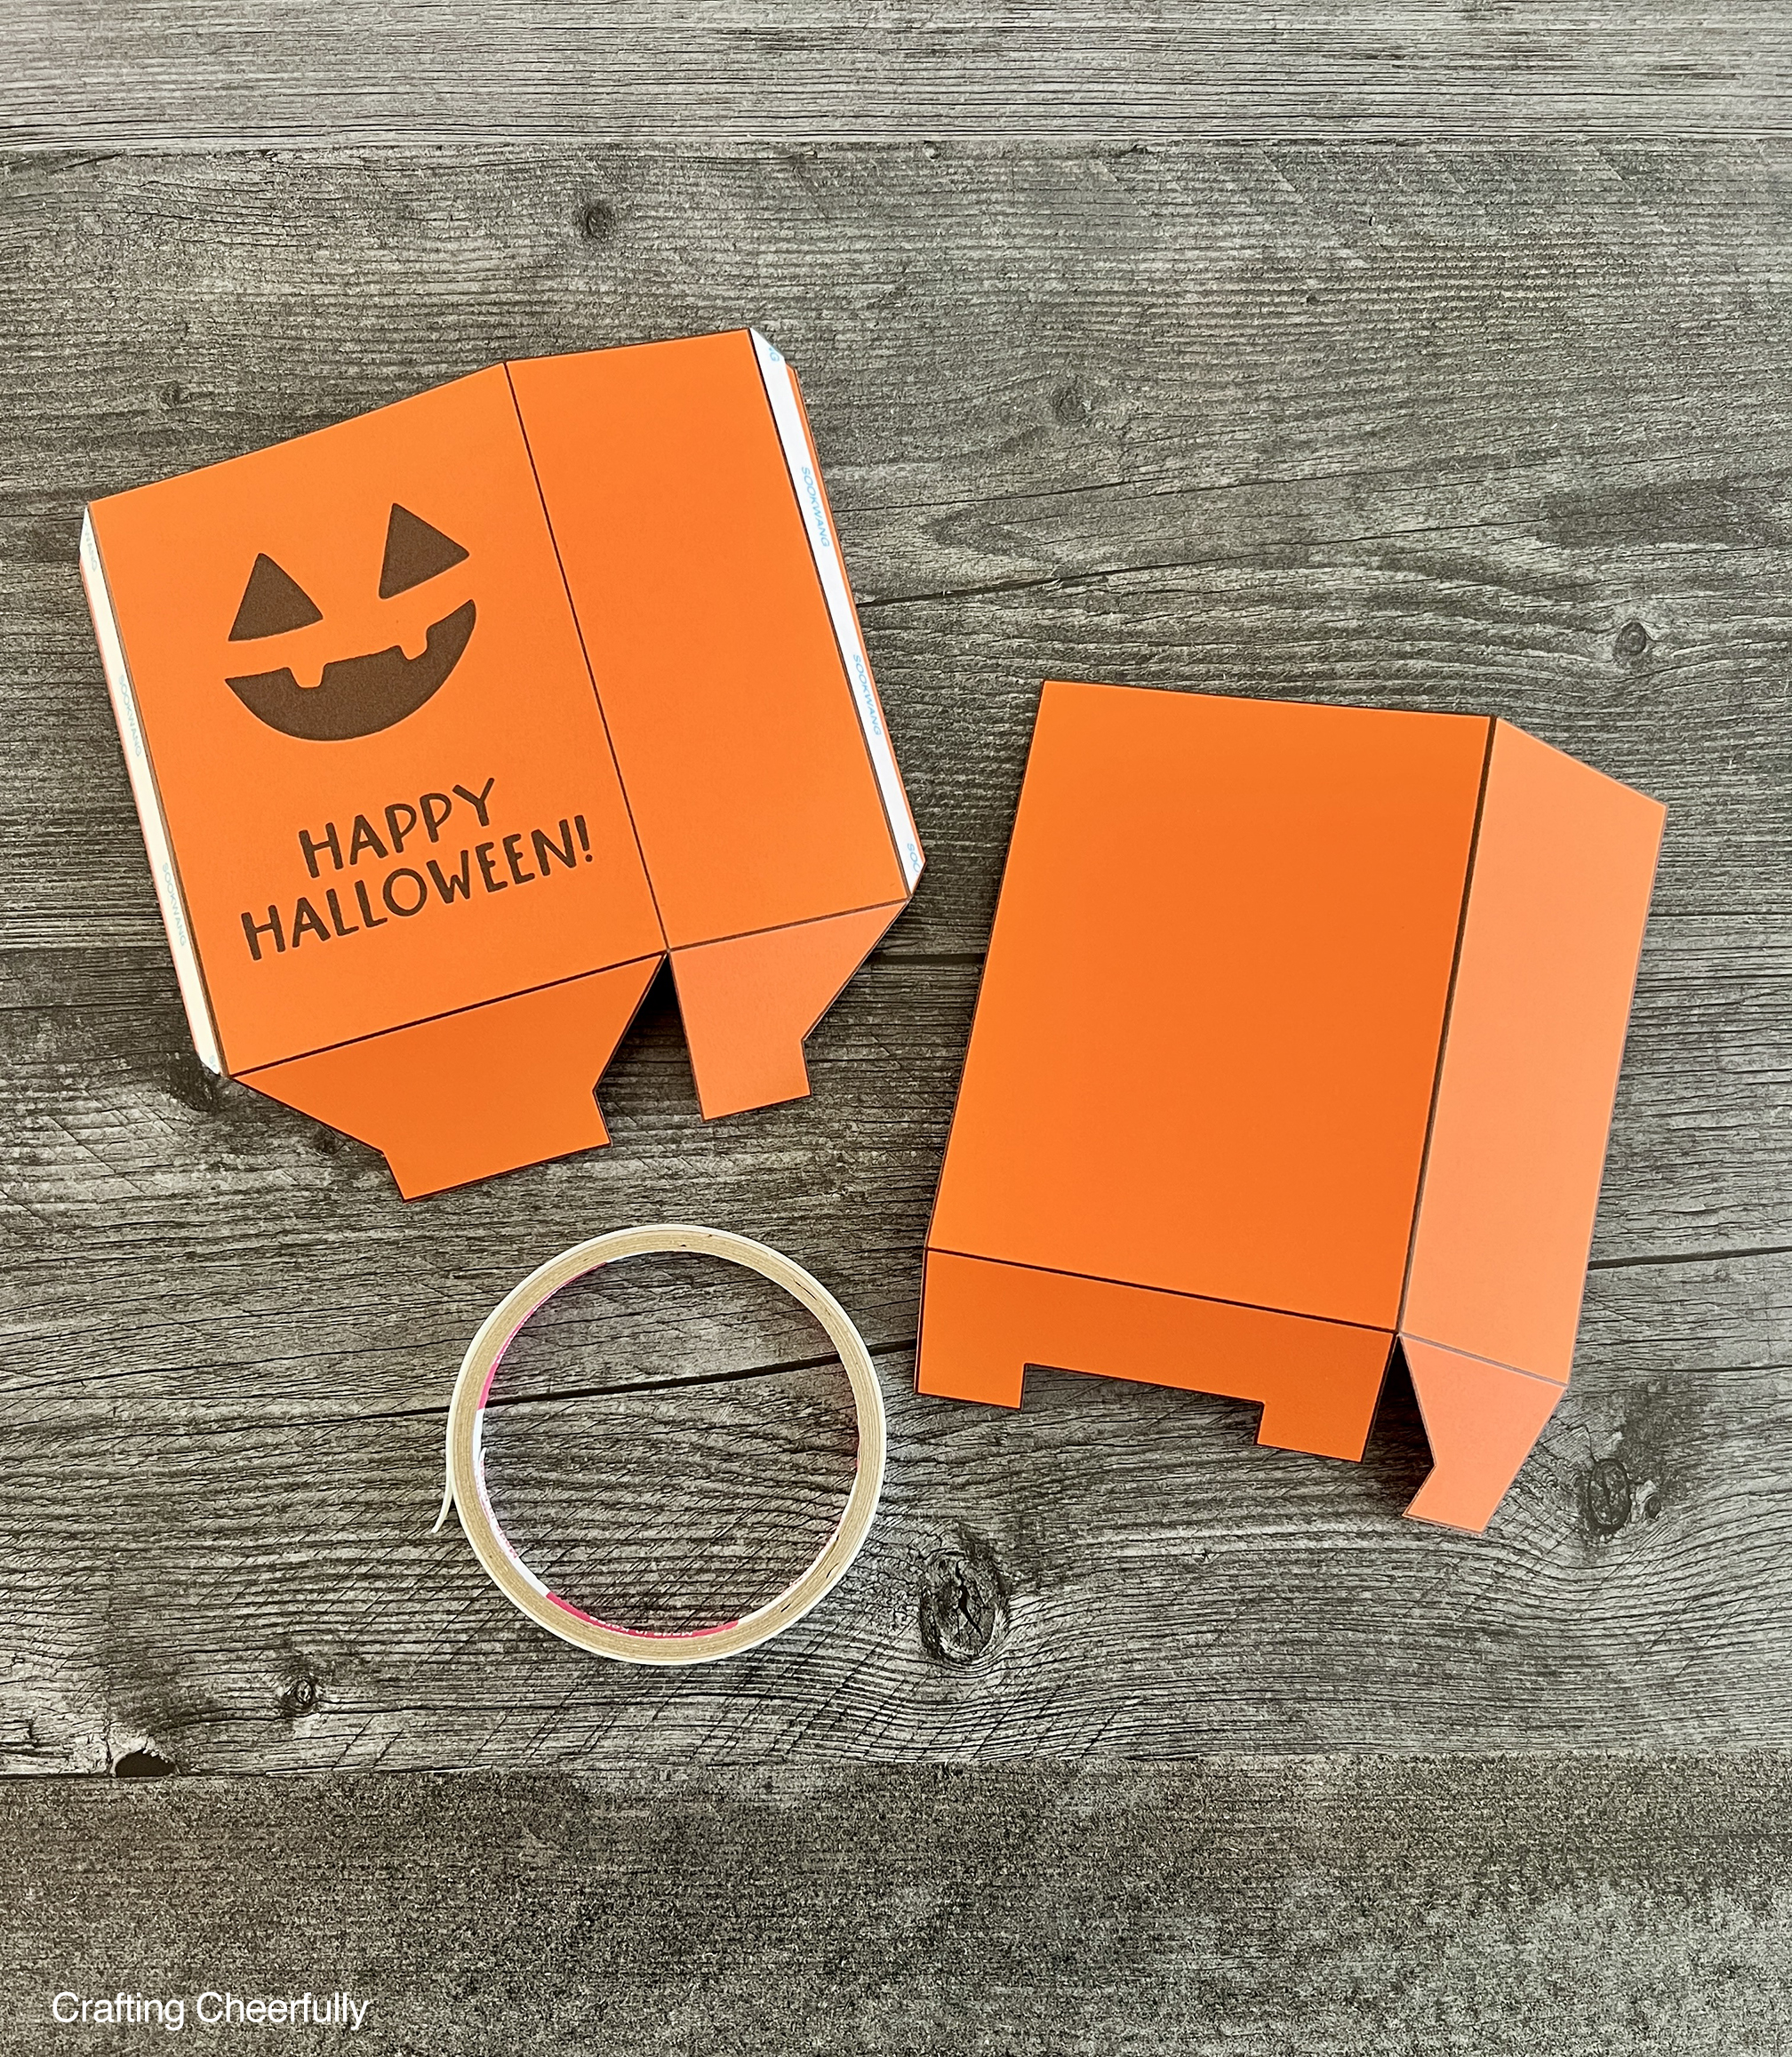
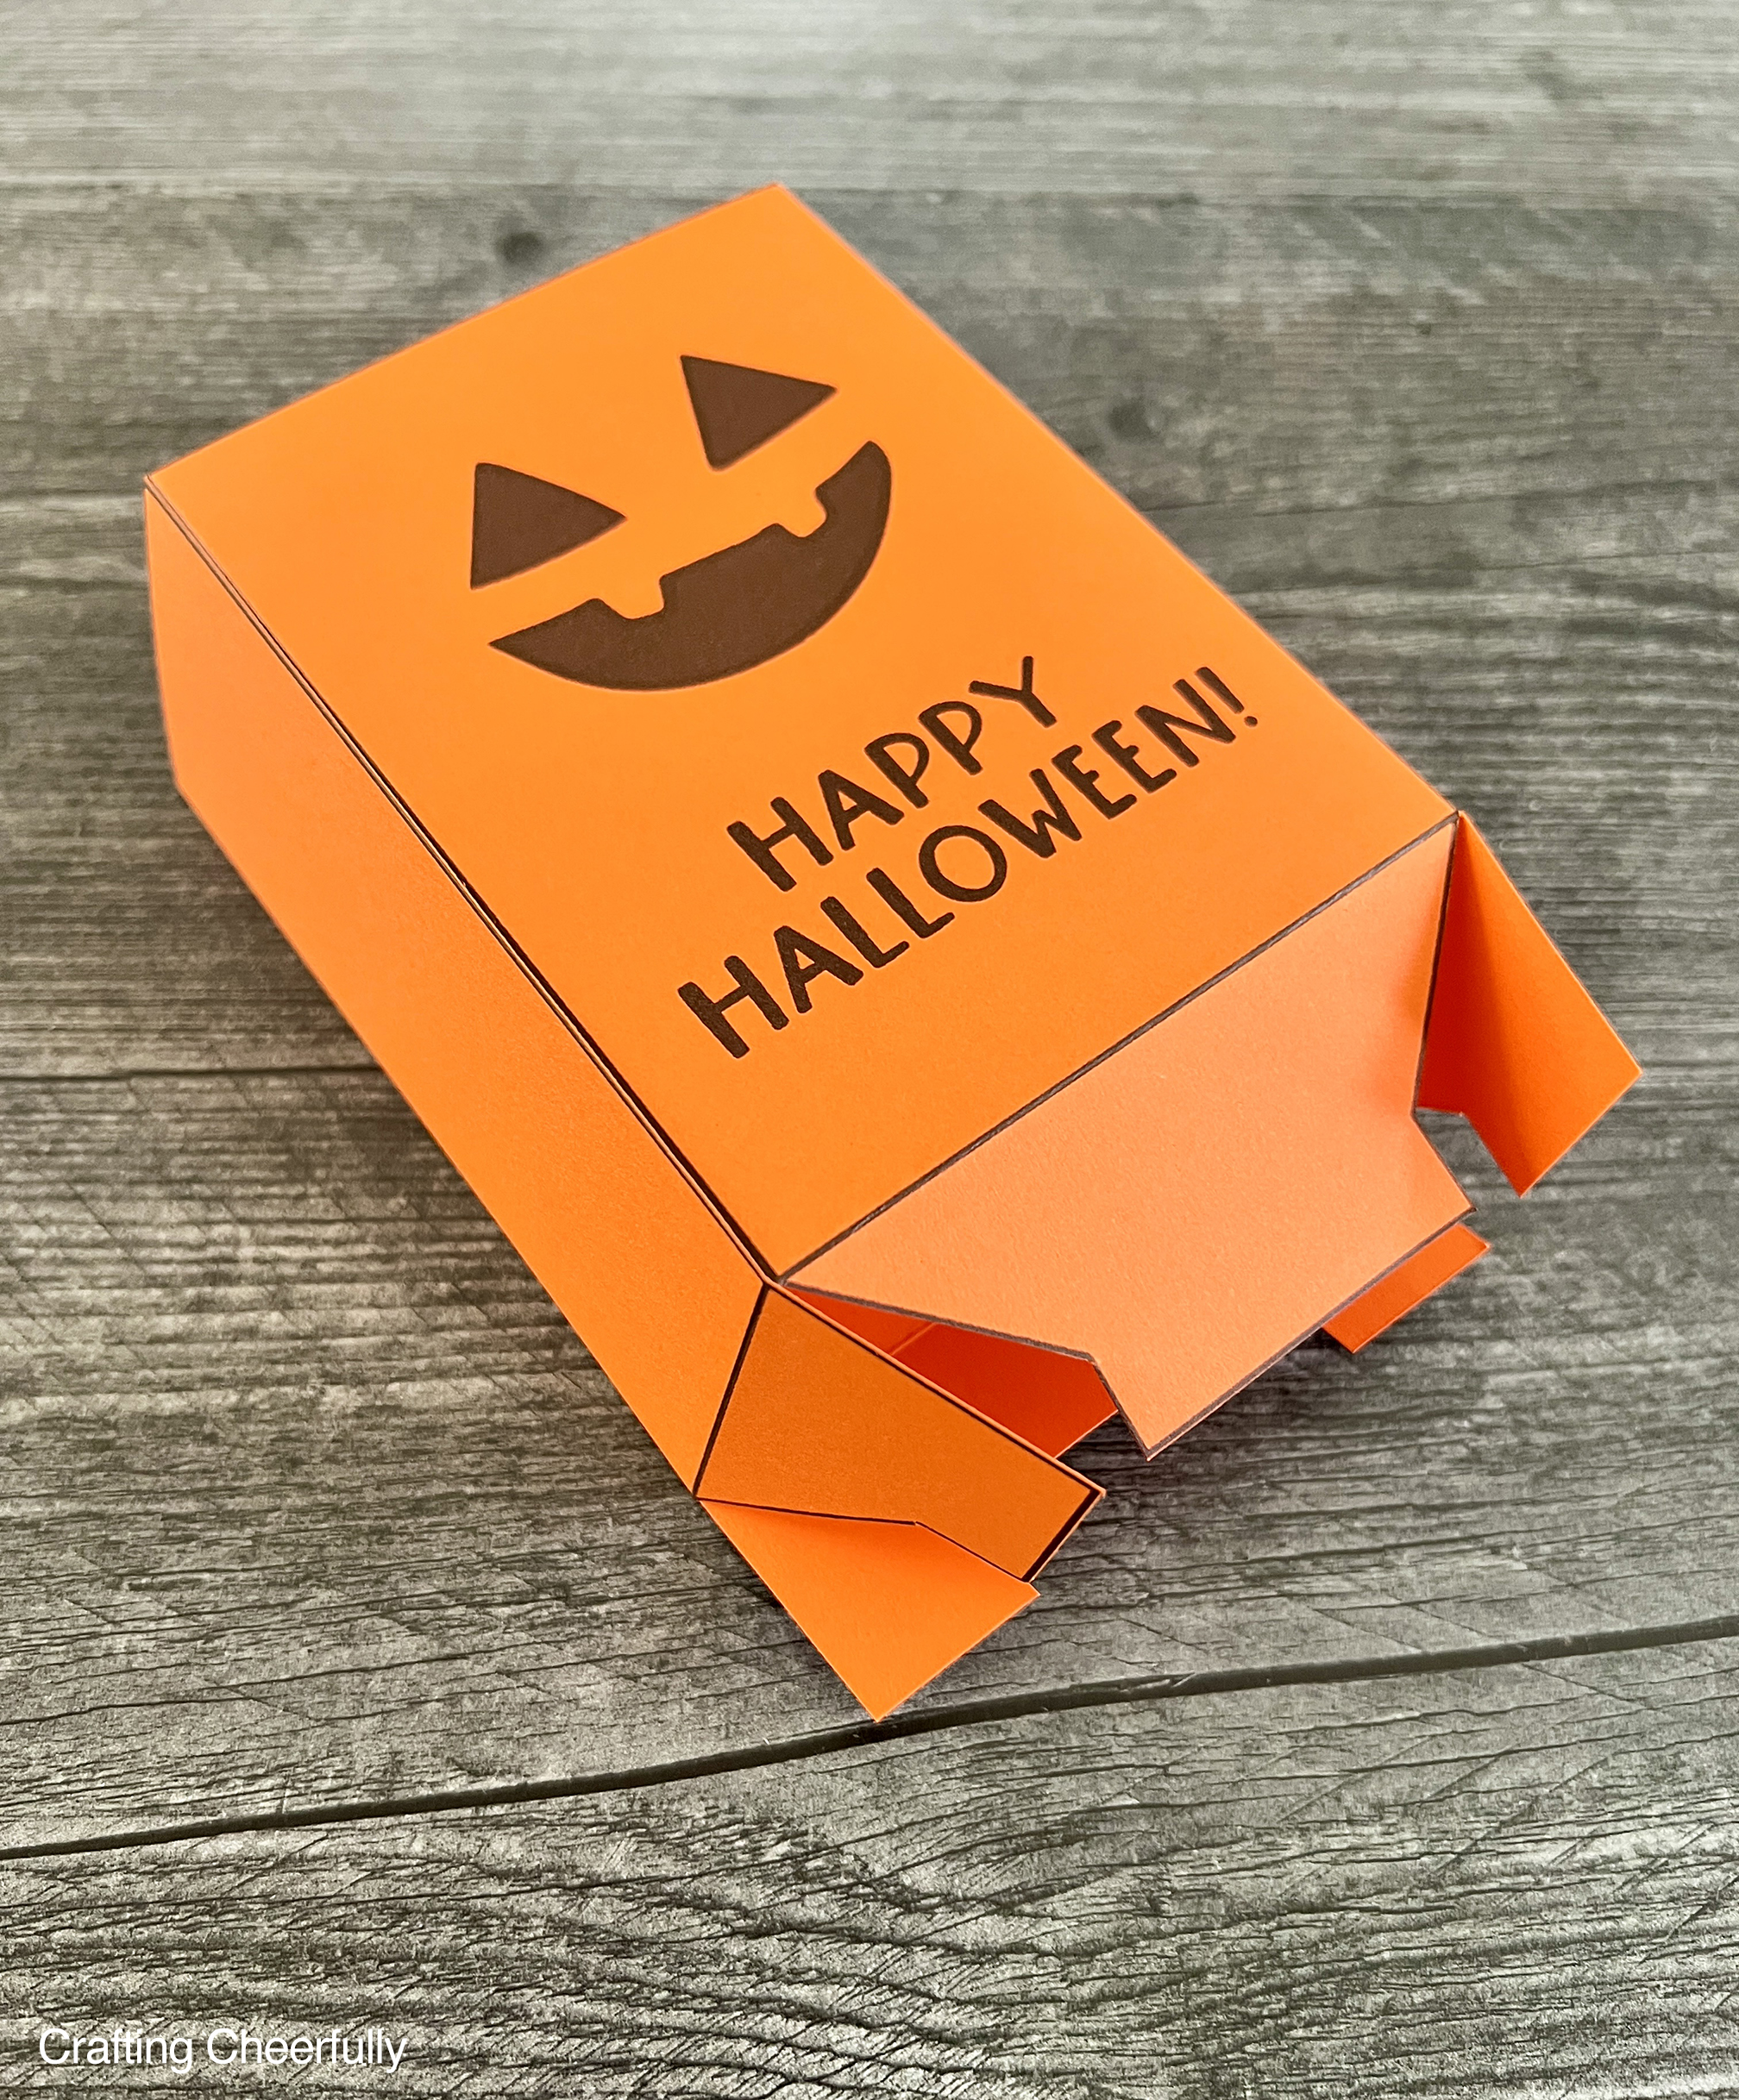
Step Four: Close the bottom of the box
Fold in the bottom of the box starting with the “H” shaped piece. Fold the two side pieces next and then finally fold down the last piece, sliding it into the opening created by the other tabs.
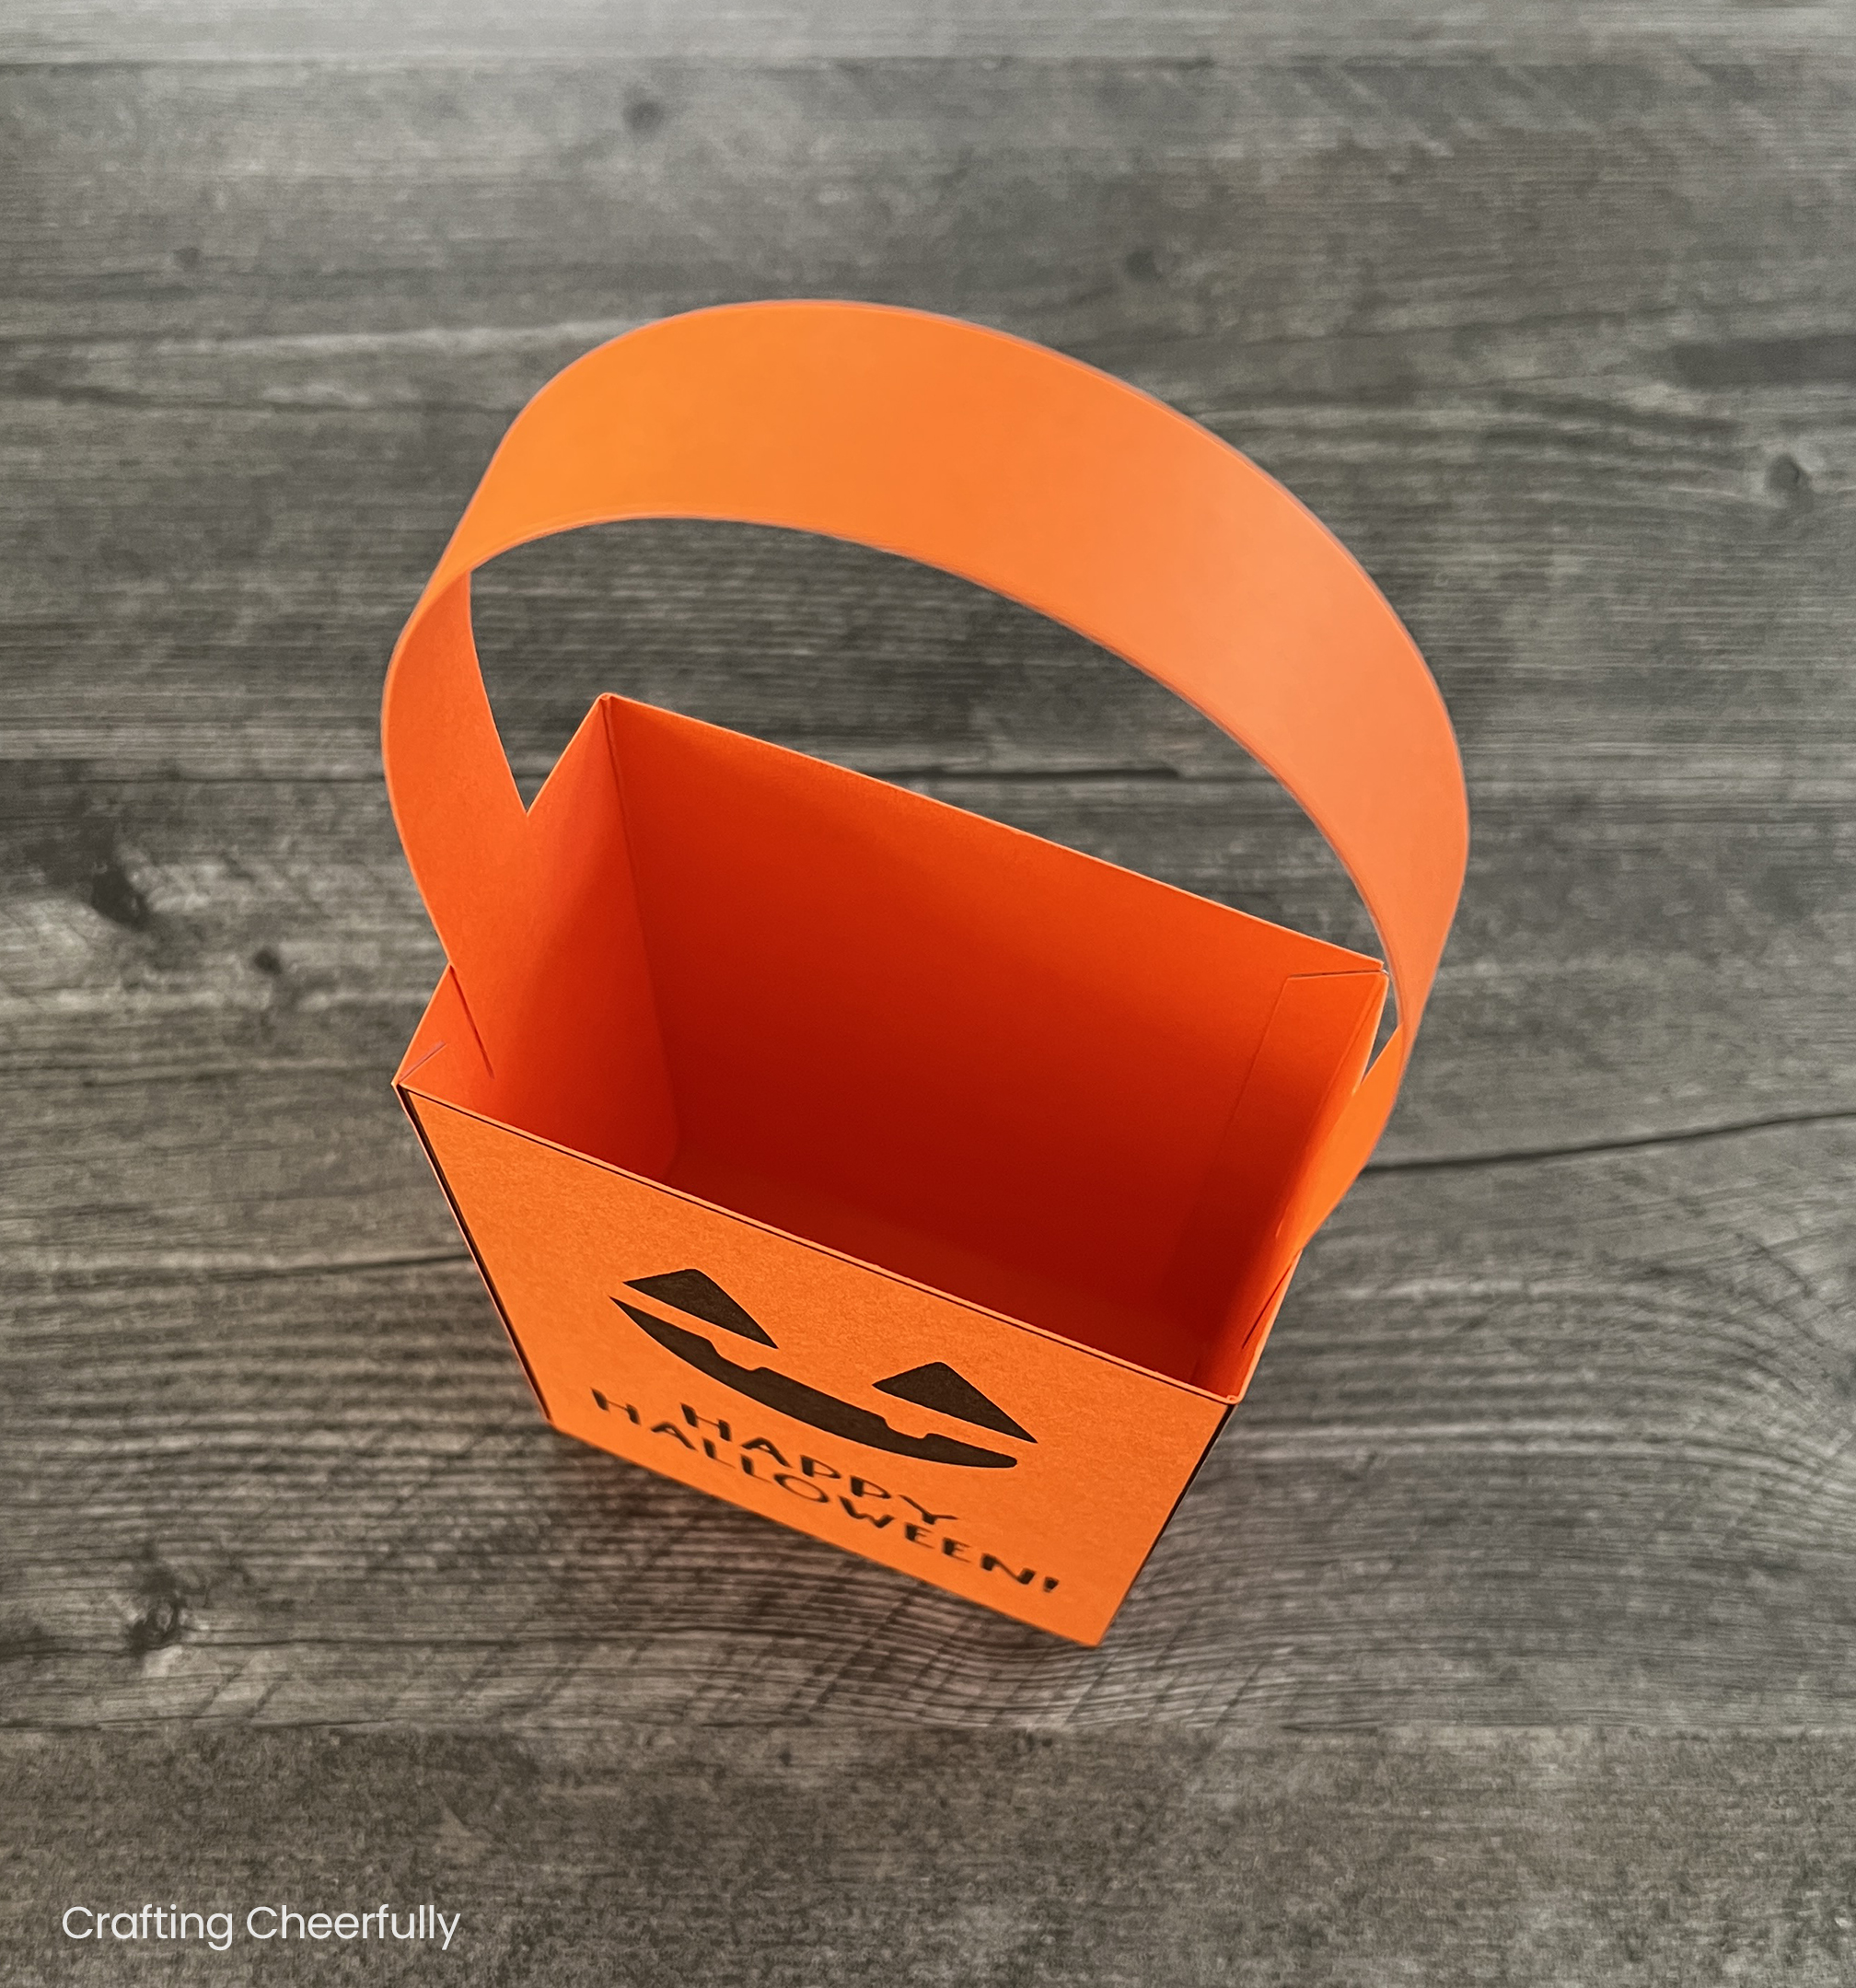
Step Five: Attach the handle.
Add double-sided tape to both ends of the handle and adhere them to the inside of the box. I like to apply my adhesive so it covers about 1″ of each end of the handle. This helps make the handle more sturdy. Keep in mind if the treats are heavy, the handle may be more for decoration!
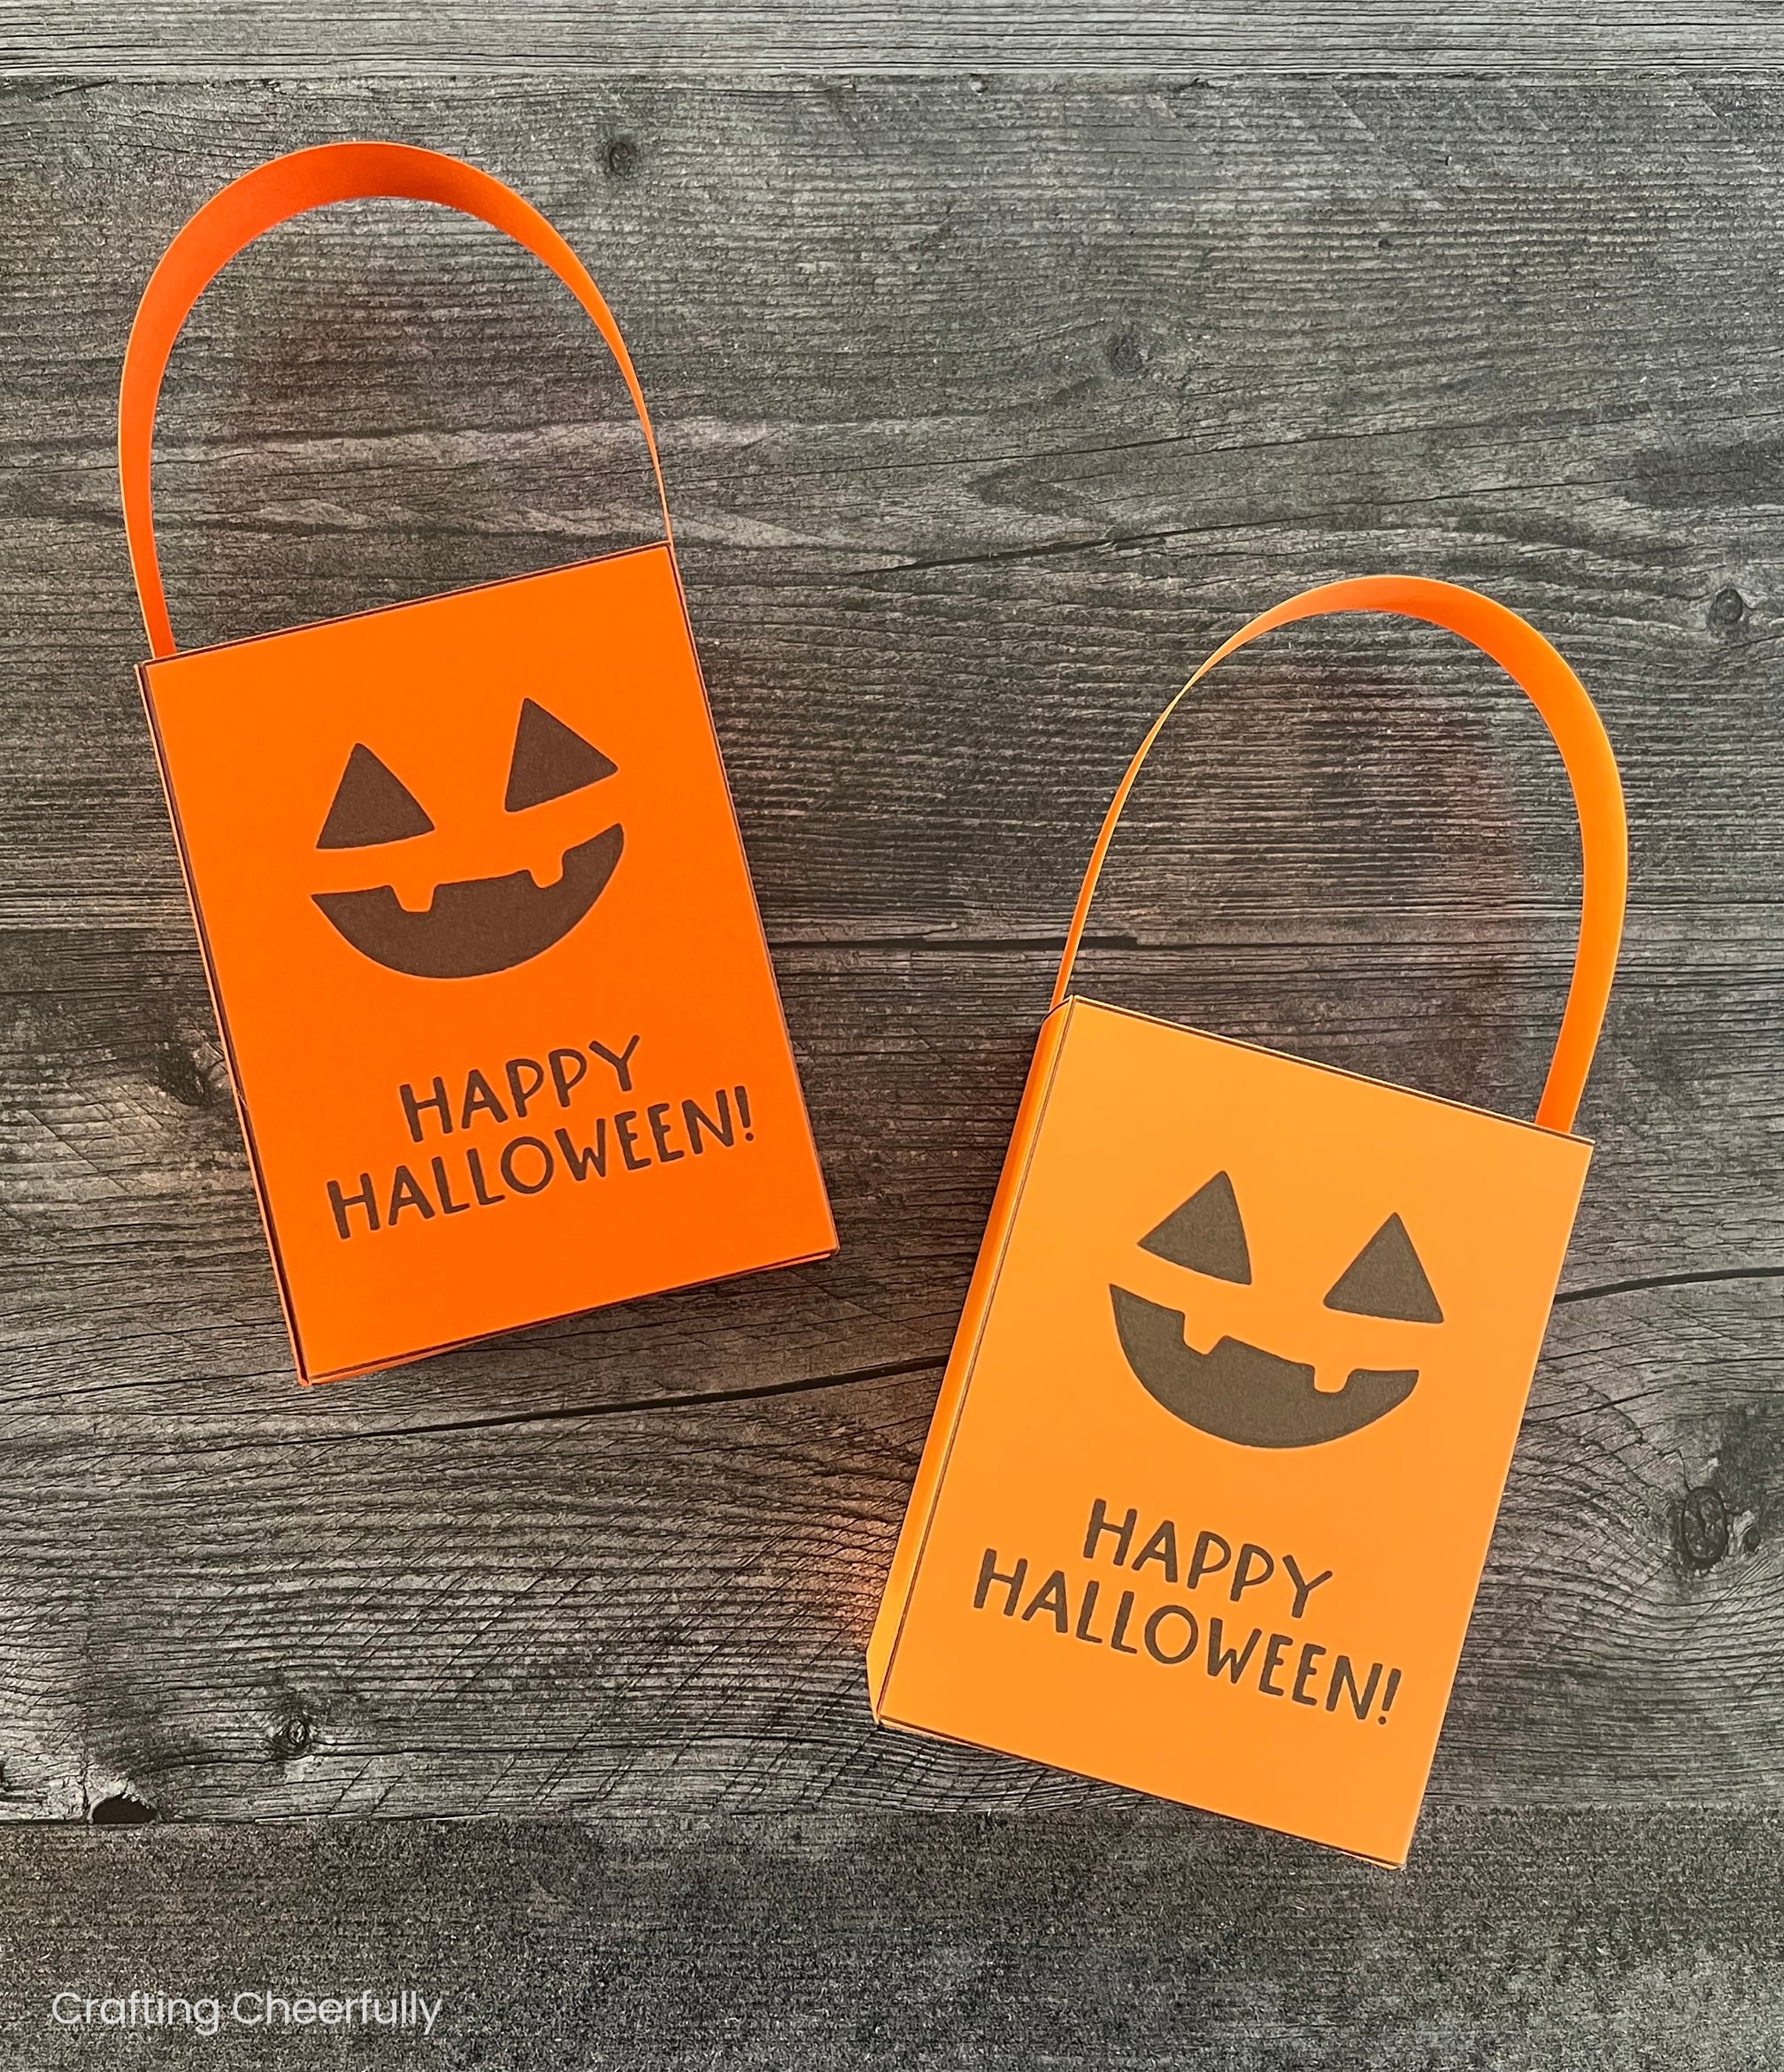
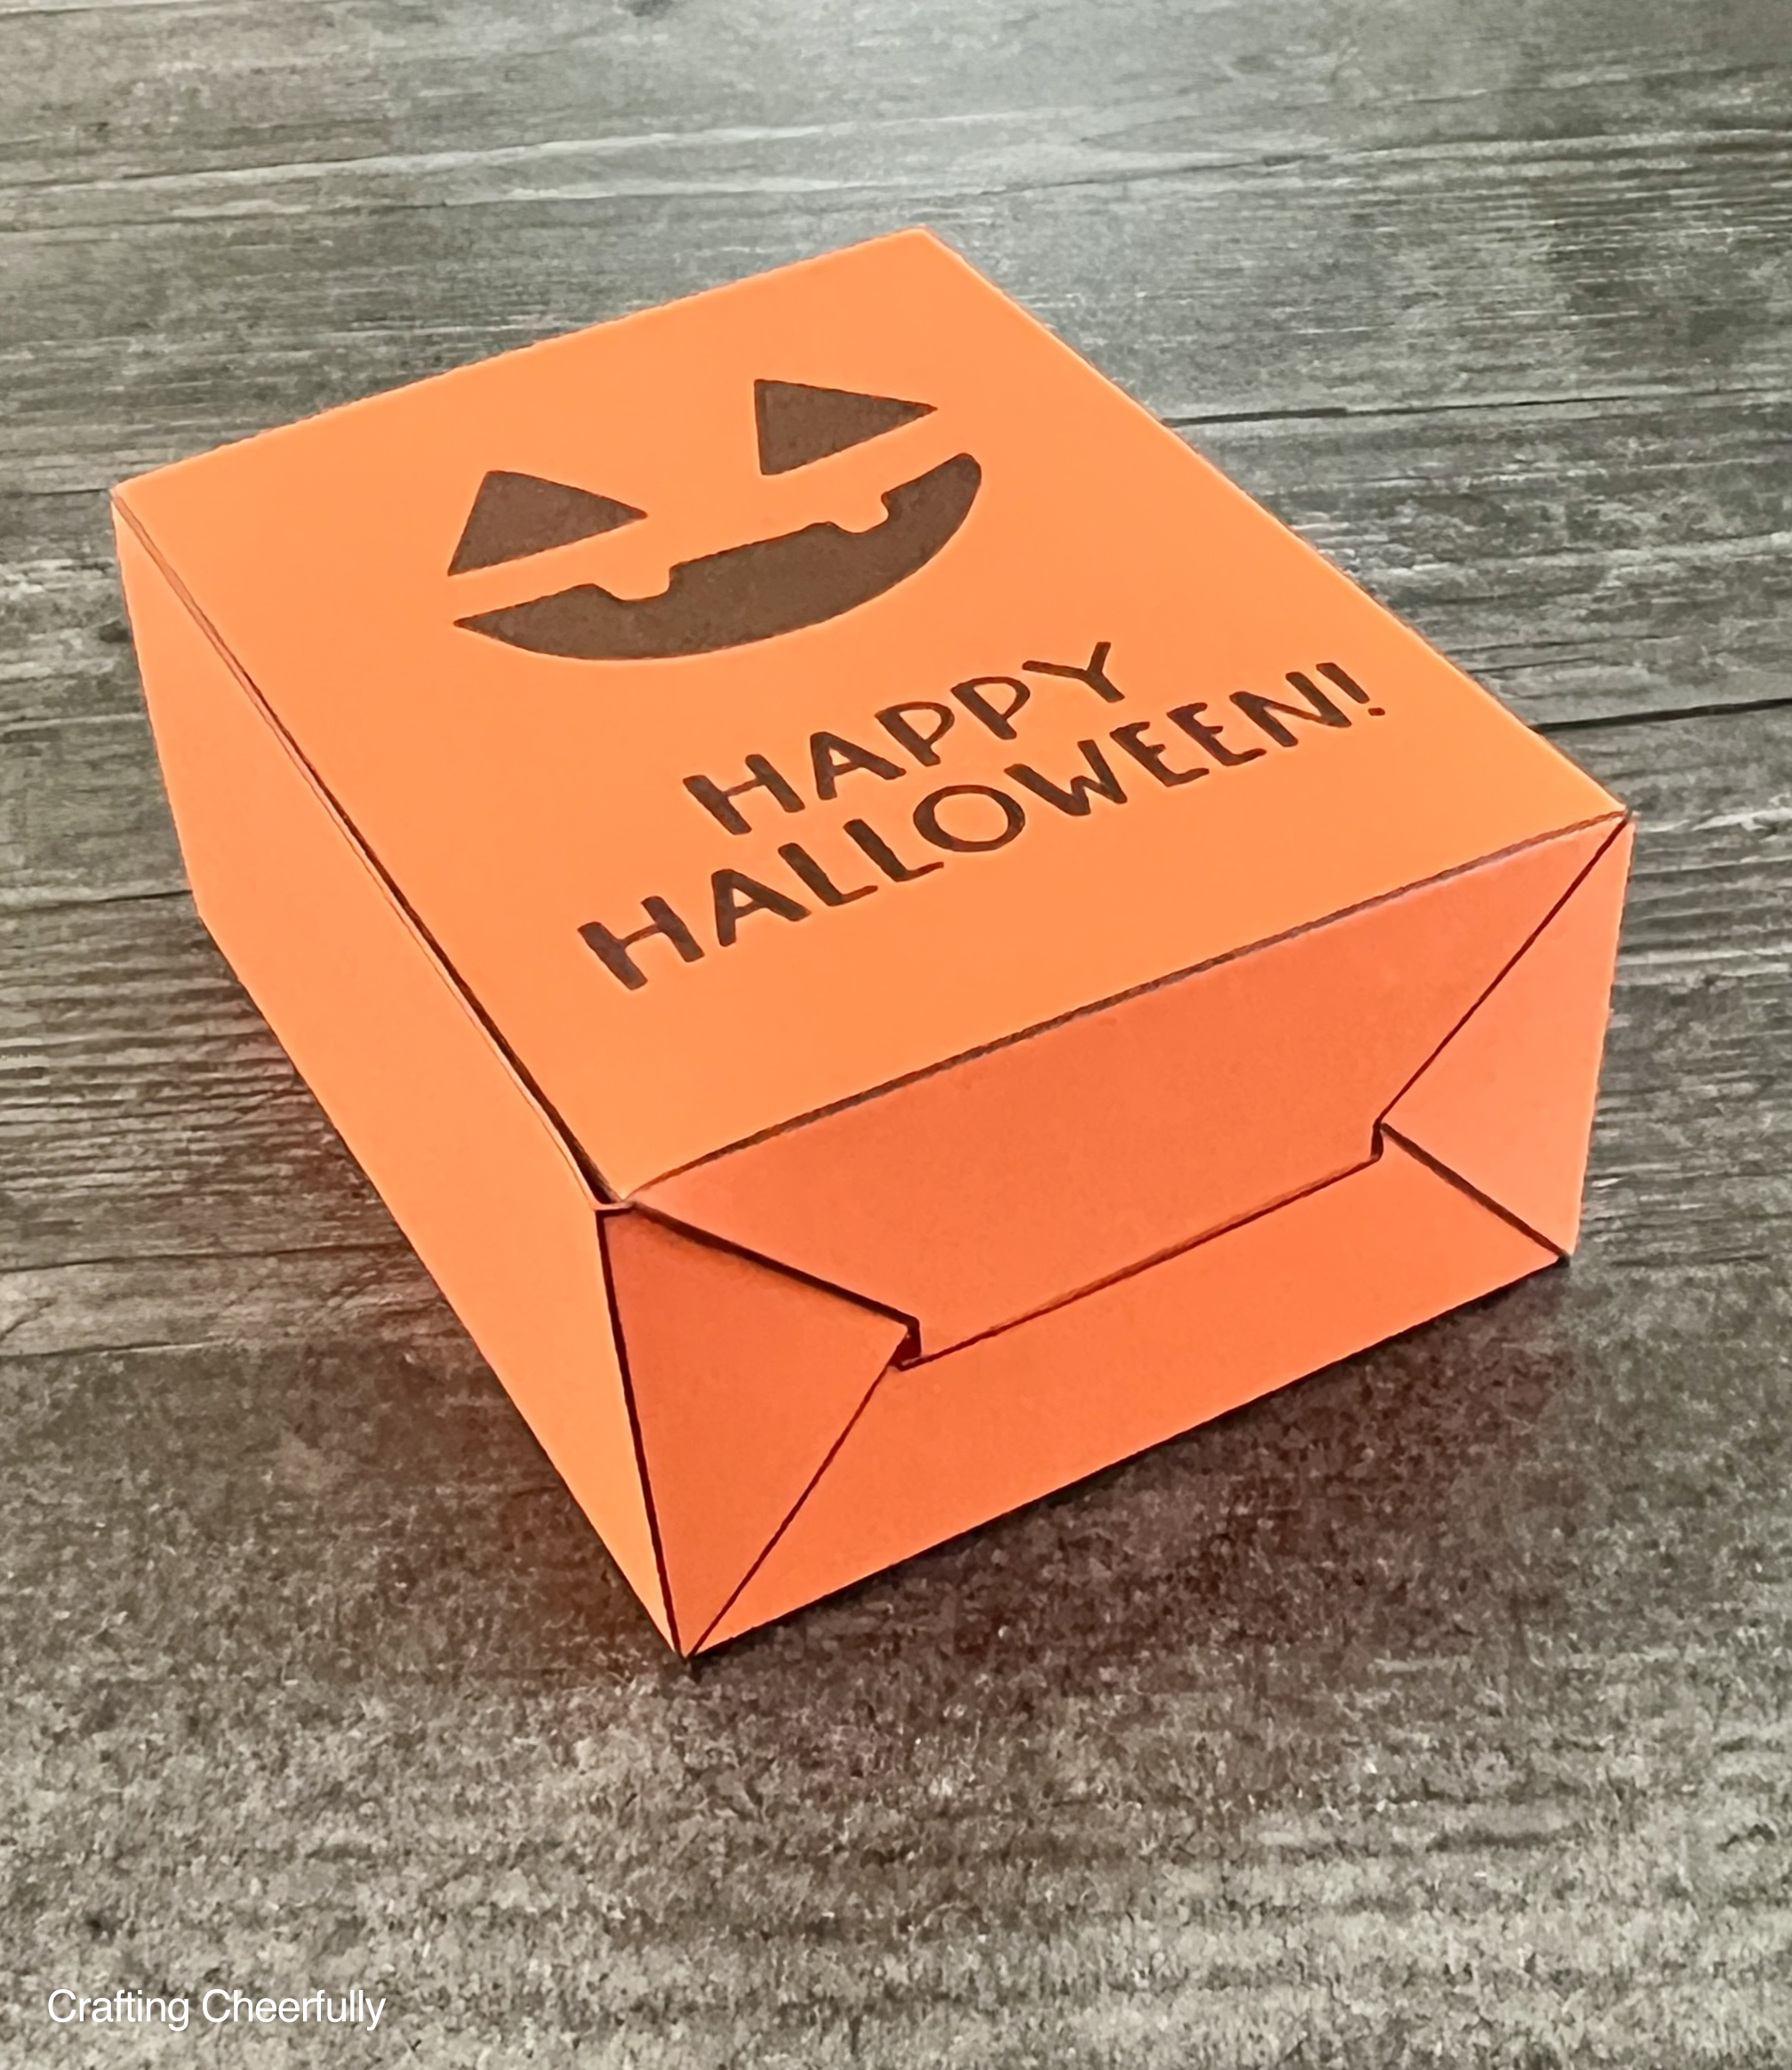
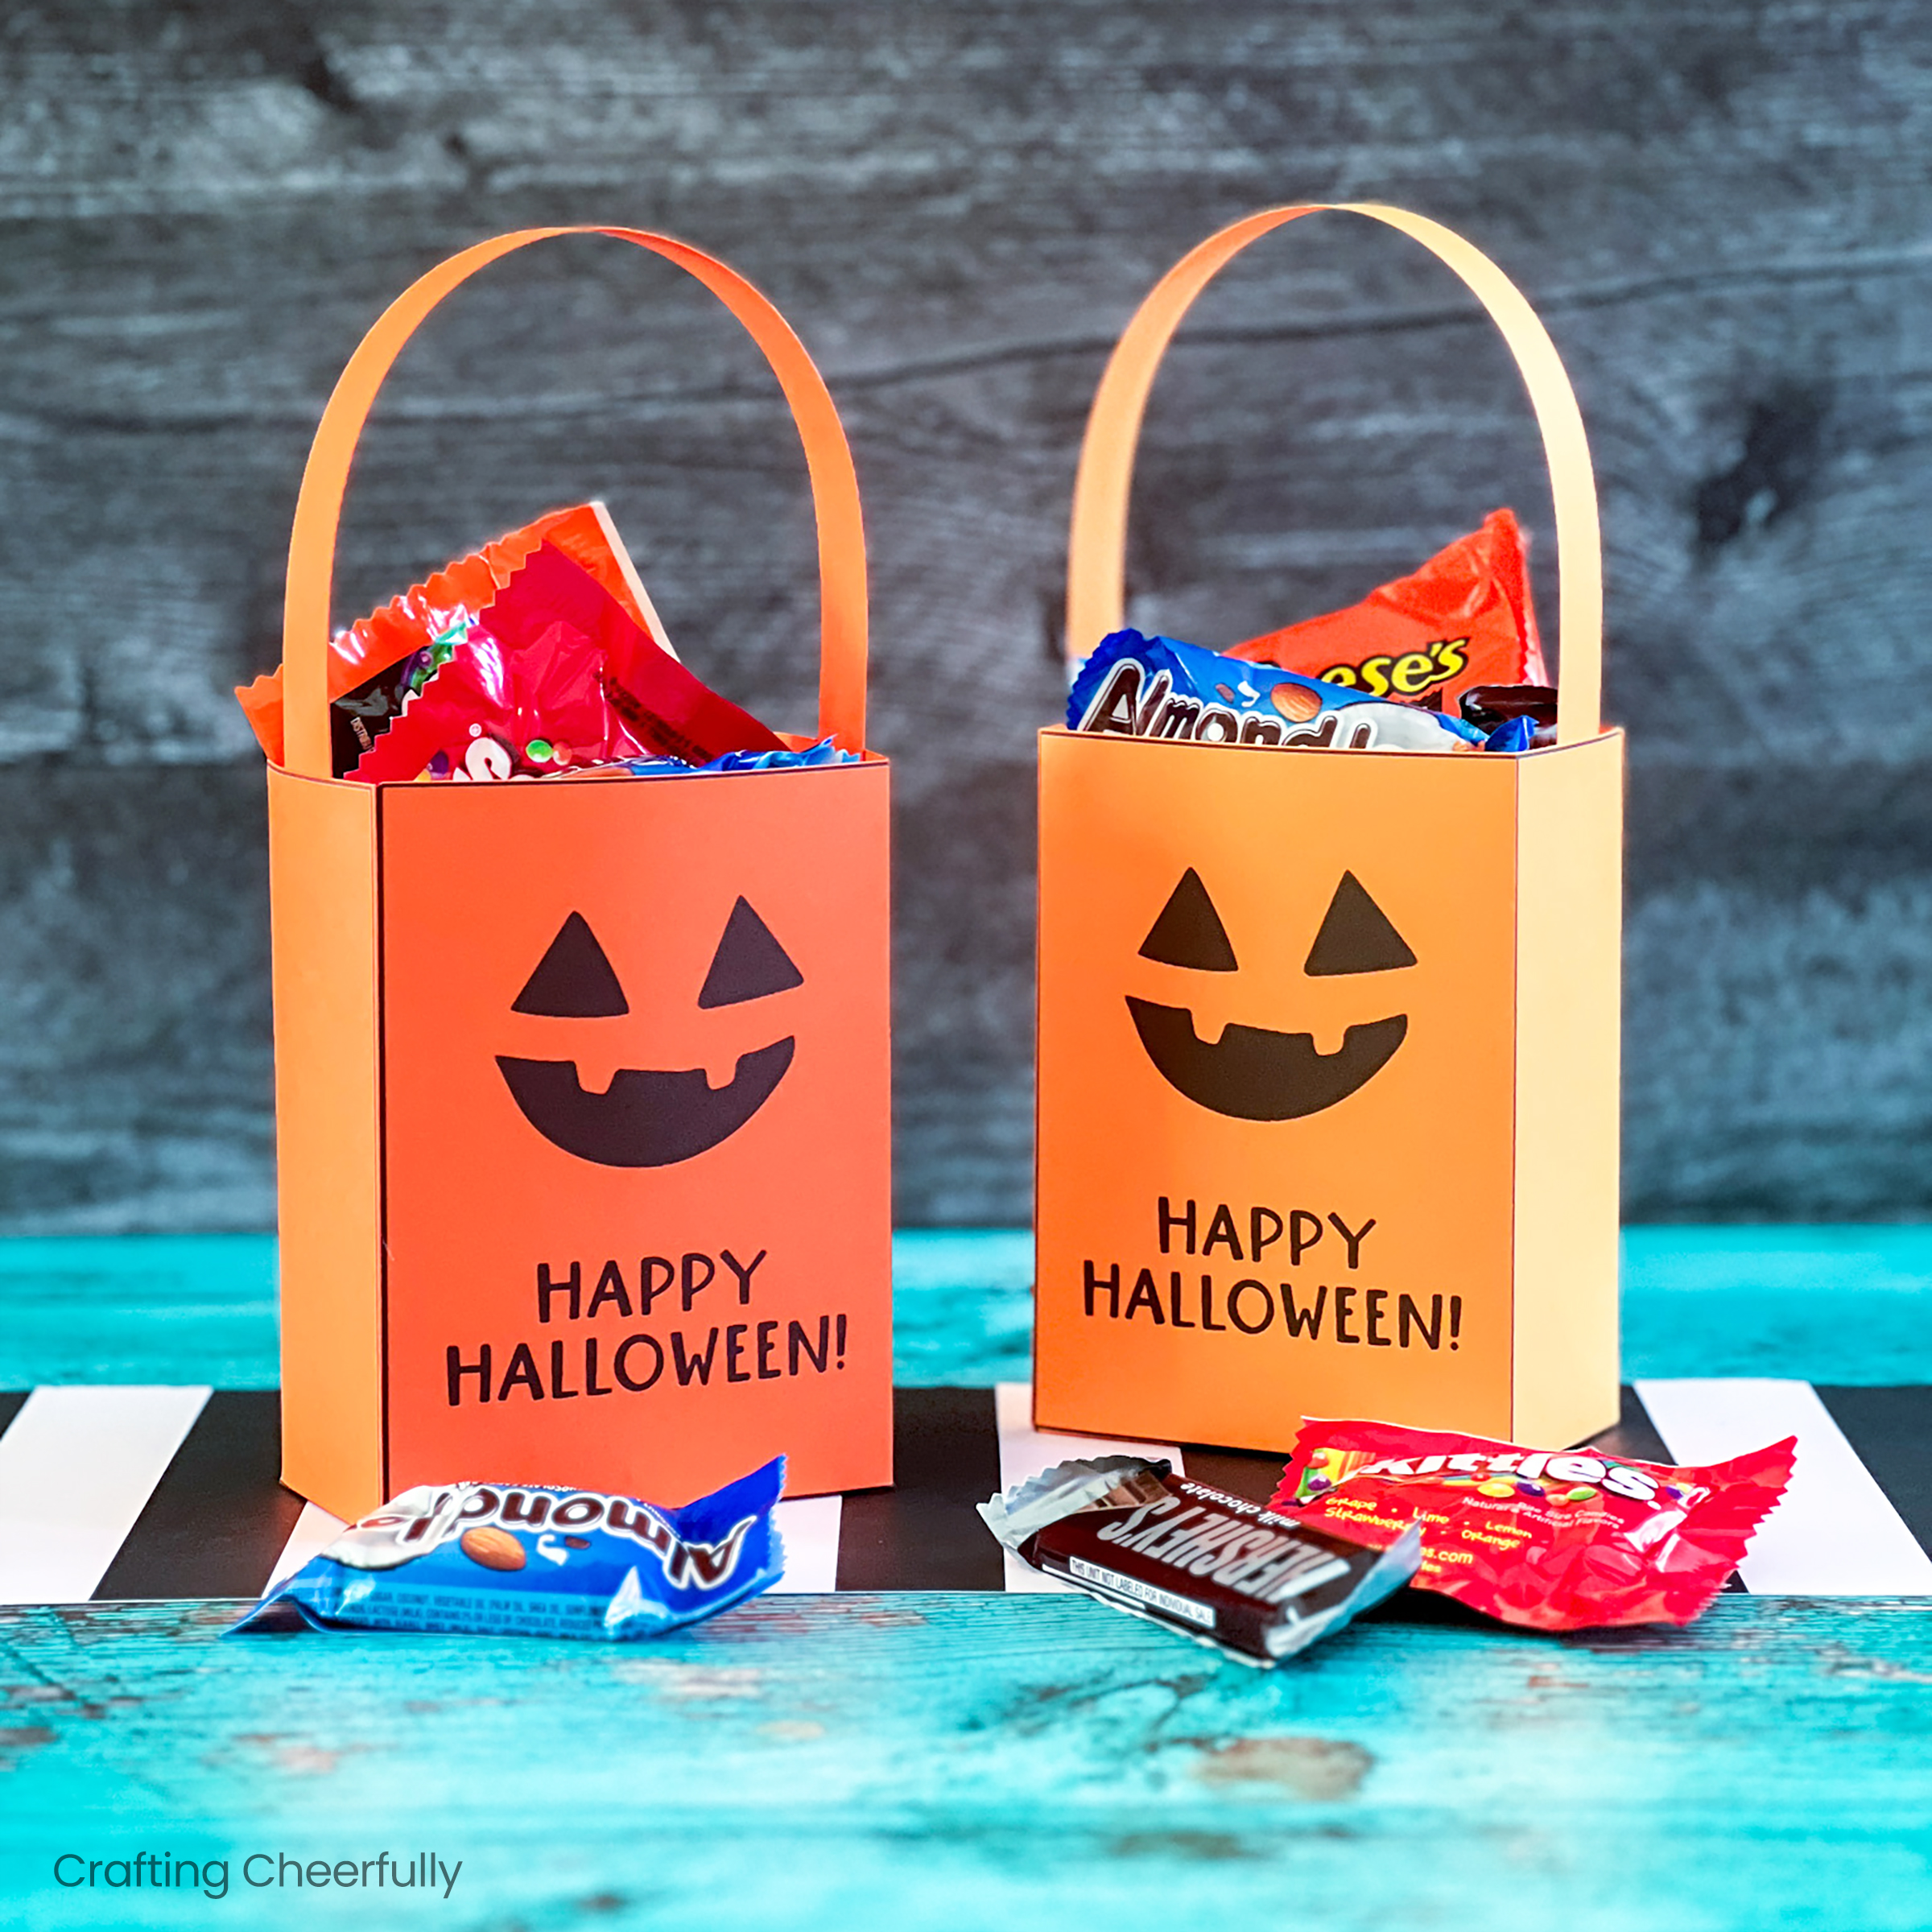
Step Six: Fill with candy and enjoy!
The pumpkin boxes are done and ready to be filled with candy and enjoyed! If you are making a bunch of these boxes, you can use different shades of orange cardstock to make your pumpkin boxes look different, or make all of them in the same color for a cohesive look.
I hope you enjoyed this fun Halloween craft idea. Looking for more cute crafts for the season? Check out my Halloween Crafts Page! I’ve also rounded up a few of my favorite Halloween treat boxes below:
- Haunted House Treat Boxes – Free Printable!
- Halloween Cut out Treat Boxes – Free Cut Files!
- Monster House Treat Boxes – Free Printable!
- DIY Halloween Treat Boxes – Decorate with a Sharpie!

Get the Free Pumpkin Treat Box Files
Fill out the purple form below with your first name and email address! The free file will be sent straight to your inbox! If you have already filled out the form below, don’t worry – you won’t be added to my list twice! This freebie is for personal use only. I hope you enjoy crafting something special. Please let me know if you have any questions :)