DIY Wind Chime Made From Recycled Marker Caps
Create a colorful and fun DIY wind chime using recycled marker caps! The perfect craft for all of those dried-out markers!
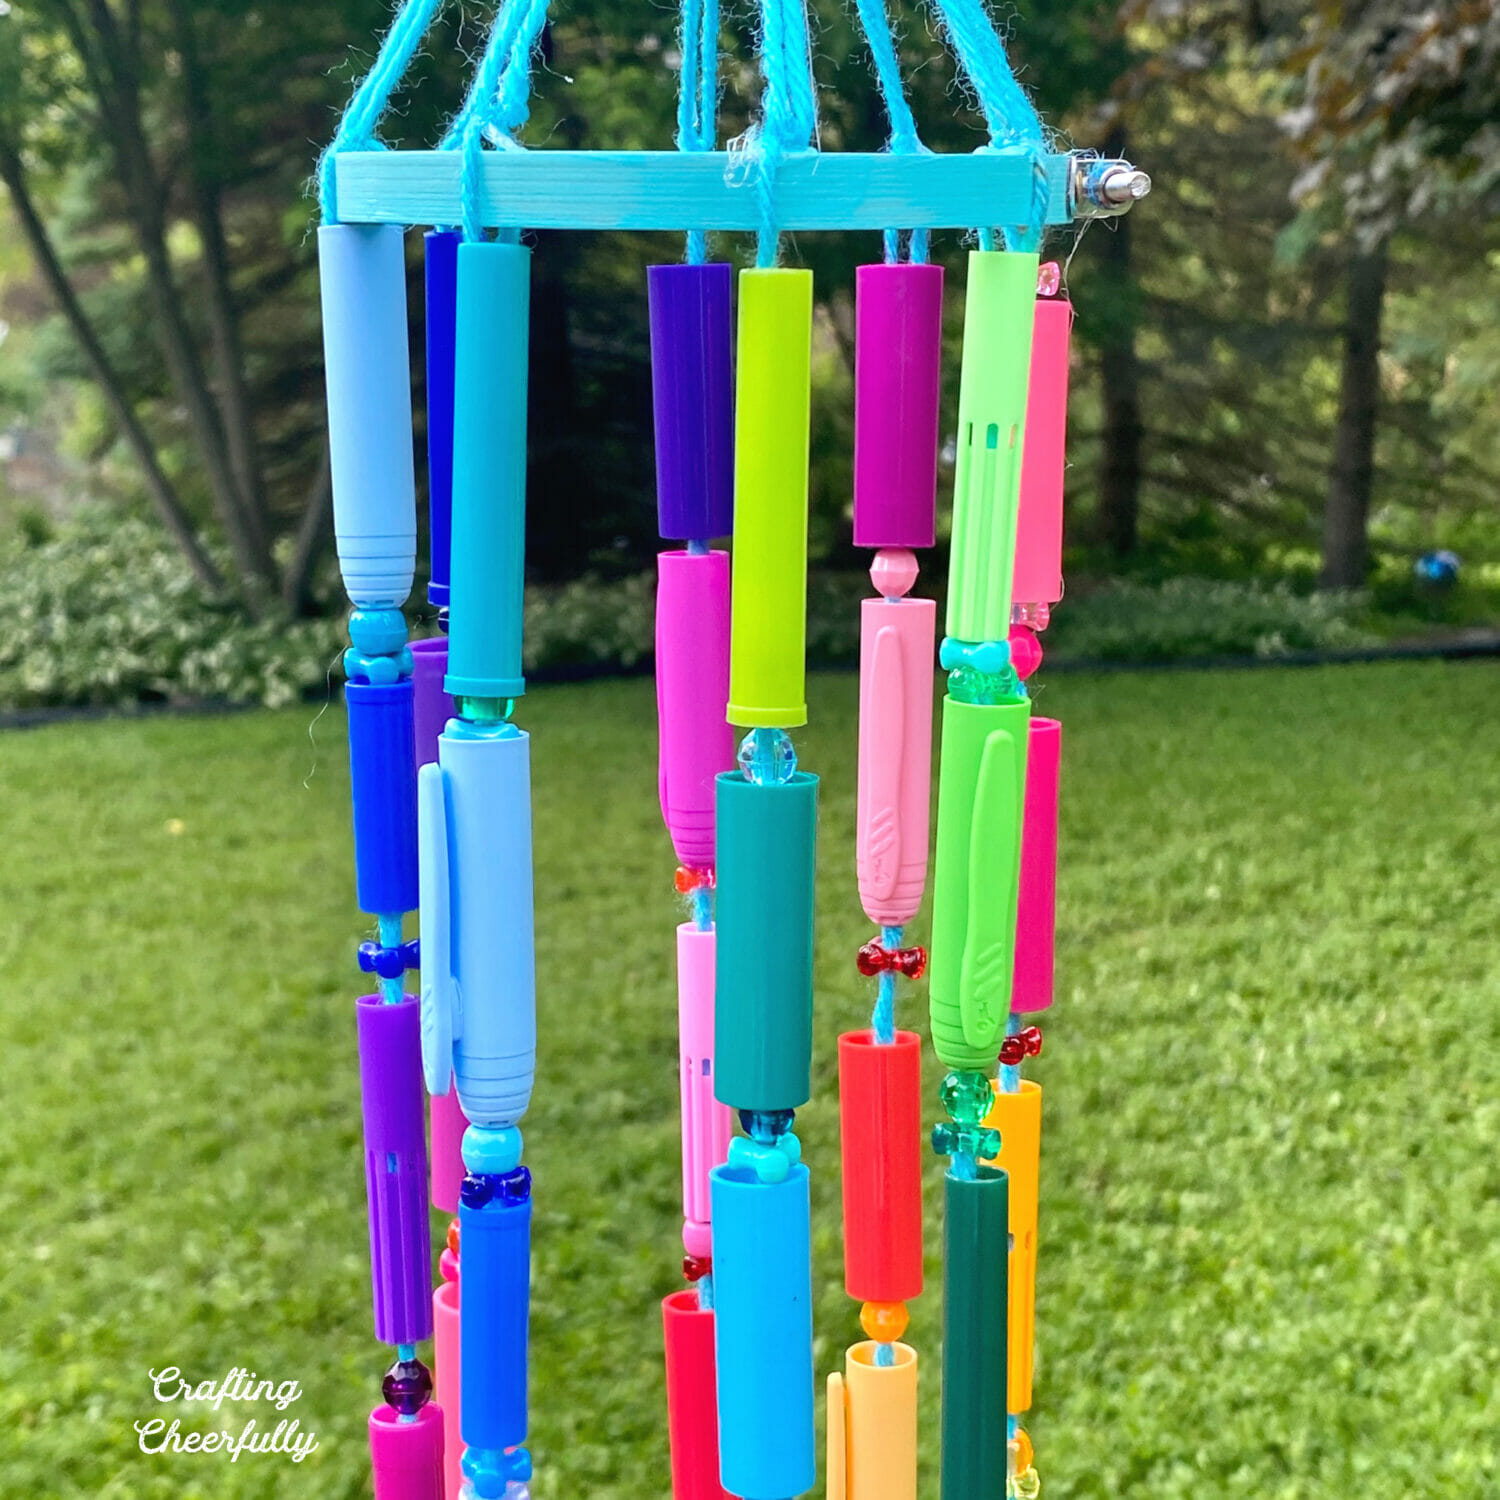
Hello Crafty Friends! Today I’m excited to share a fun craft project that uses recycled materials. I created this fun and colorful DIY Wind Chime using recycled marker caps!
If you have a bunch of dried-out markers laying around your house this is a great use for them. I created this wind chime to hang outside in our yard but it would also be fun to hang inside and brighten up a room. Add small beads in-between the marker caps to catch the light and add a little extra sparkle!
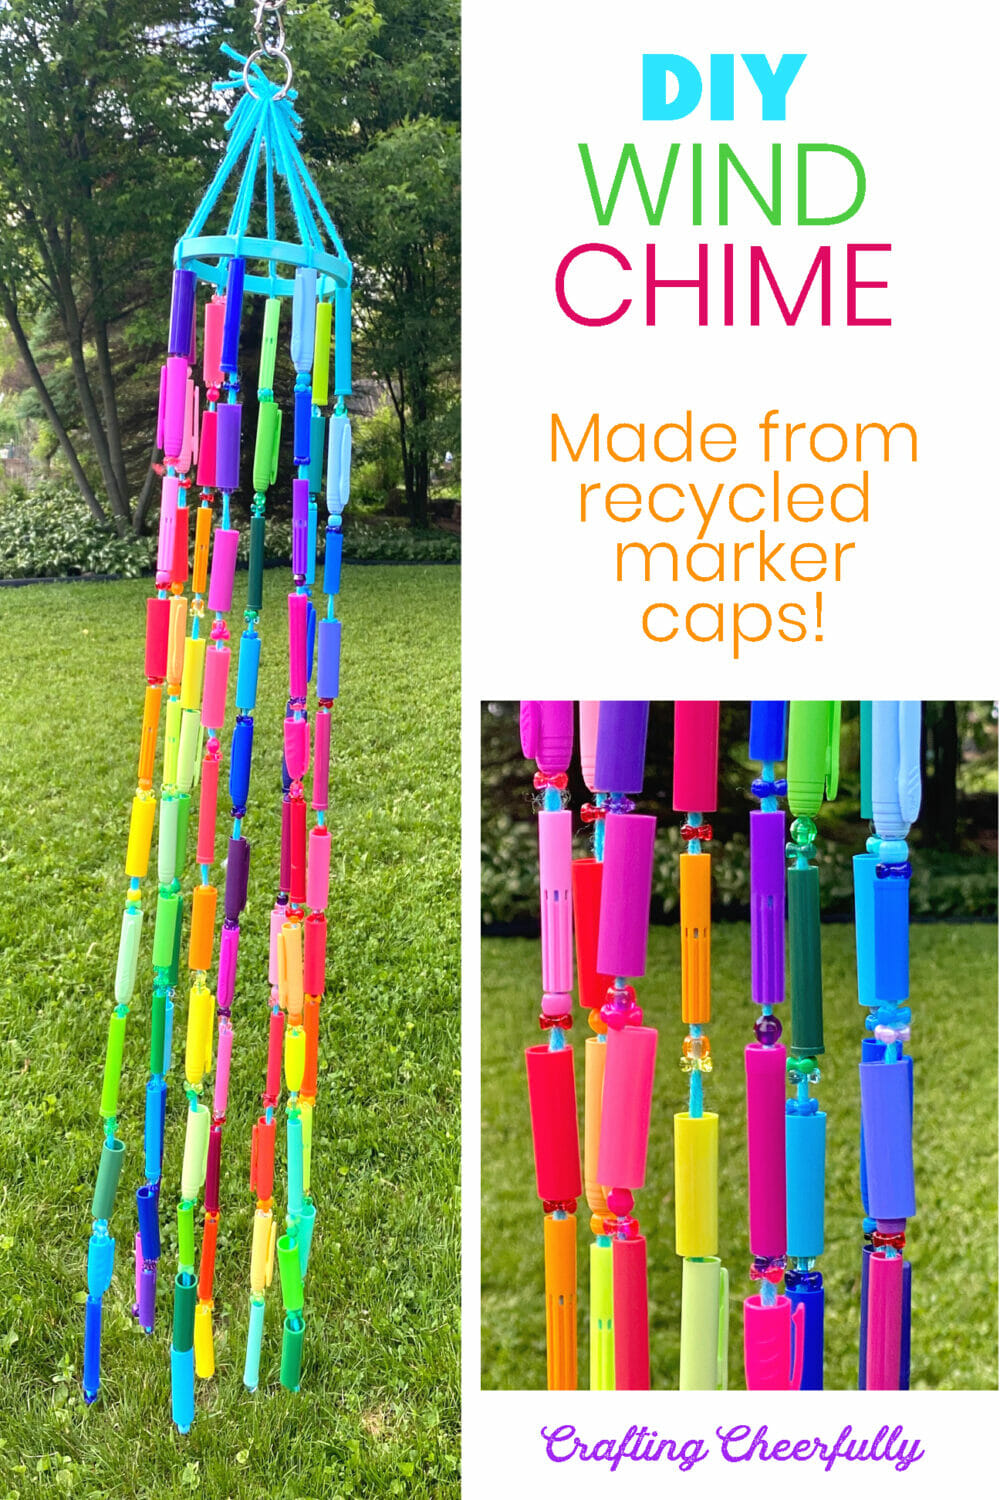
I finished my wind chime over the weekend so it has only been outside for a few days. I’ll be sure to update this post after a few weeks to let you know how it is holding up outside. The embroidery hoop is painted with outdoor acrylic paint and I used dabs of water resistant Gorilla glue to secure the yarn to the hoop.
The big question will be how the yarn holds up. You could use something a little stronger than yarn like jewelry wire or twine. I used jewelry wire on my watering can garden ornament and it has held up really well in the rain for a year now.
Update: We left our wind chime out all summer and it held up great! It was placed under our roof line on a shepard’s hook so it was a slightly sheltered from the elements. I brought it inside a couple times when we had severe weather warnings. How long your marker cap wind chime will last will depend on your climate and how exposed it is to the elements. Hang it under a covered patio or indoors and it should last a long time!
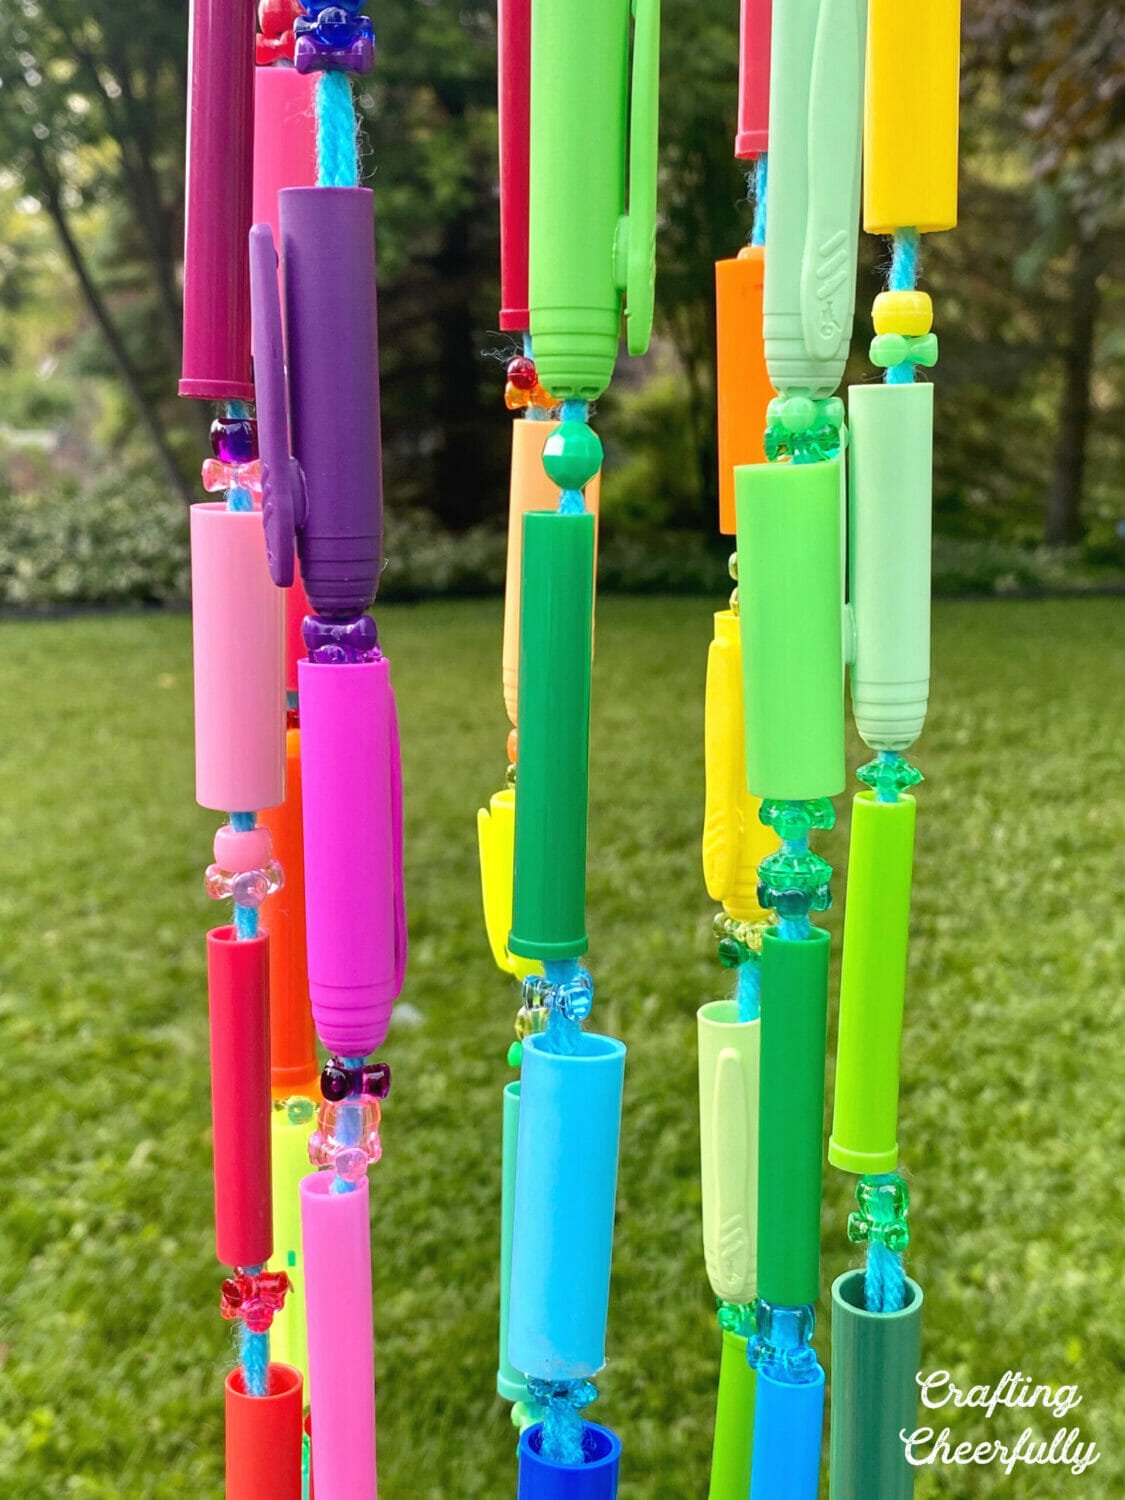
Below is the tutorial and the supplies needed to make your own DIY Wind chime!
More Recycled Crafts
How to Make Chimes Using Recycled Marker Caps
Supplies Needed
- Recycled marker caps from dried-out markers
- 4″ Embroidery Hoop
- Yarn
- Blue acrylic paint – like Deco Art Patio Paint if you plan to hang it outside.
- Outdoor sealer like Outdoor Mod Podge
- Hot glue or outdoor Gorilla Glue
- Jewelry Pliers
- Needle – I used a plastic canvas needle that could fit through my beads
- Something to poke holes in the tops of the markers (I used a sharp embossing stylus)
- Beads for sparkle! (optional)
- Looseleaf paper binder rings
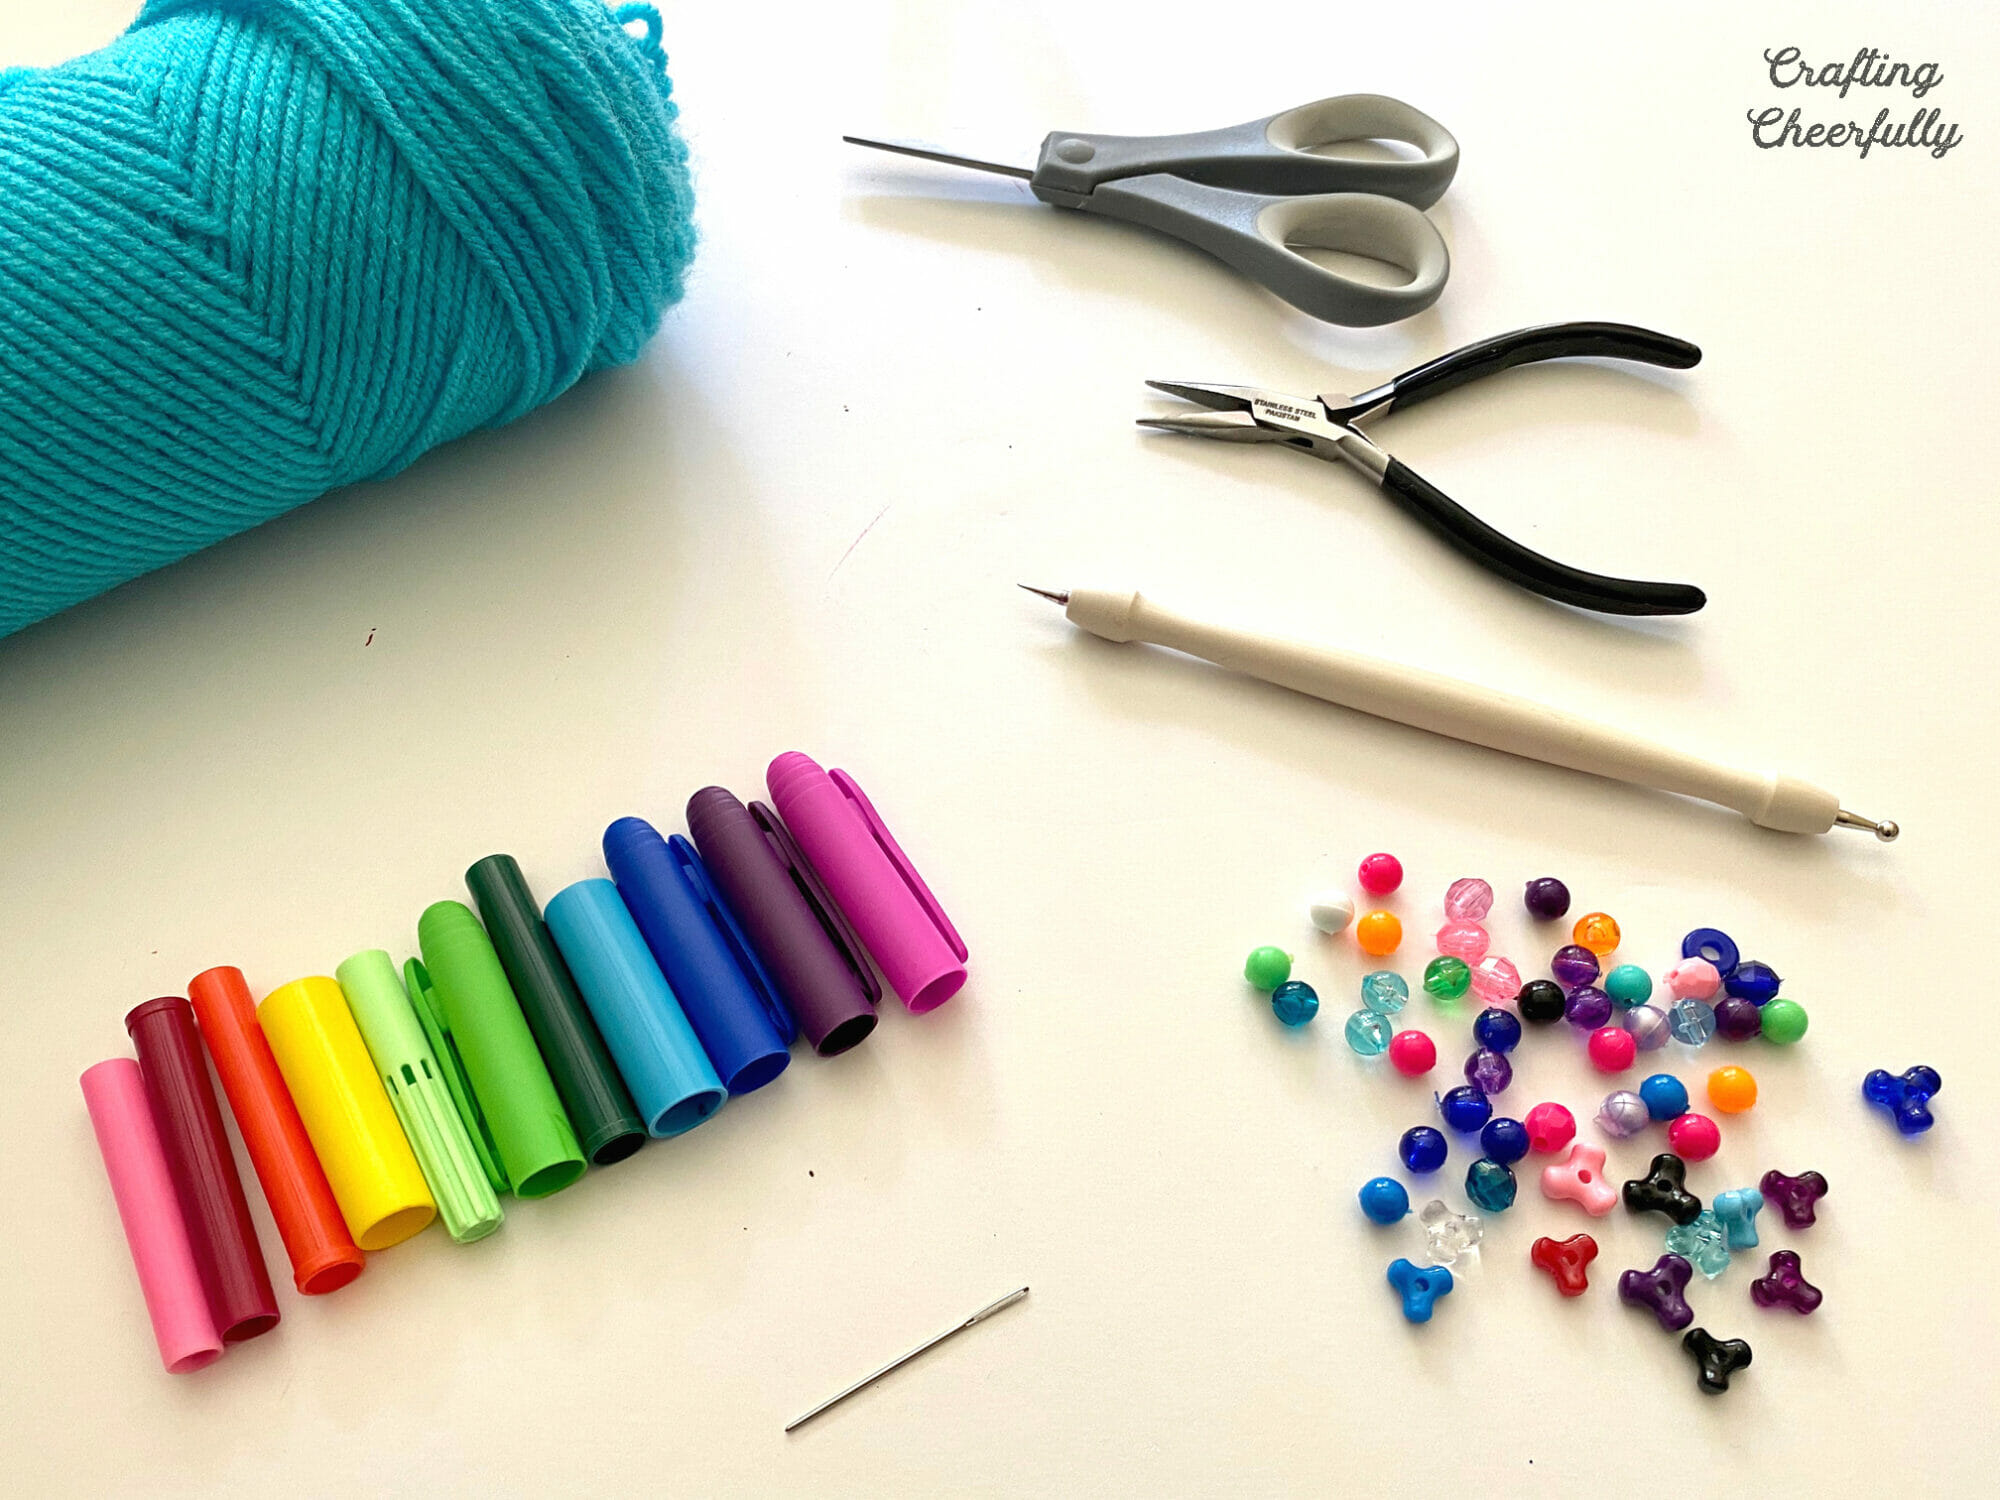
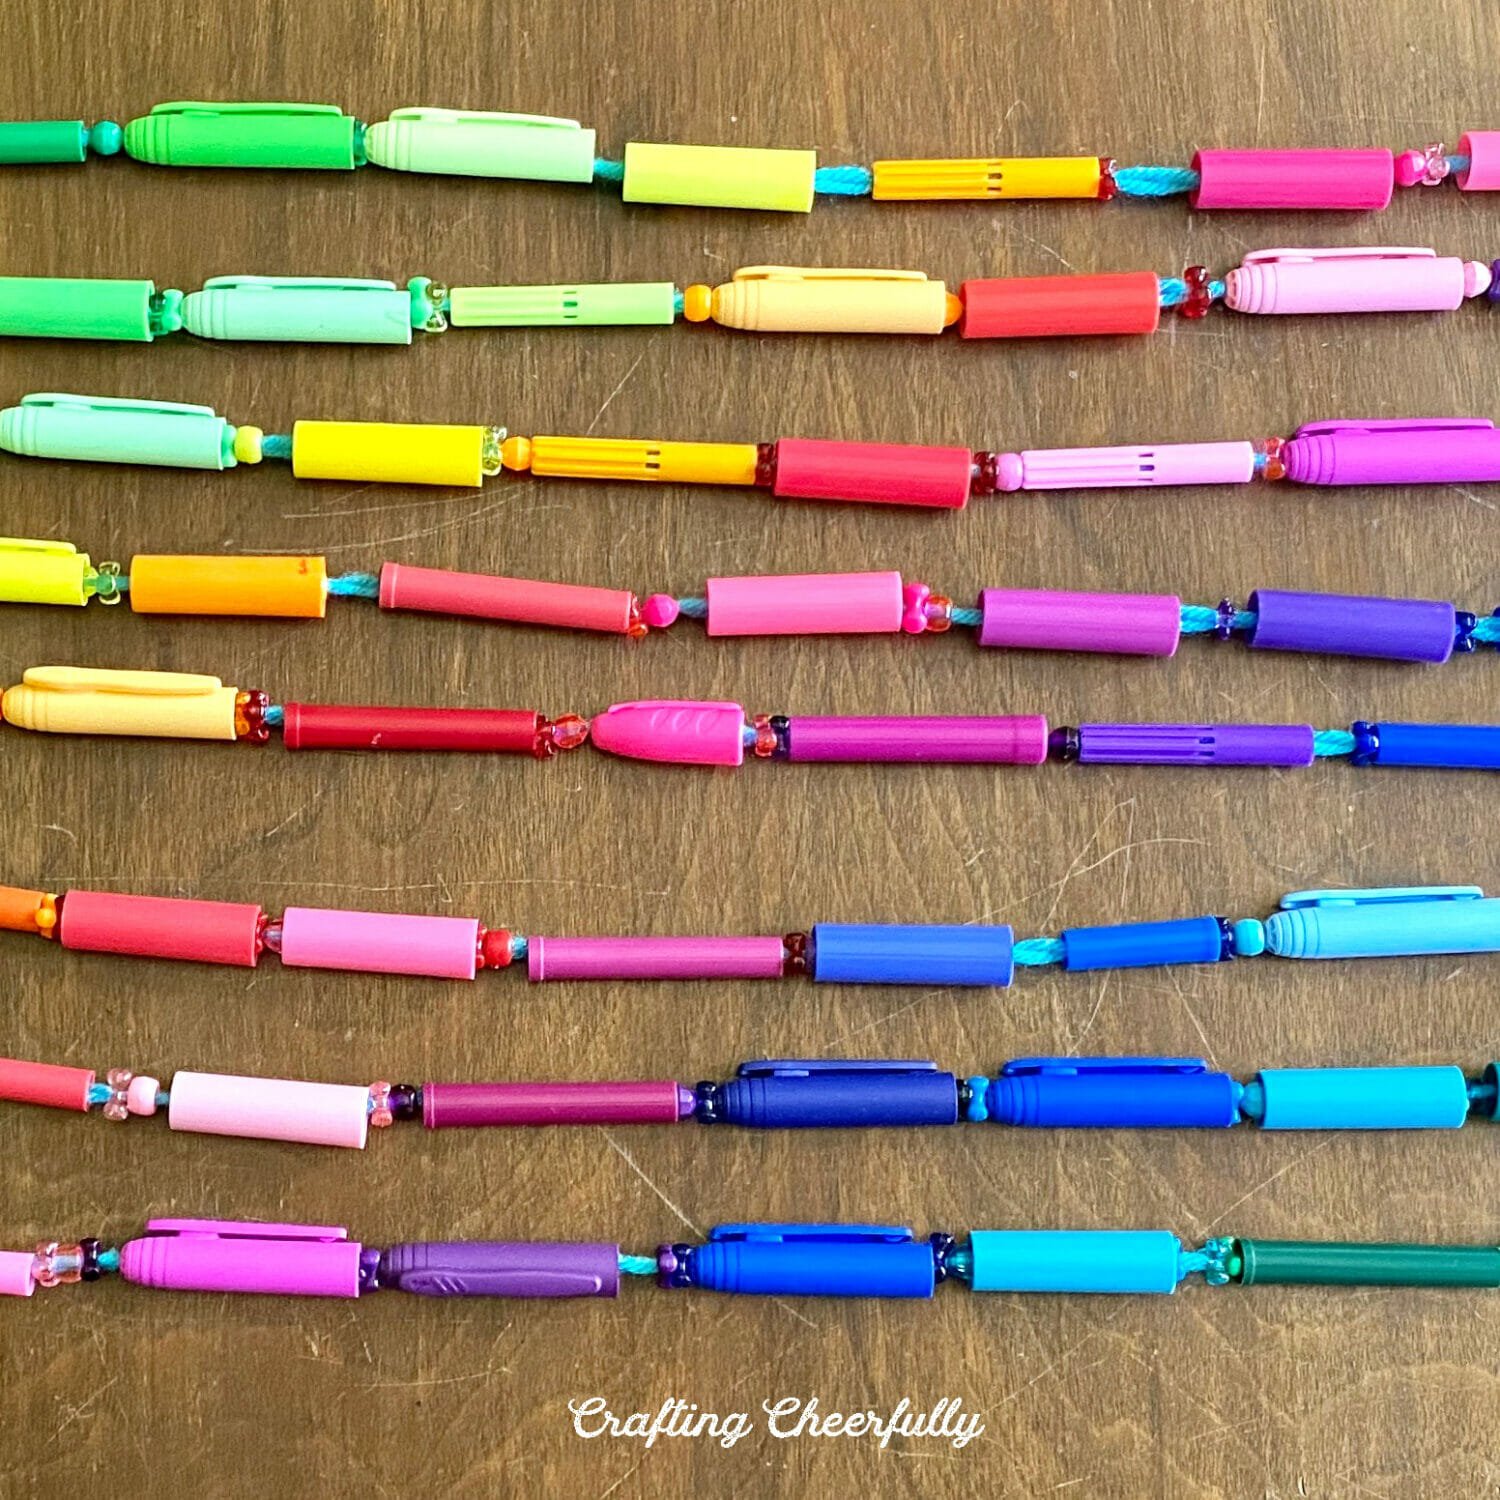
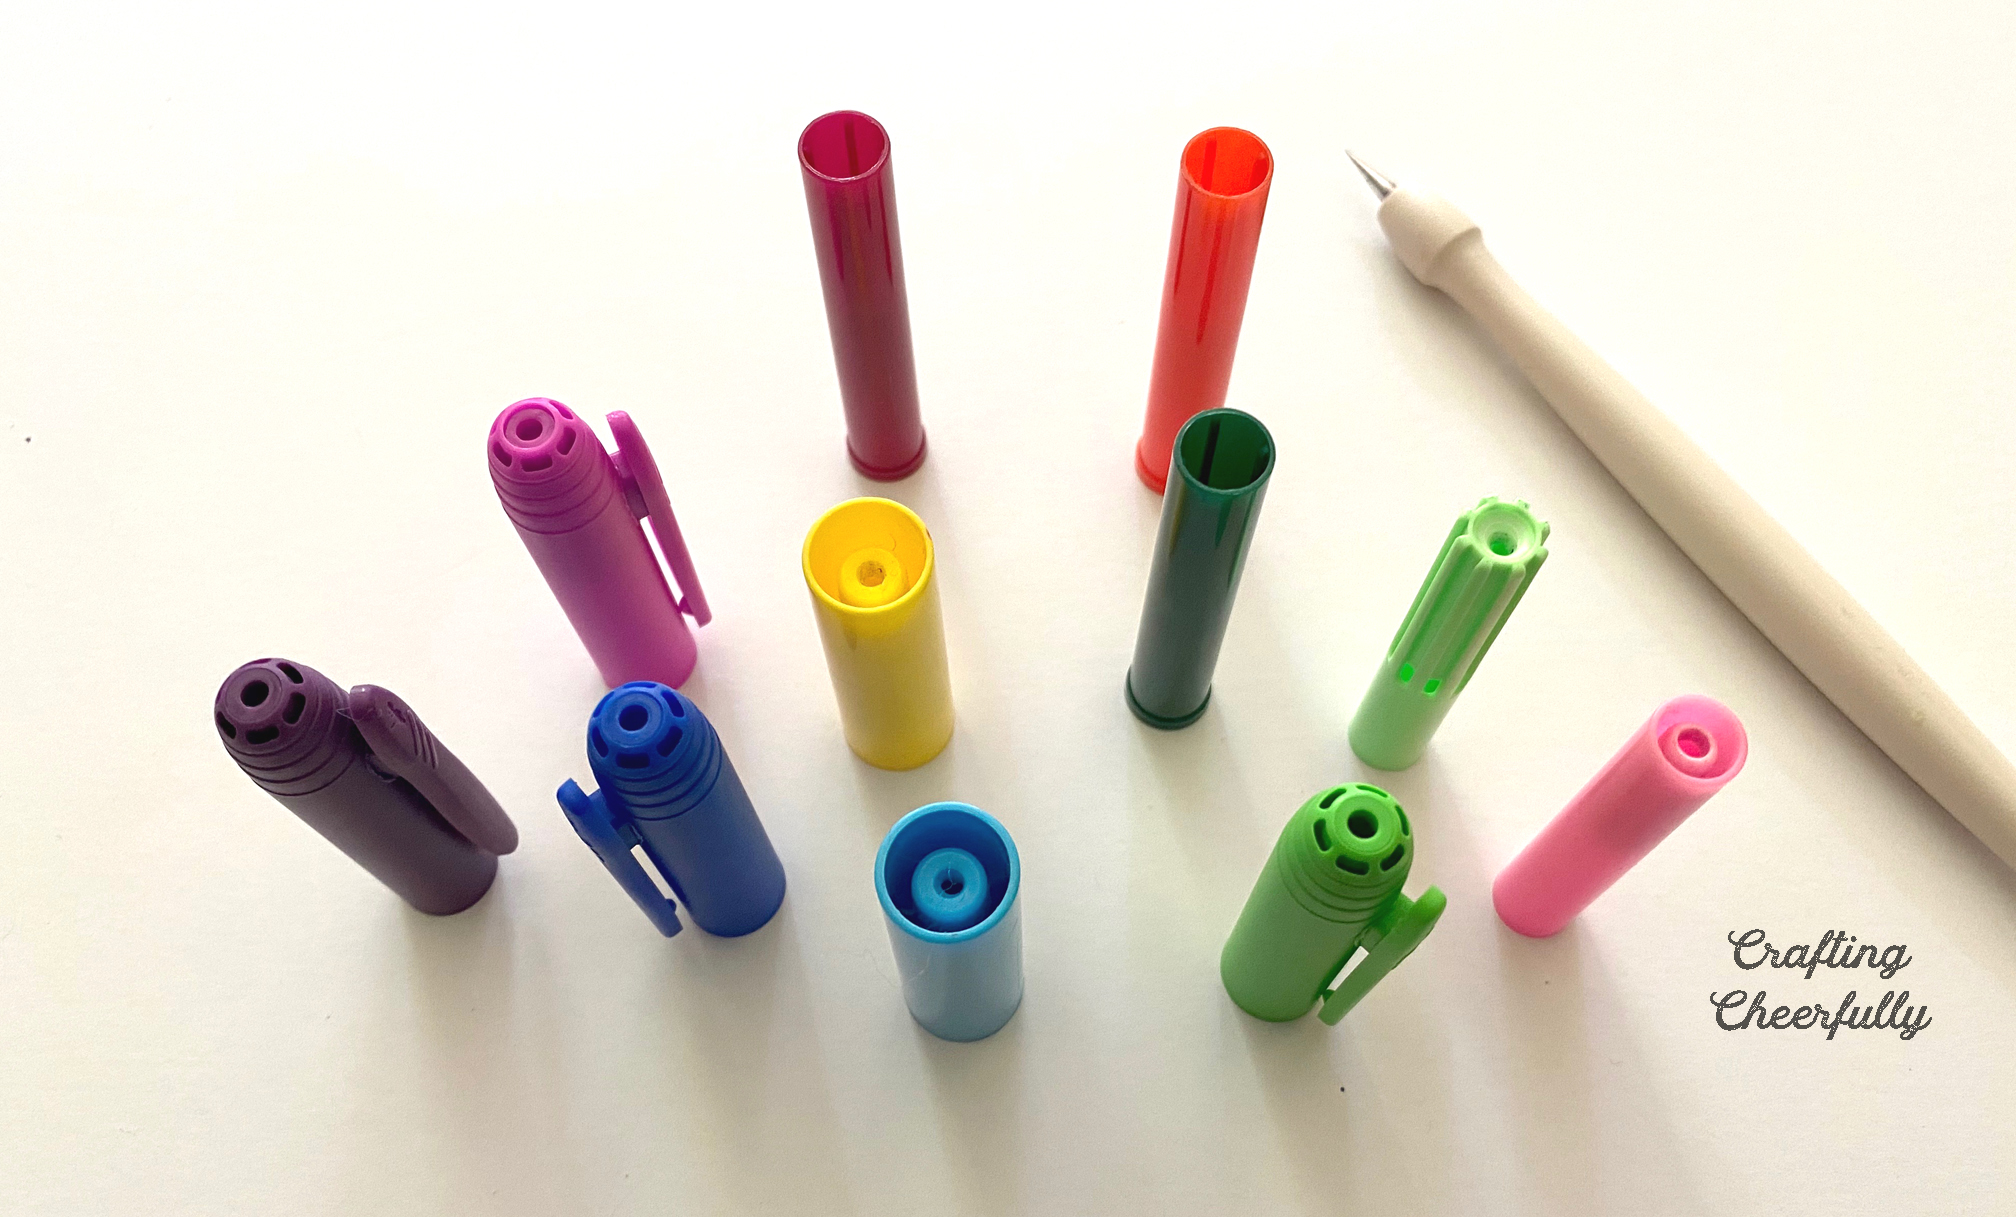
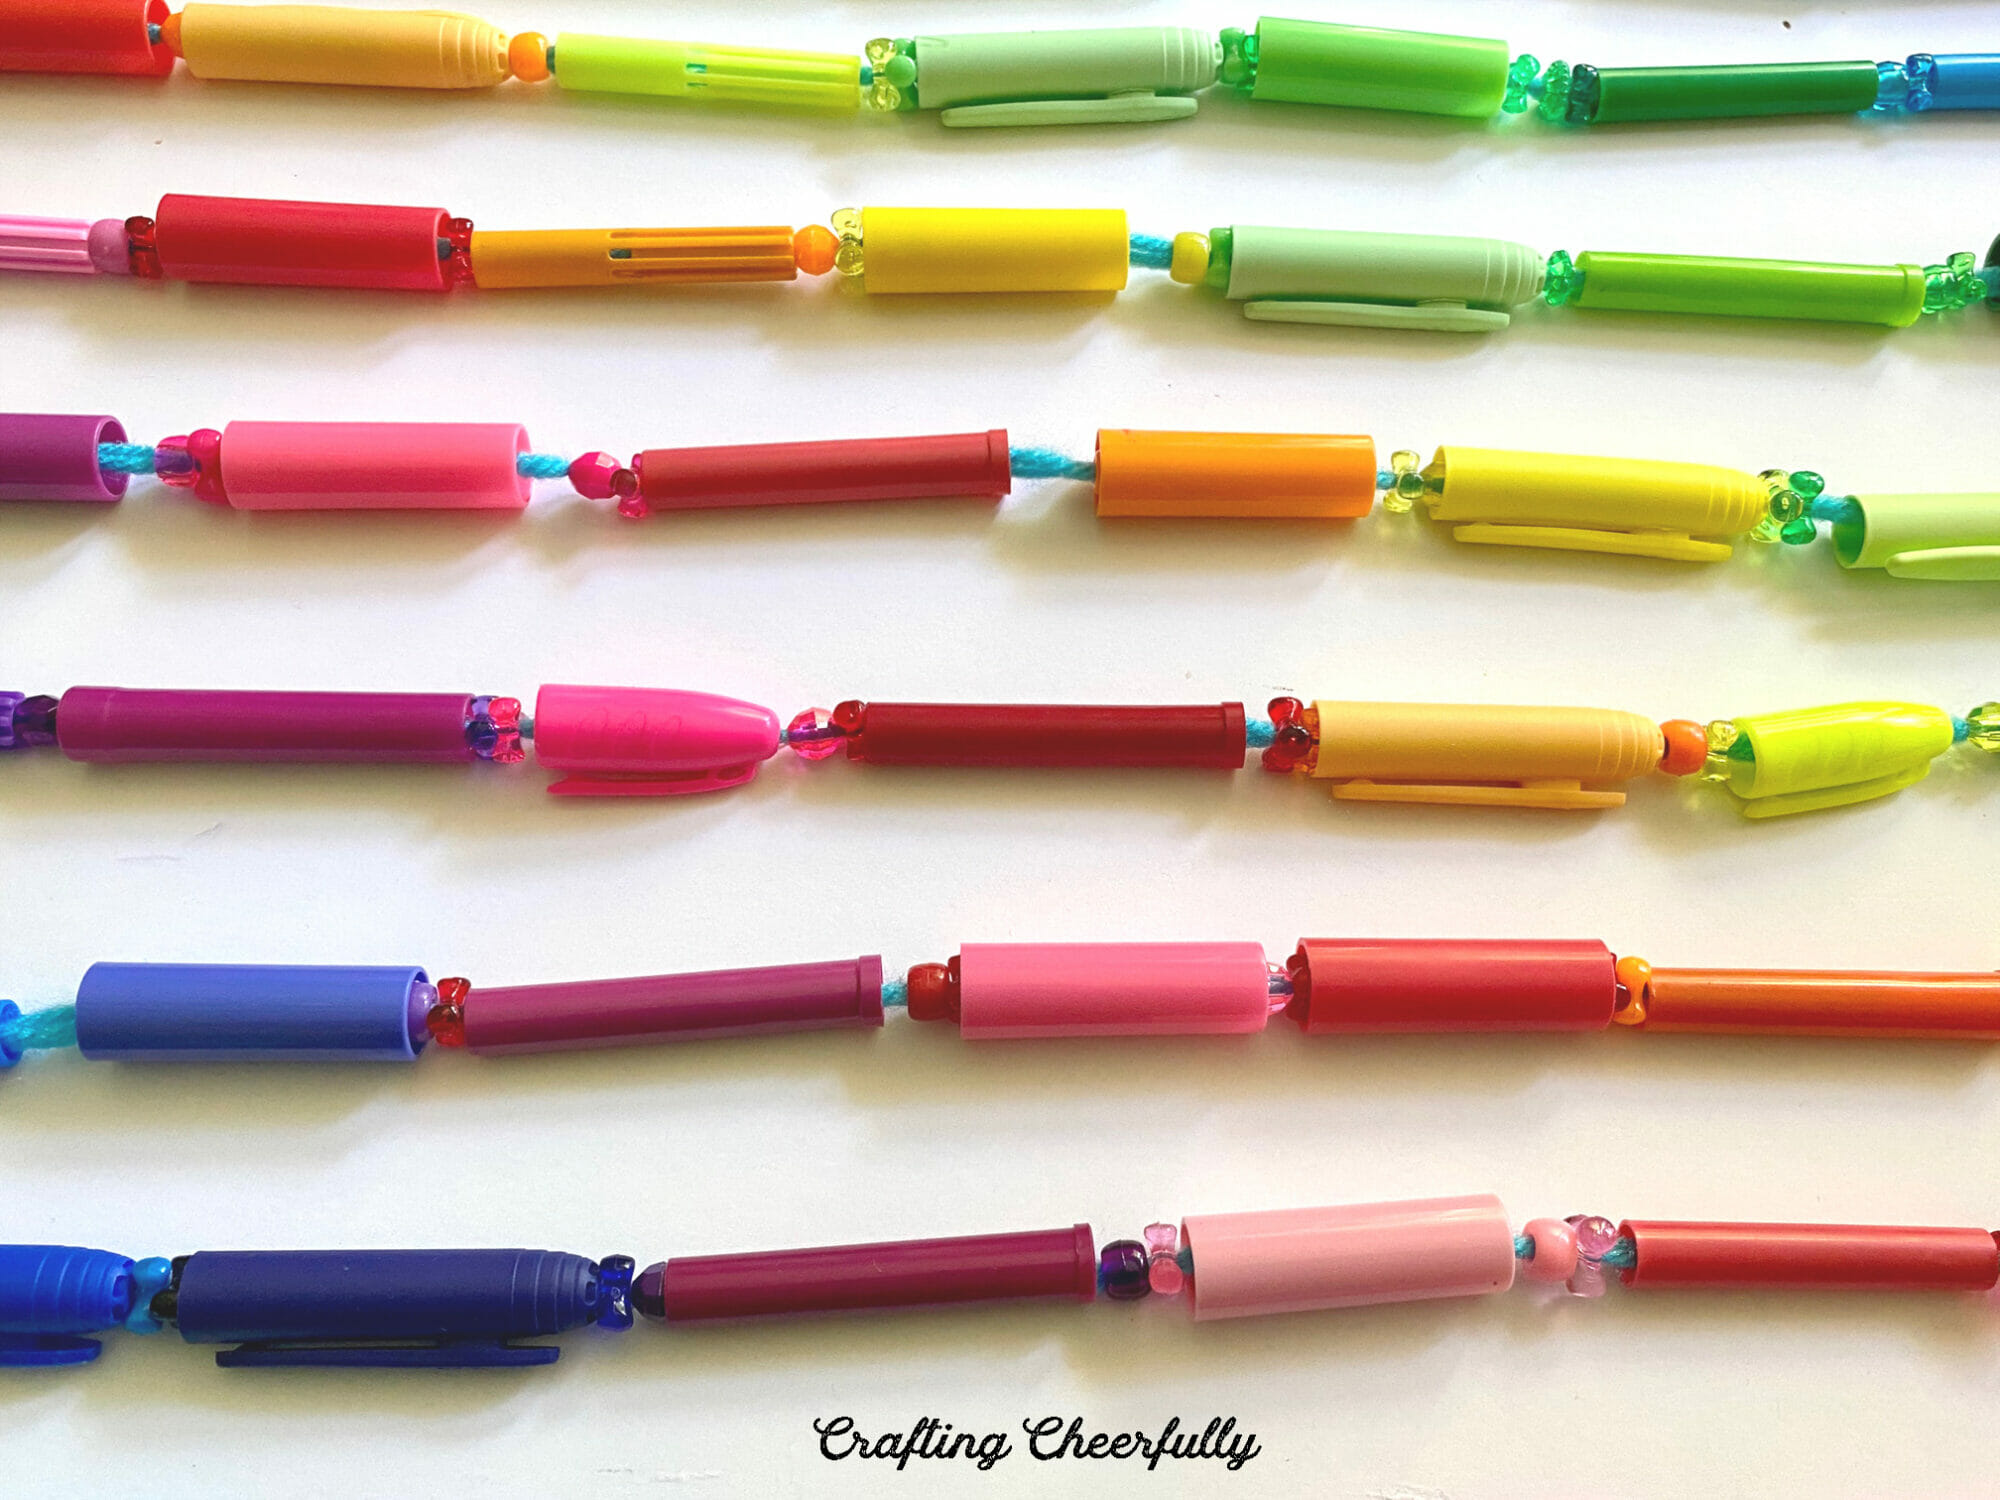
Step One: First poke a hole in the top of each marker cap that doesn’t already have a hole. I used the sharp end of a stylus to carefully poke the plastic. Sort your marker caps to decide on a design for each strand. My chime used 8 strands with 11 caps per strand. I organized them in rainbow order and shifted the pattern down one cap each time. So, for example, if my first strand started “pink-red-orange-yellow….and ended with purple” the second strand started with “purple-pink-red-orange…and ended with Blue”.
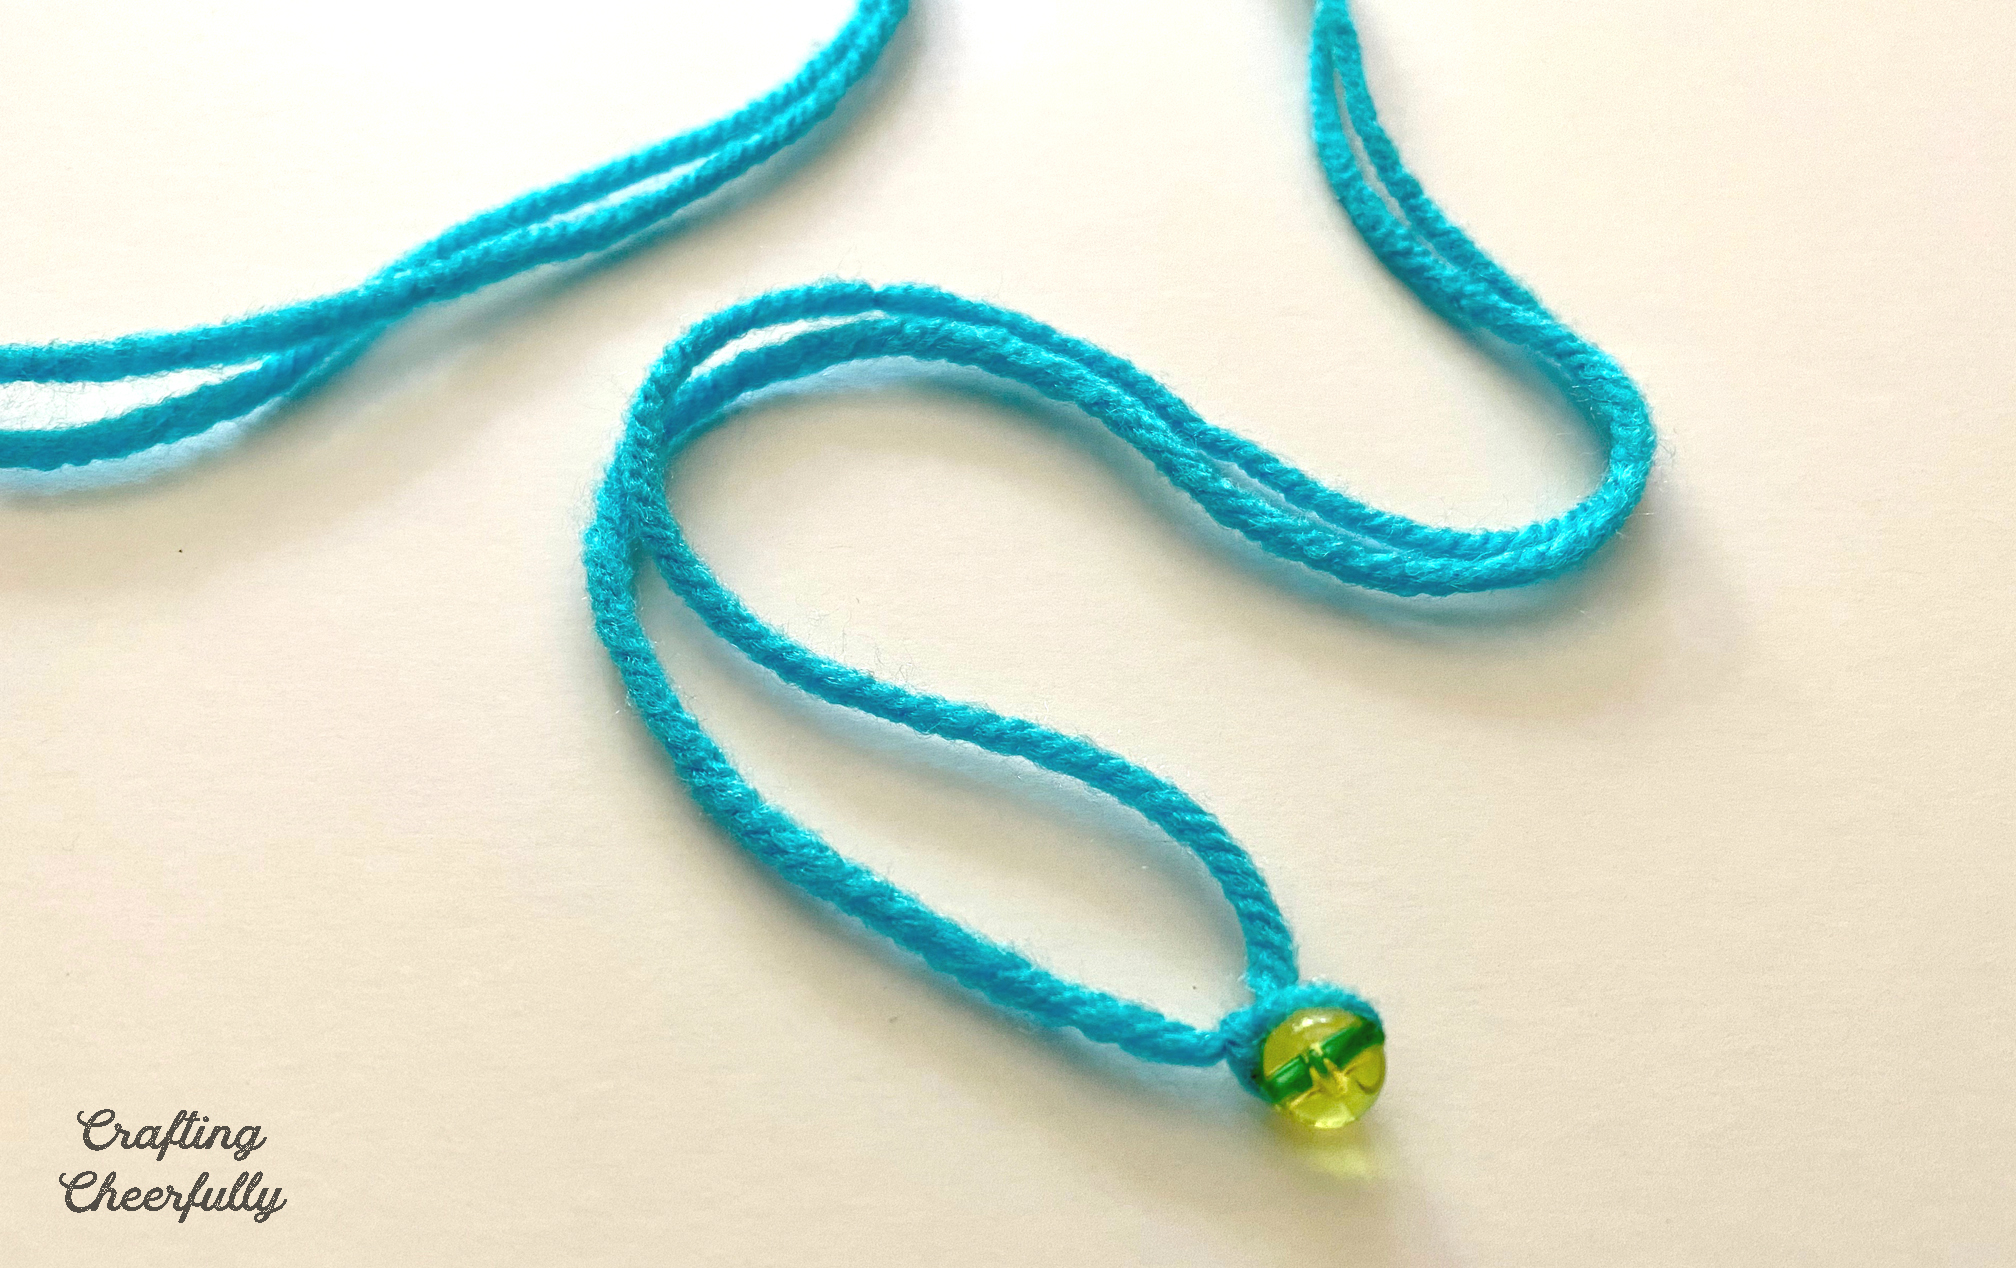
Step Two: Cut a long length of yarn double the length you of want your strand to be. Place a bead in the center of the yarn and tie double knot the yarn.
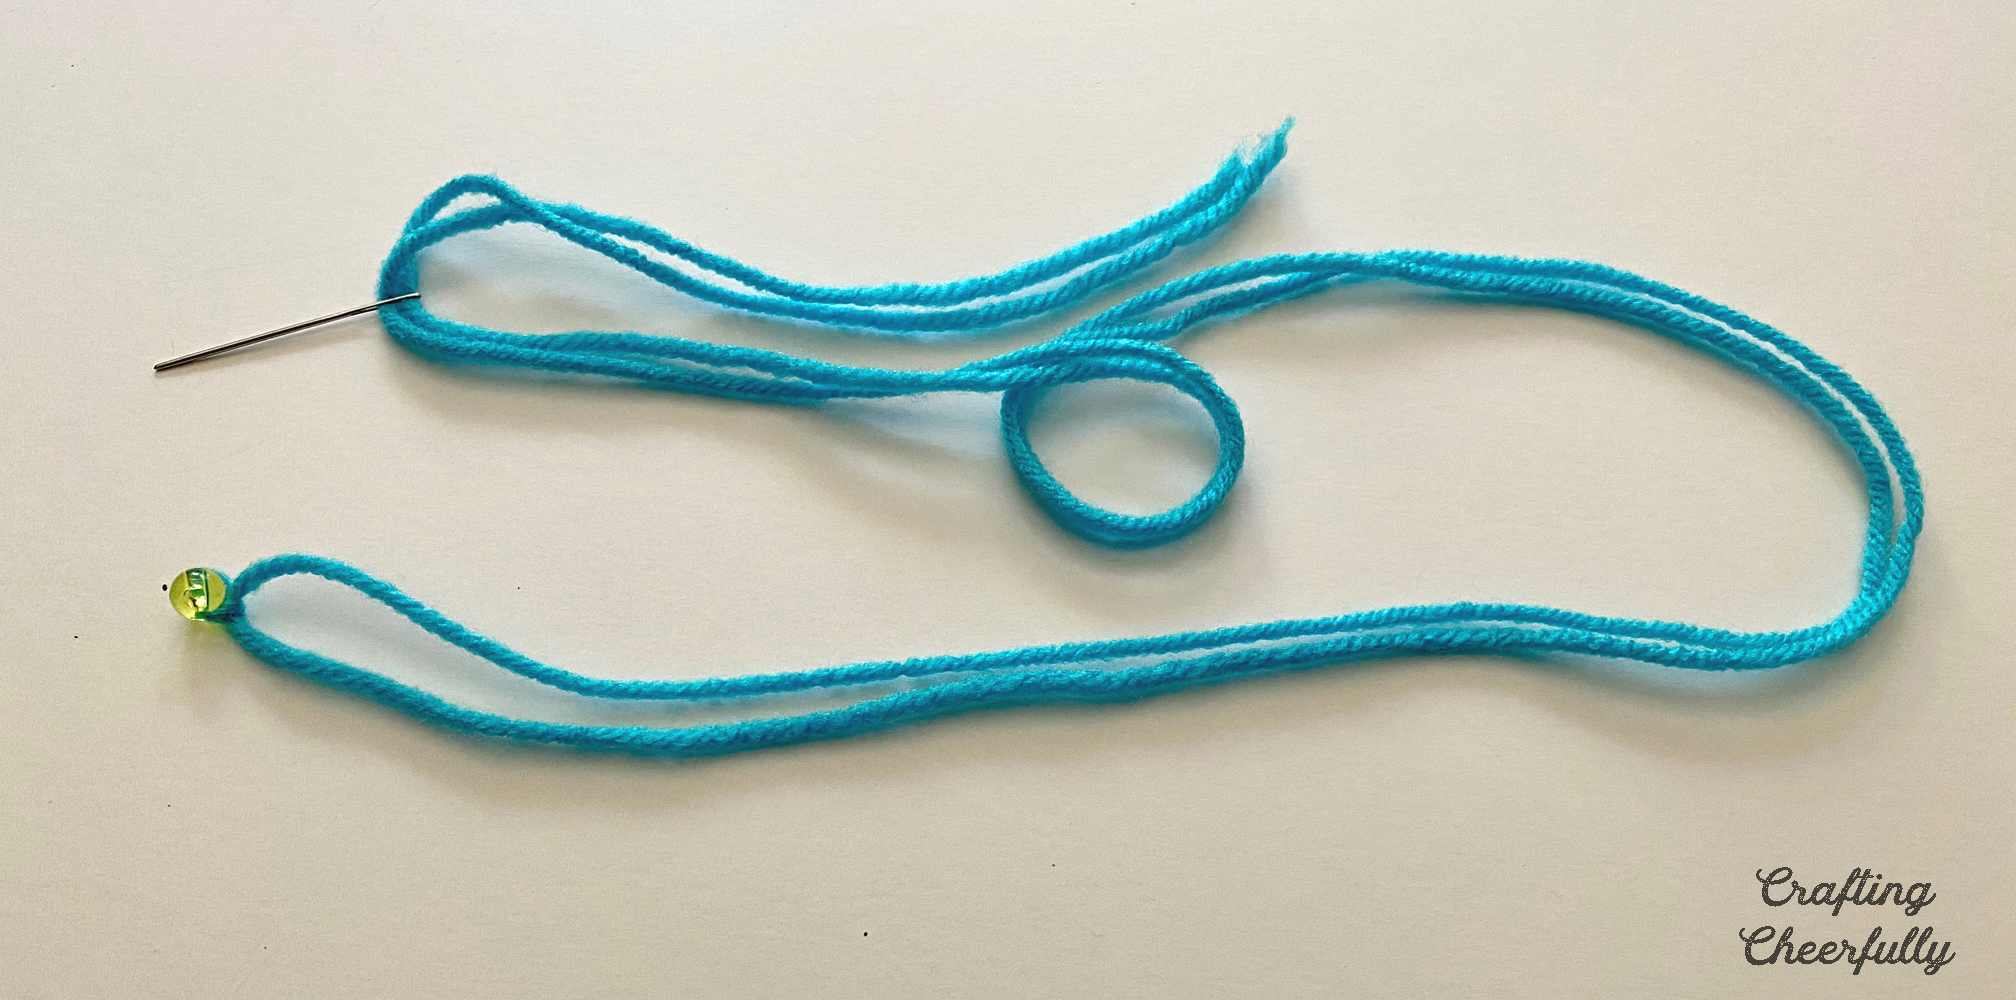
Next, thread the marker caps working from the bottom of the chime to the top. Add beads in between the marker caps for extra sparkle!
Step Three: I found it was difficult to push and pull the needle through the marker caps with my fingers. My needle nose jewelry pliers was perfect for grabbing the needle from inside the marker cap and pulling it out.
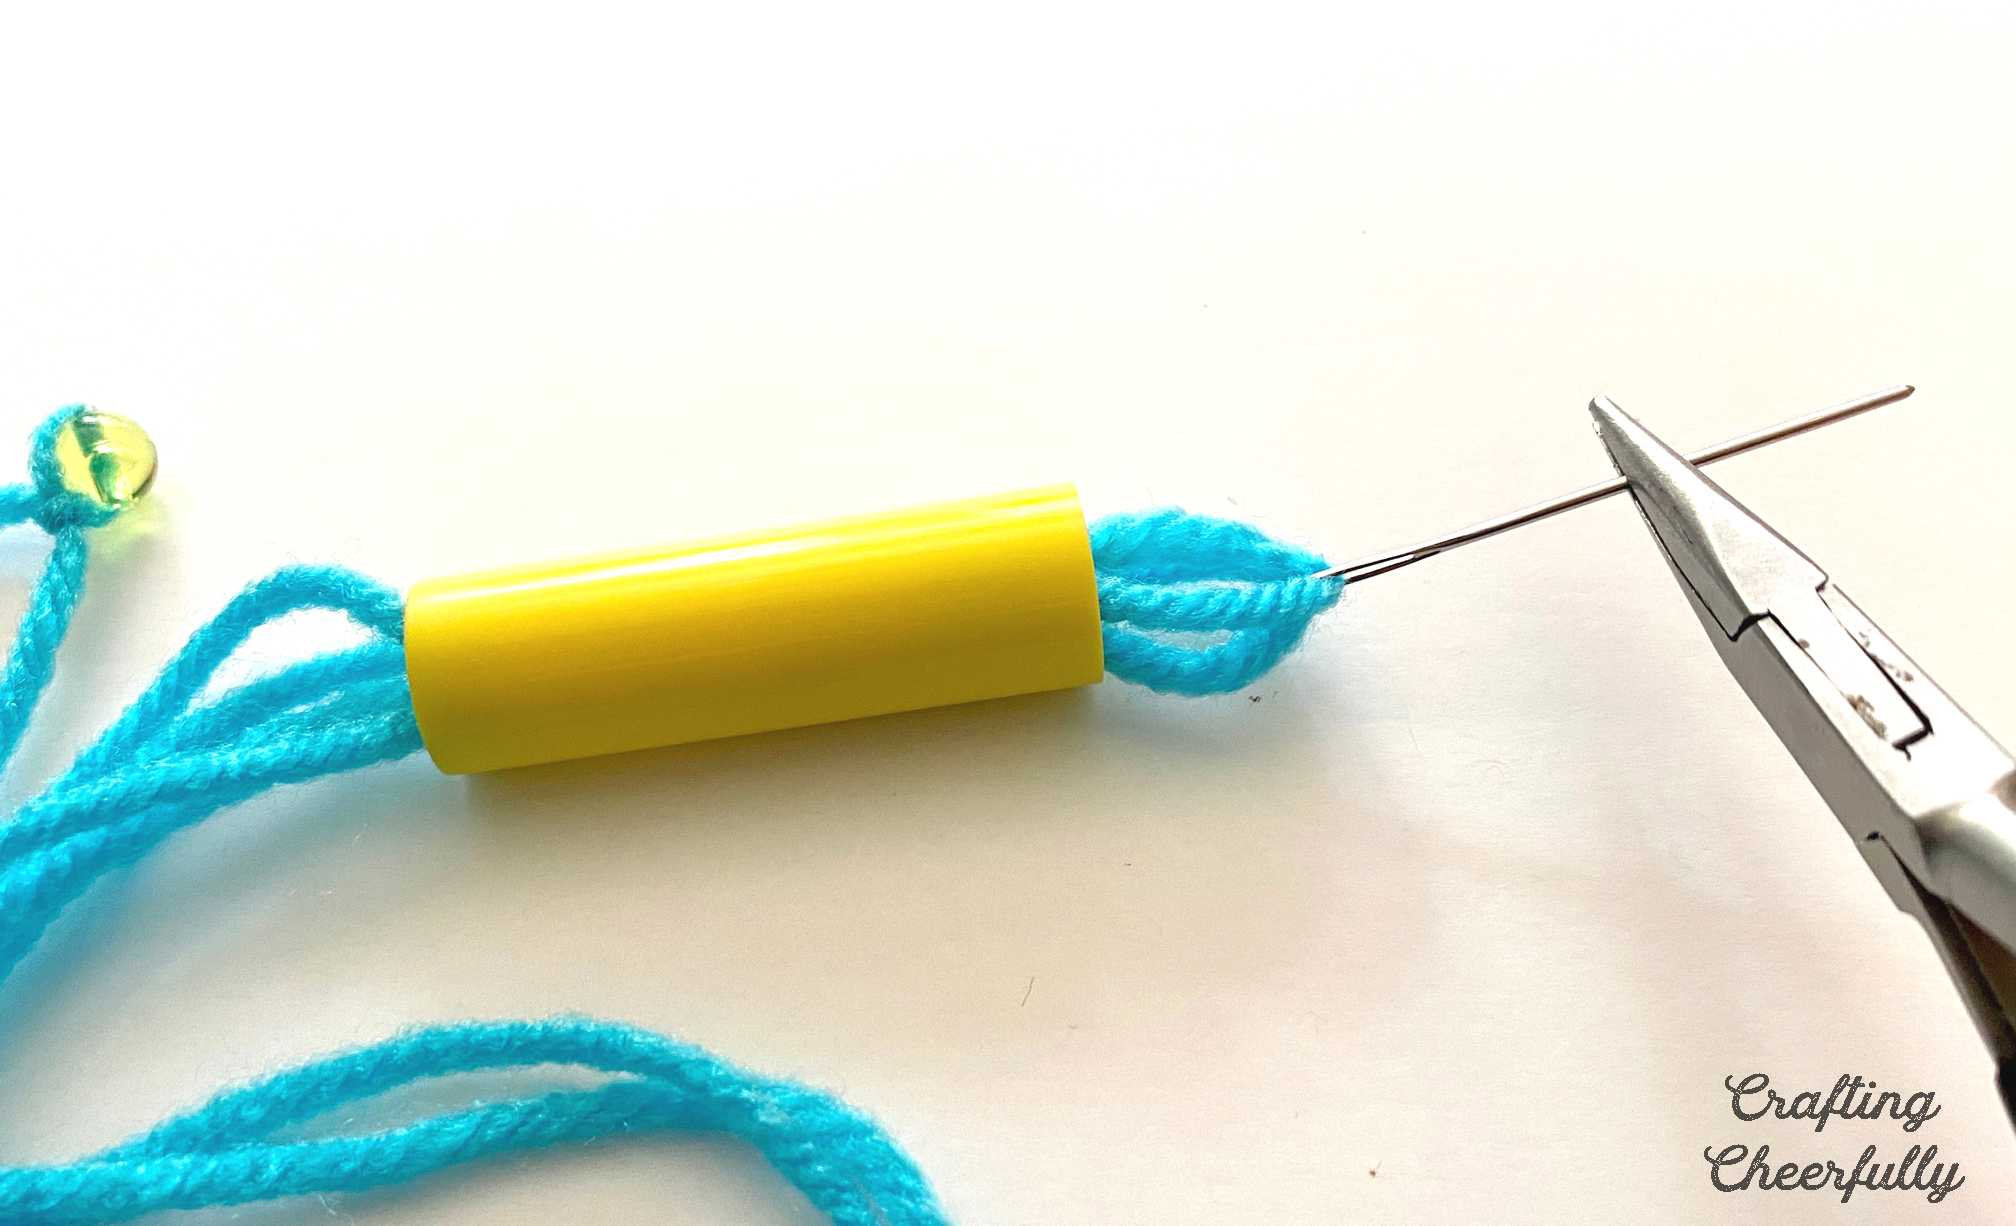
Continue adding marker caps and beads until you complete a strand. Set it aside and repeat for all strands.

Below are some fun pictures of my strands laid out. You can see how the pattern shifts by one cap.
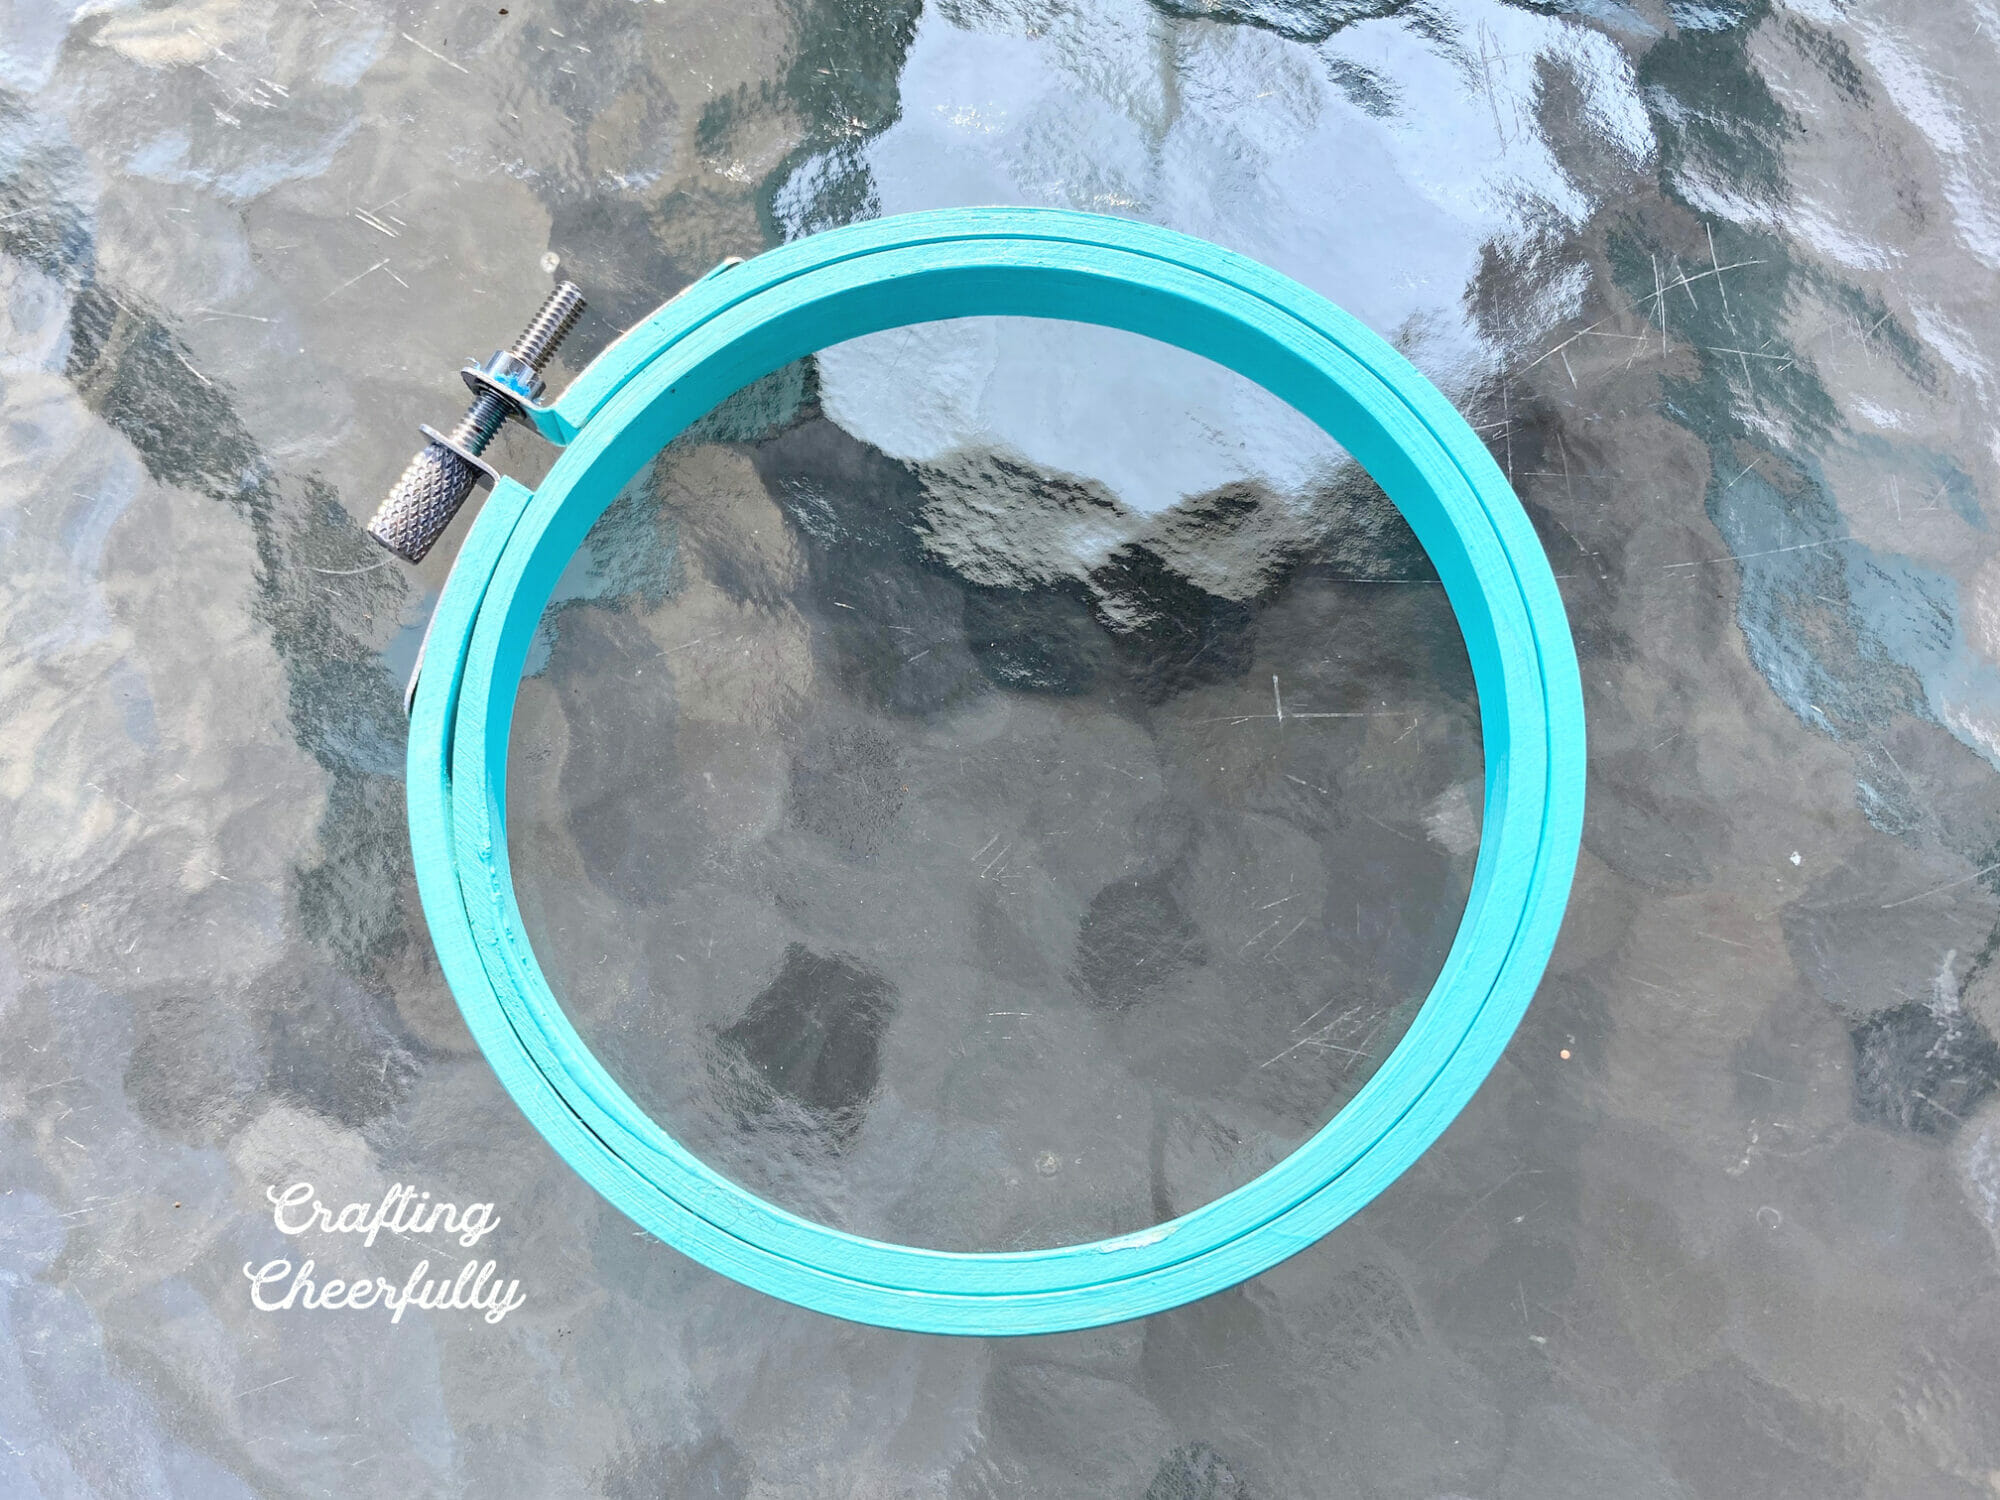
Step Four: Paint a wooden hoop with acrylic paint. I used a 4″ embroidery hoop and painted it blue using Deco Art outdoor Patio Paint in Bahama Blue. Cover with a layer of sealant, outdoor varnish or outdoor Mod Podge.
Step Five: Finally, tie the strands to the hoop spacing them out evenly. I secured them at the top with a small amount of hot glue at first and then went back with a little Guerilla Glue that is water proof.
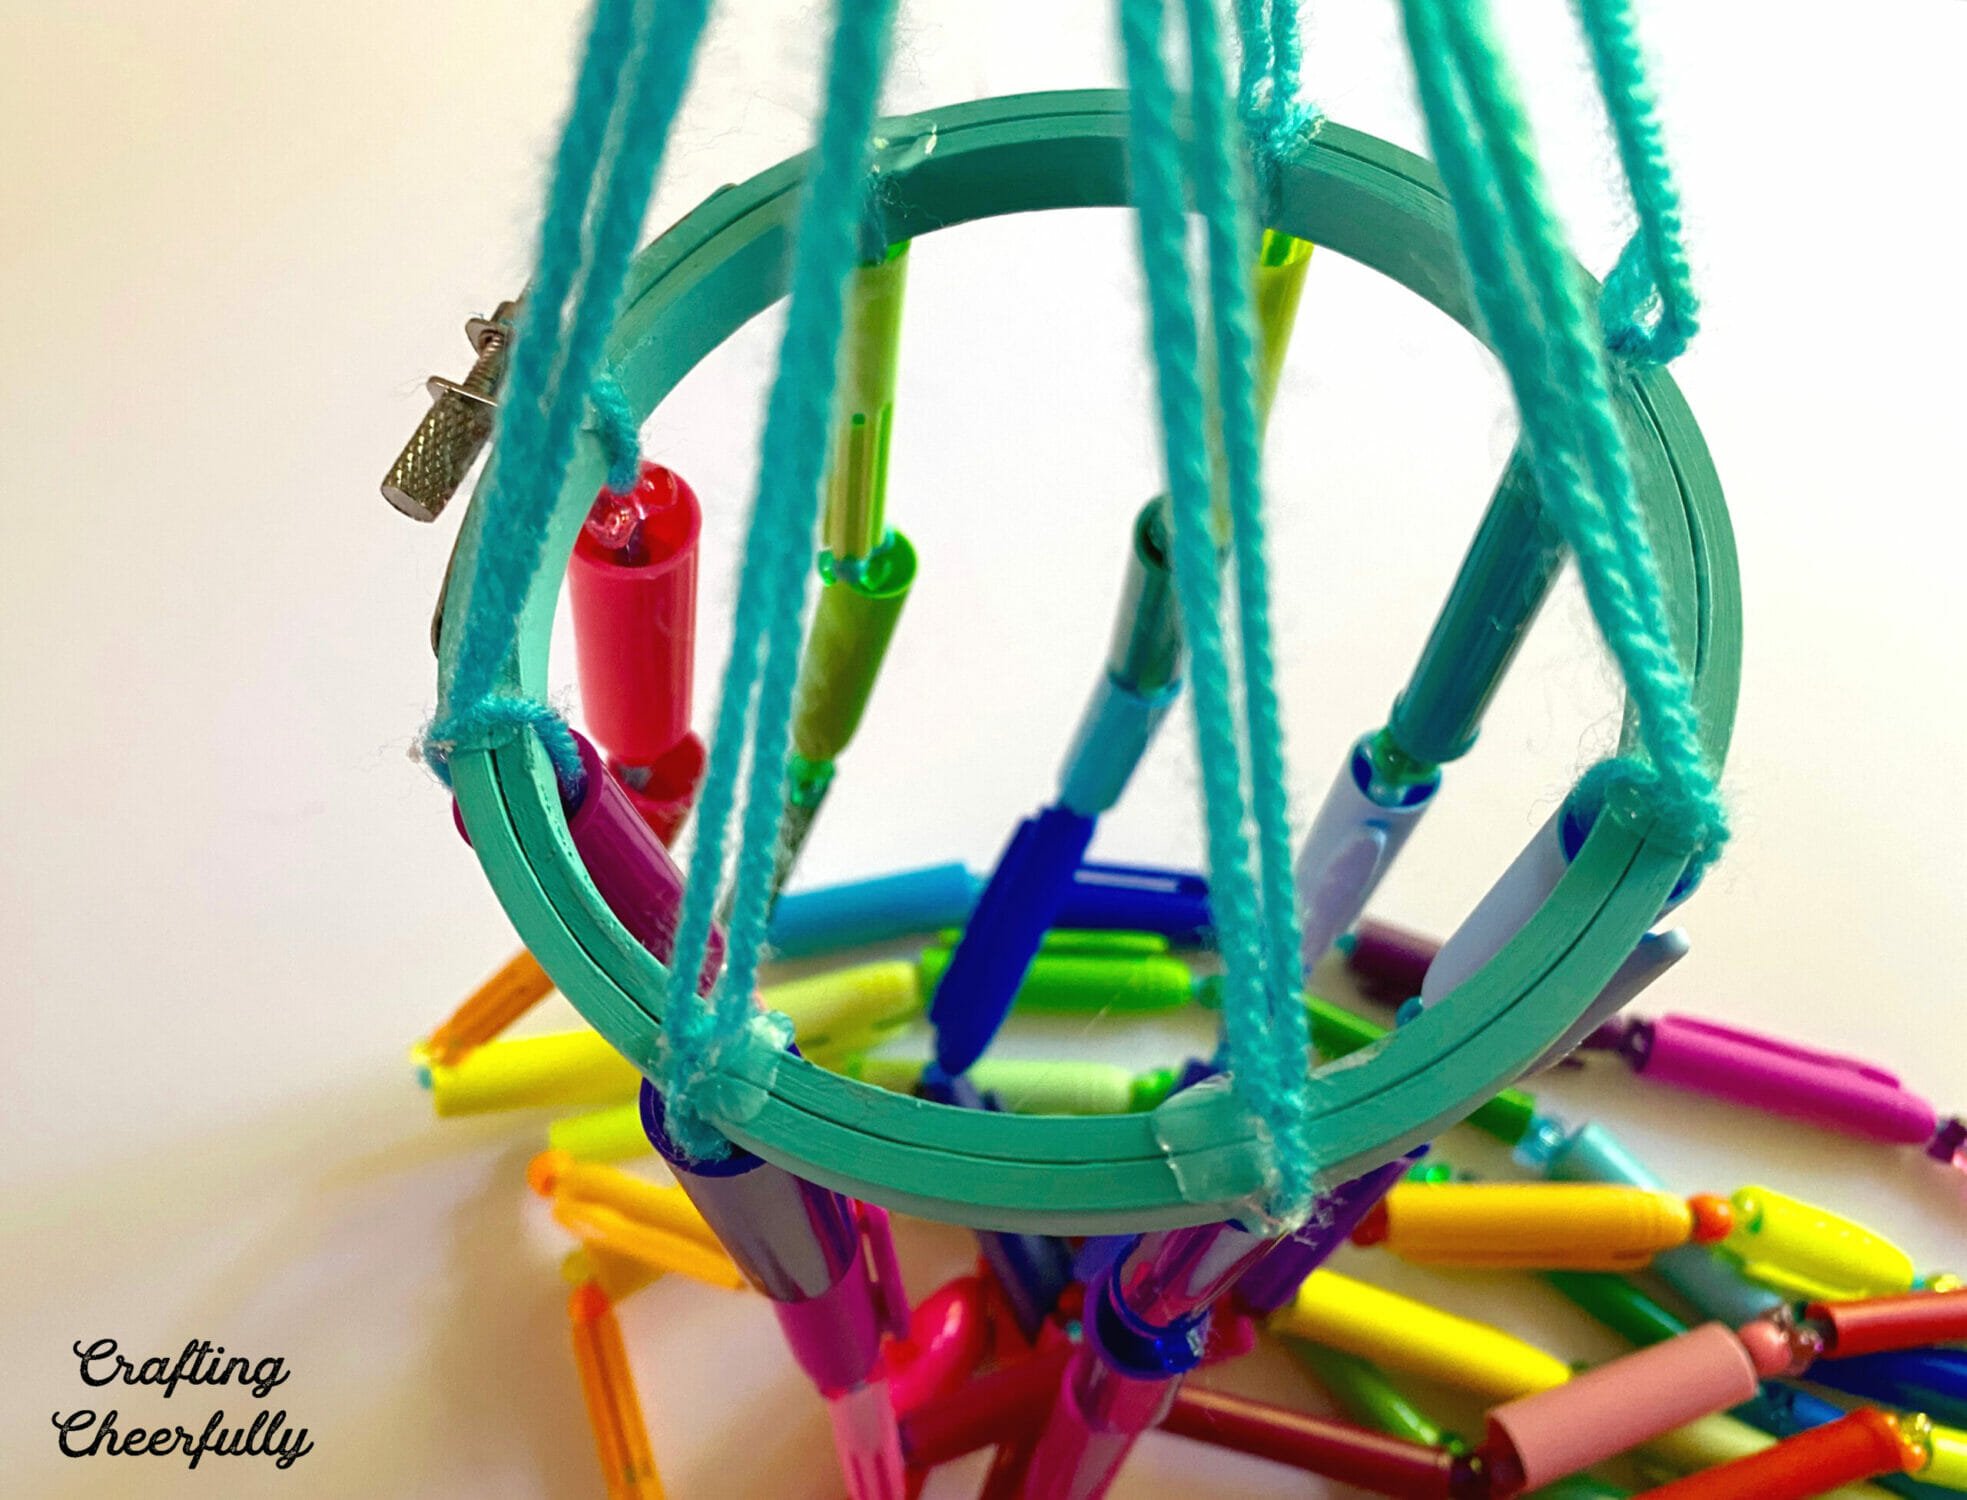
Bring all of the yarn strands up and tie a piece of yarn around them to secure them all together. It worked best for me to hold all 8 strands (16 pieces of yarn) evenly and my husband tied yarn around them. Secure the knot with glue and then attach key chain rings or a metal hook for hanging!

The wind chimes are finished!! It is so bright and colorful. Outside the beads sparkle in the sunlight and the wind makes it spin. The wind chimes make a really soft noise but you could always add bells to the bottom of each strand instead of a bead.


I hope you enjoyed this recycled craft! I’m on a bit of a garden ornament kick lately. A couple weeks ago I shared these fun garden ornaments made from plastic paper plate holders. I’ll be sharing a few more ideas for outdoor decorations soon!
For more fun craft ideas check out the Creative Crafts series – Recycled Projects hosted by Laura of Me and My INKlings, Meg of Makeable Crafts and Beth of Creatively Beth. There will DIY projects shared throughout the week all using different recycled materials!




This is so creative and cute! Thank you so much for participating!
This is a brilliant idea! And so colorful :)
Thank you!! I was so happy to find a use for all of our saved marker caps :)